
RAM memory or also referred to as main memory is used by a computer to store data for processing by a computer’s processor. In other words, the more RAM you have the more programs you can run simultaneously without slowing down your computer’s speed by much. Many things like Windows, and different software applications can take up a lot of memory. This article will be a guide on how to install new memory and what you need to check beforehand.
Do you Need More RAM?
There are many machines that are still running with memory ranging from 2 to 4 GB. Usually, 4 GB of RAM is sufficient enough for most tasks a basic user operates with. Although, if you are running programs like Photoshop, opening a lot of tabs in browsers (especially in Chrome), like to multitask and at the same time want everything to work at fast rates, then you should consider having more than 4 GB of memory. You can also use your system’s page file or a USB flash drive as a memory buffer, but that will not be of much benefit, because the way RAM is accessed is different.
All Windows OS versions since Windows Vista require from 1 to 2 GB alone, for running on a computer. You can check how much memory your Windows OS takes up, by doing the following:
- Press the “Ctrl + Alt + Del” key combination.
- Click on “Start Task Manager”.
- Click on the “Performance” tab.
- Check what it says about the “Memory”
Things to Consider and Check before Buying
Whether you want to add more sticks of memory or completely replace the old ones, there are some things you must check before buying new RAM.
Buying the RAM
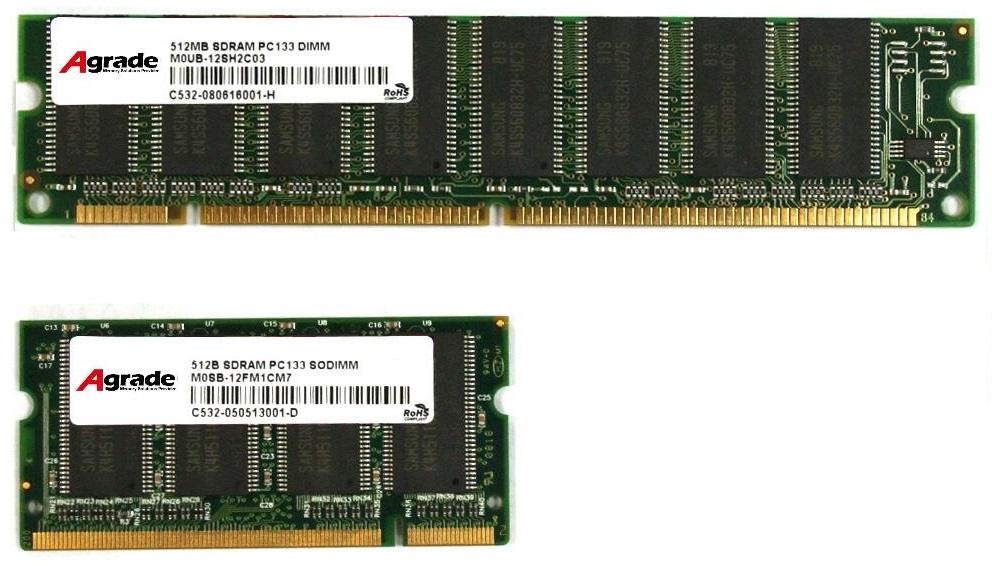
The RAM you pick depends on the prerequisites written above, but you still have a choice, about how much RAM you will buy, how many blocks, what brand, if it will have a fancy heat sink on it and how much money you are willing to spend. You cannot go wrong with most well-known brands like Kingston, A-DATA, Corsair, G-Skill and etc.
Installing the RAM
For Desktop Computers
The RAM slots are in most cases in close proximity of the CPU socket. You should see two or more slots there. Removing old memory sticks and placing the new ones happens in the same way – by toggling the plastic retention clips at either end of the slots.
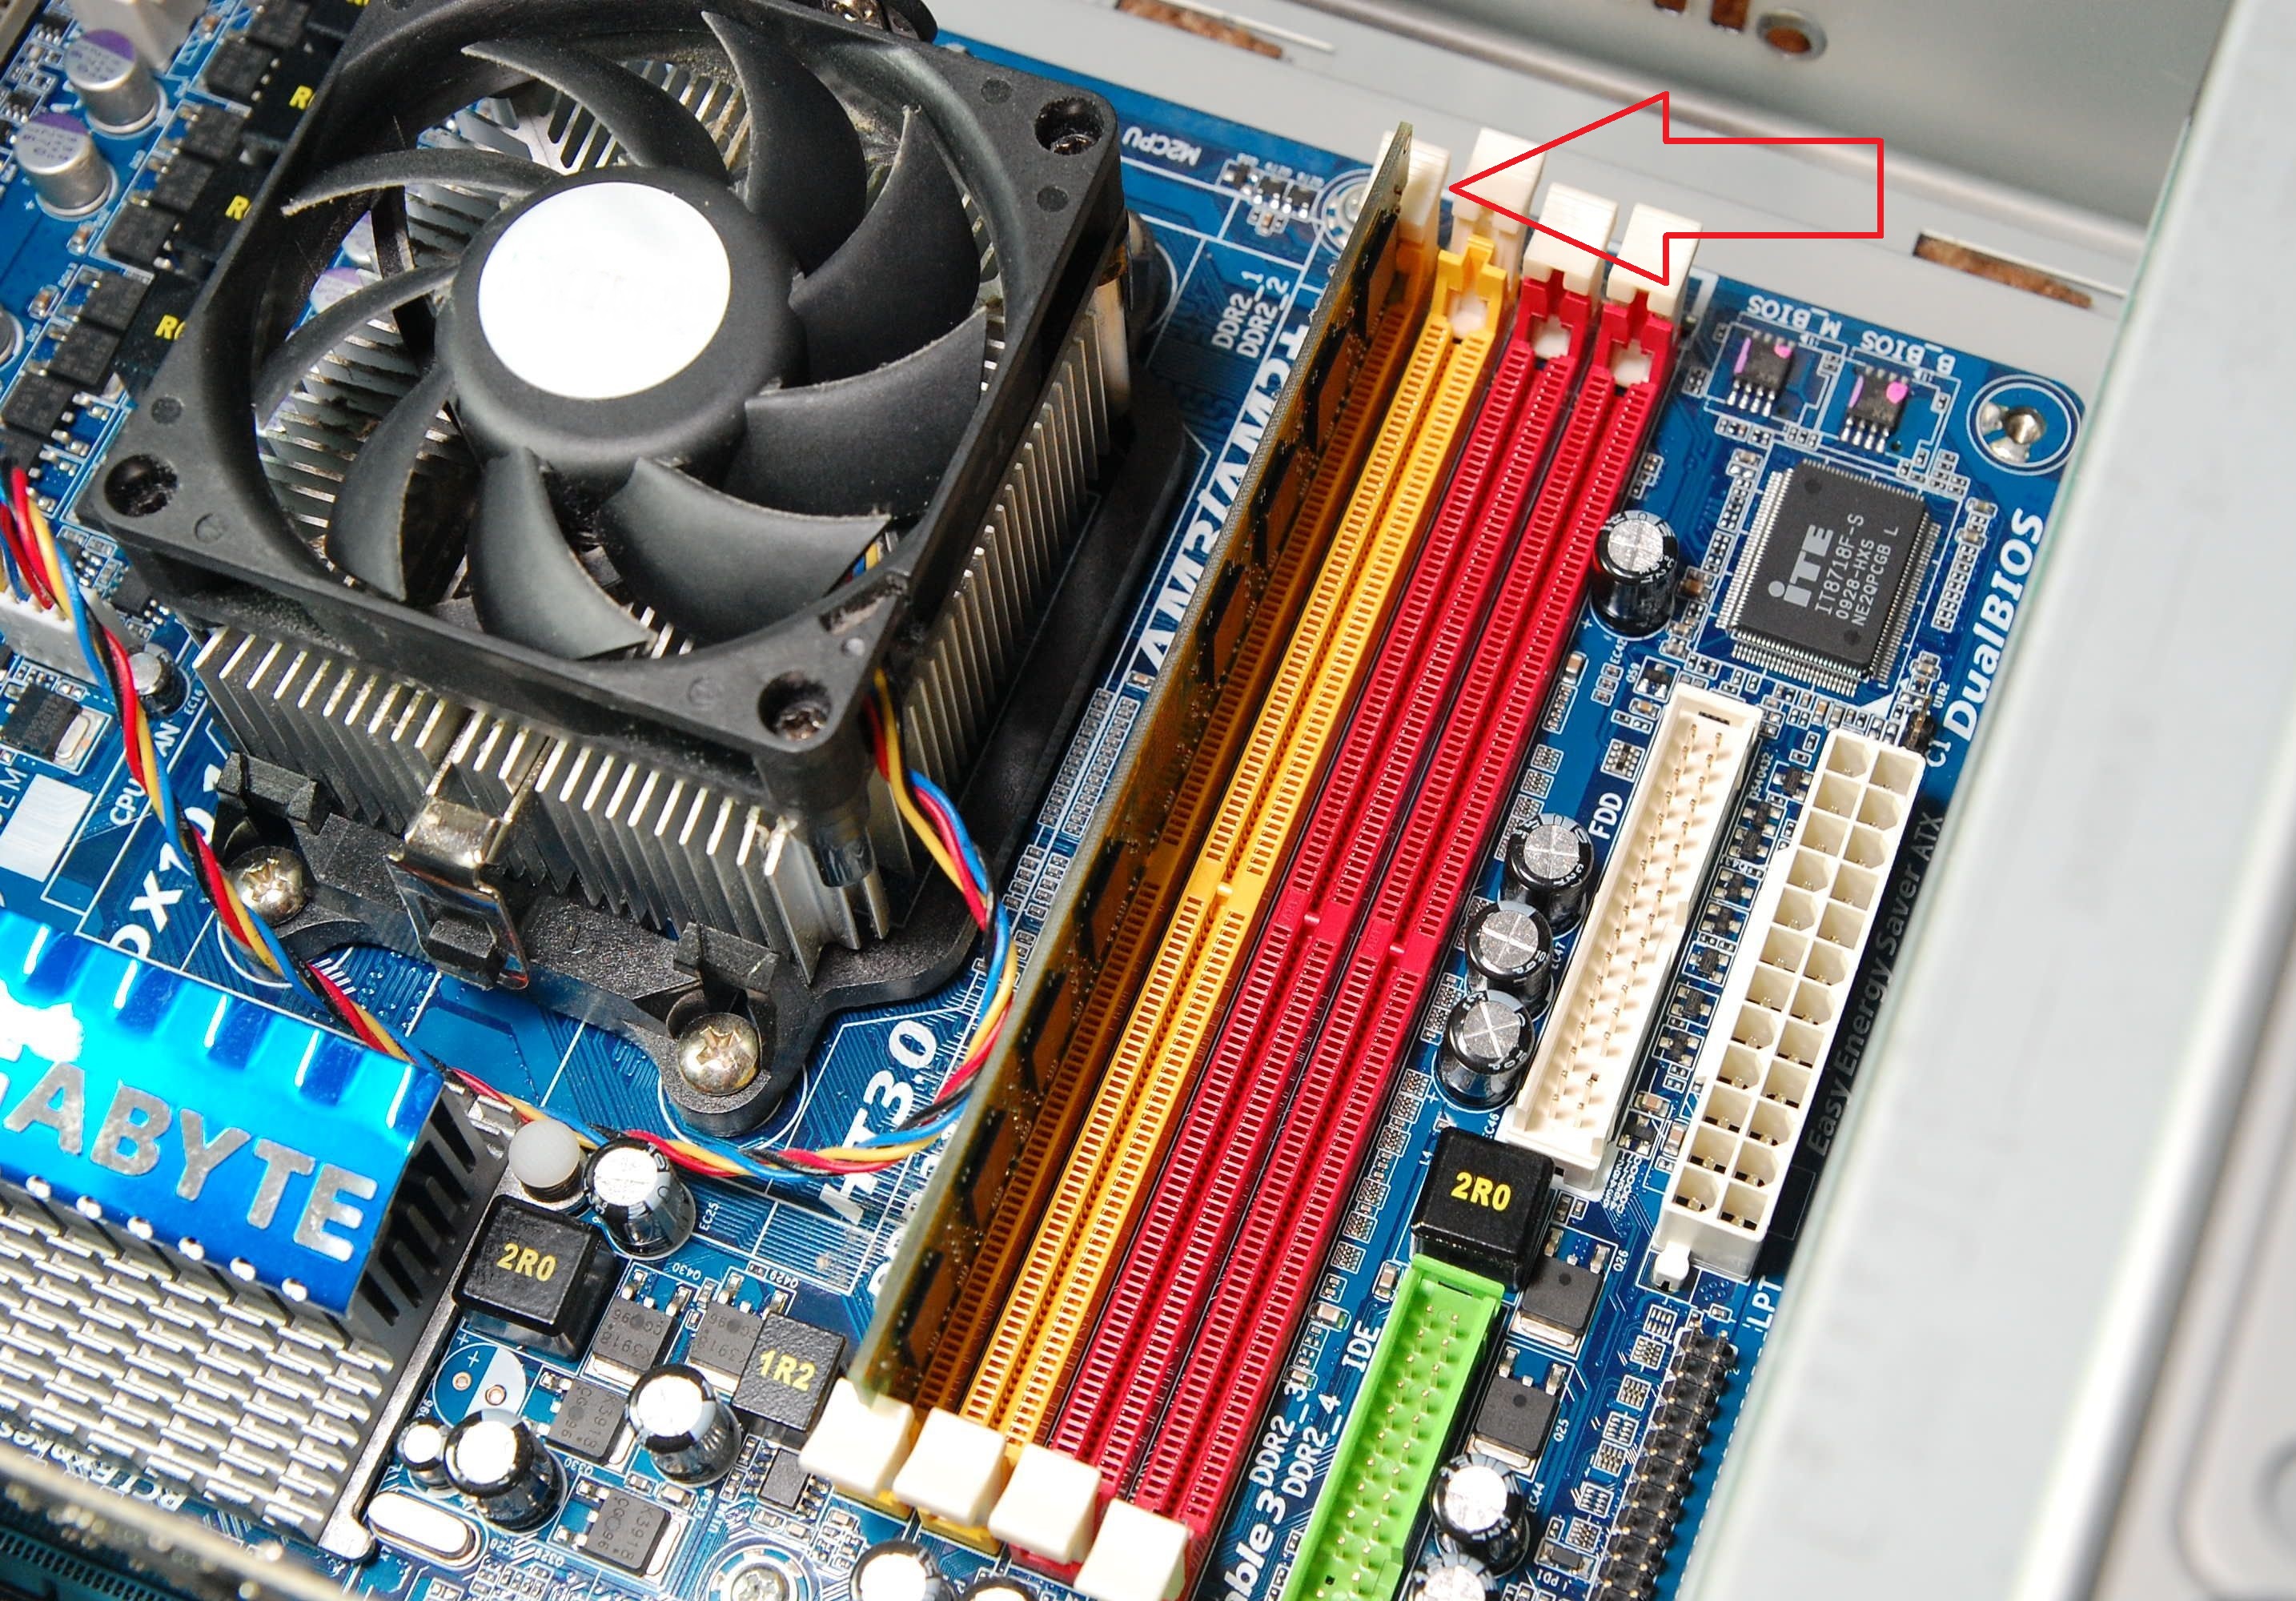
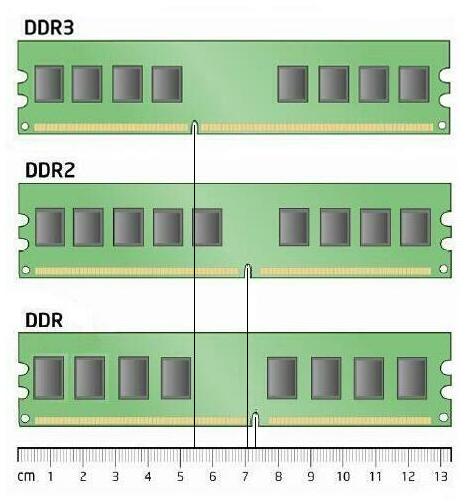
Upon placing the new sticks you must make sure the notch in the bottom edge of the RAM matches up with the rise in the memory slot.
Now just toggle the plastic retention levers again, to lock your new memory modules in place and you are set.
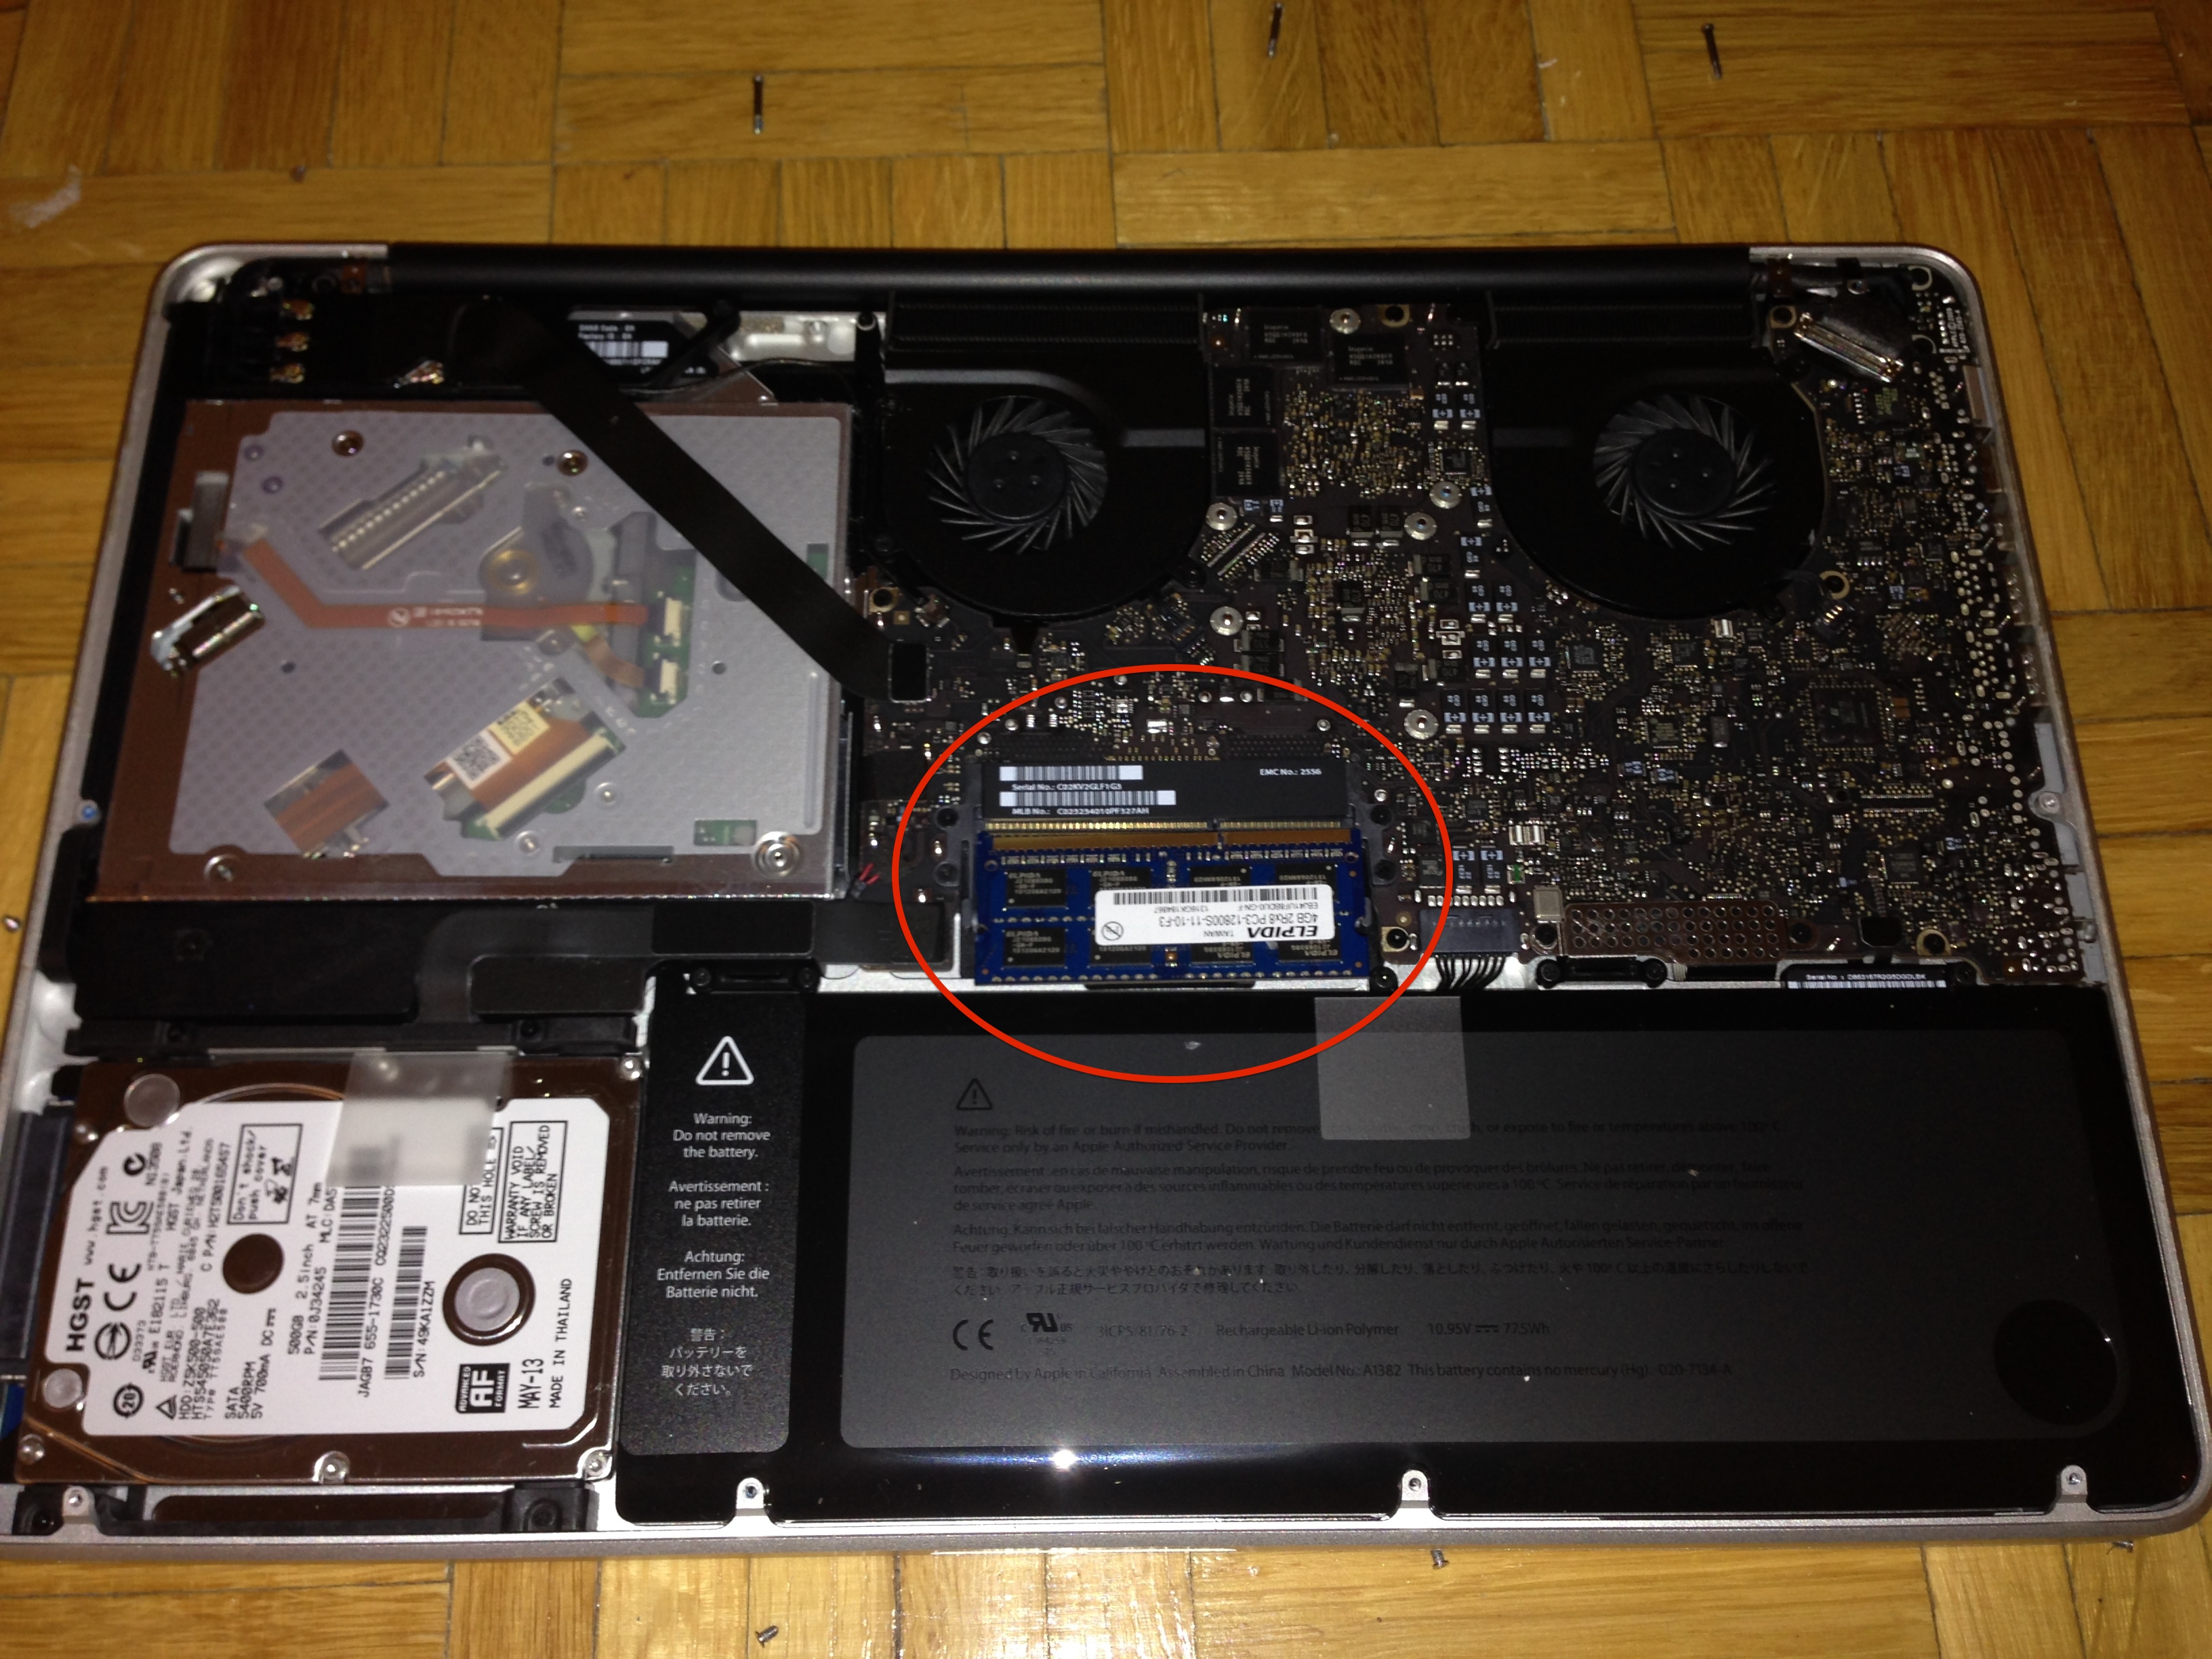
For Laptops and Notebooks
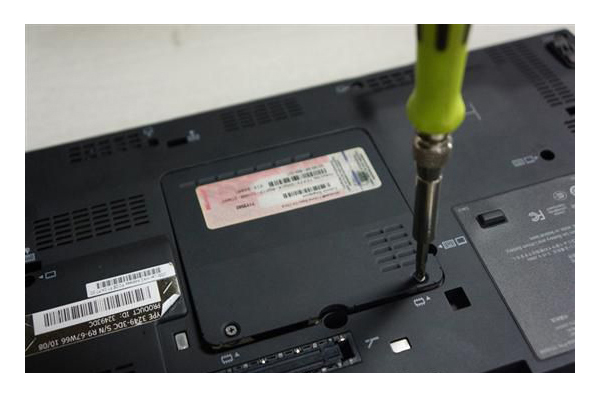
Usually the memory is located on the back of the machine. Some laptops and notebook computers have a quick access panel to the RAM sticks inside it.
It can be quite small:
Or rather bigger than it should be:
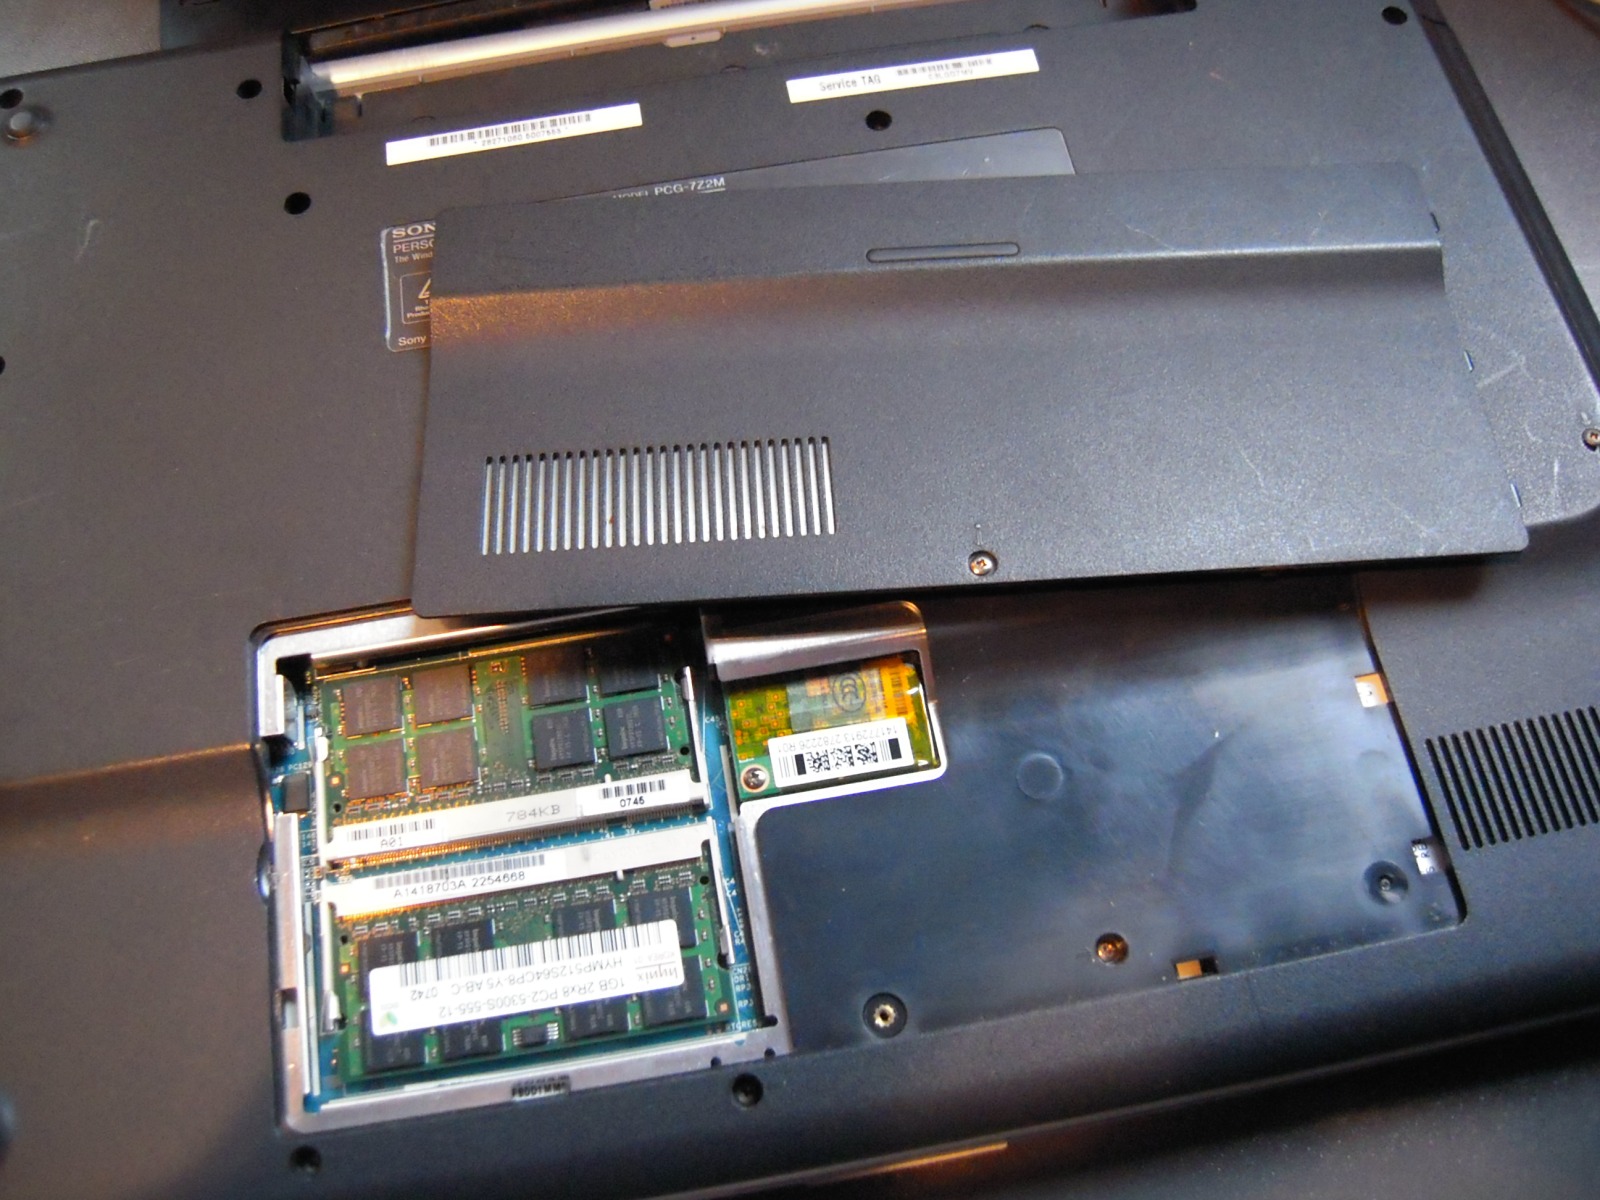
Or you will need to remove the whole back panel in order to gain access to the memory:
All you Need to Do:
- Push the levers on the sides of the RAM module in an outward direction to release the module from the slot. The RAM pops up at an angle. Before removing it, make sure you find the half-circle notches. If you don’t, try pressing the levers outward again.
- Hold the RAM module by its notches and remove it from the slot.
- Put the new module by aligning the notch on the gold edge of the module with the notch in the lower slot.
- Tilt the RAM module and push the memory into the slot.
- Use two fingers with firm, even pressure to push down on the RAM module. There should be a click when you insert the memory correctly.
Note: This method may vary a bit in different laptops and notebooks.
If you feel your system is still slow even after the memory upgrade, your computer might have some malware hiding in it. In this case, you should scan your computer via some anti-malware scanner software.

Spy Hunter scanner will only detect the threat. If you want the threat to be automatically removed, you need to purchase the full version of the anti-malware tool.Find Out More About SpyHunter Anti-Malware Tool / How to Uninstall SpyHunter