
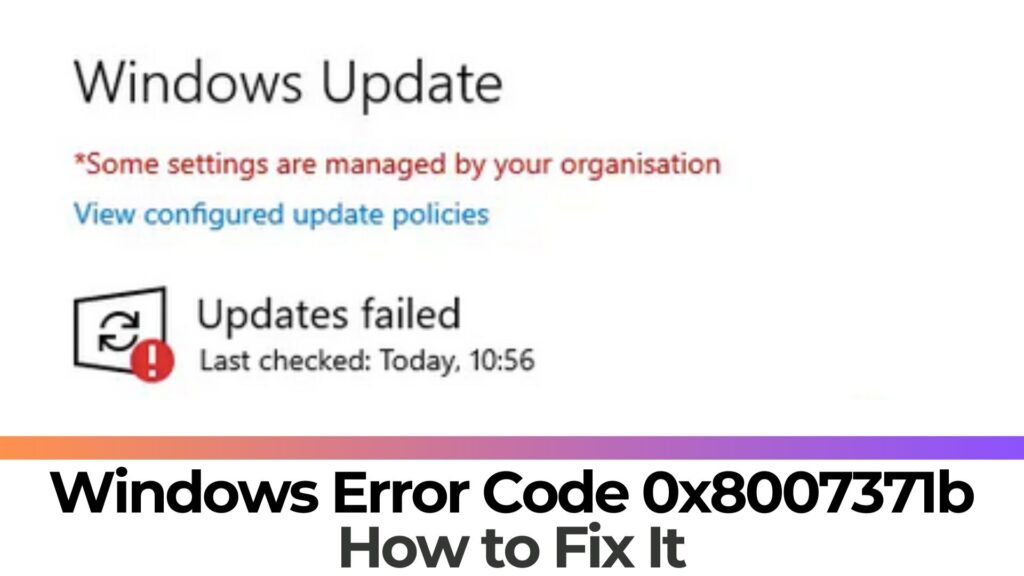
The 0x8007371b error code is a common issue that Windows 11 users may encounter when trying to install updates. This error is typically caused by missing or corrupt Windows Update files. Here’s a detailed guide on how to fix this issue.
What Does Windows Error Code 0x8007371b Mean?
Windows Error Code 0x8007371b is an issue you might face when attempting to install or update Windows. This error can be triggered by a variety of factors such as network connectivity problems, firewall configurations, an outdated version of Windows, or corrupted files. Thankfully, there are straightforward solutions available to tackle this issue. This guide will walk you through the process of resolving Error Code 0x8007371b, enabling you to continue using Windows without any hiccups.
0x8007371b Windows Error Details
| Name | 0x8007371b Windows Error |
| Type | Runtime Error for Windows |
| Fix Tool |
Try this fix to repair your PC from errors and optimize system performance: Download
SpyHunter
|
What is a Runtime Error?
A runtime error refers to an error that surfaces while a program or application is in operation. Such errors can lead to the program crashing or generating incorrect or unexpected outcomes. Runtime errors can be attributed to issues with memory or hardware, erroneous code, or inaccurate user data.
What Triggers Windows Error Code 0x8007371b?
This error can surface on your Windows system due to various reasons. The most common culprits are usually:
- Corrupted or damaged files on the system drive;
- An impending update of the operating system;
- Problems with internet connectivity.
Is Windows Error Code 0x8007371b a Threat?
No, this Error Code is a mere runtime error and is unlikely to pose a threat to your Windows system. However, if the problem is being caused by a virus, it would be prudent to perform a scan on your computer.
Step 1: Utilize the Windows Update Troubleshooter
Windows 11 has an in-built troubleshooter that can automatically detect and resolve most update issues. To use the Windows Update Troubleshooter:
1. Click on the Start button and then select Settings.
2. In the Settings dashboard, select Troubleshoot.
3. Under Troubleshoot, select Other troubleshooters.
4. Now, under the Get up and running section, click on Windows Update and then select Run.
Step 2: Execute the DISM and SFC Commands
The Deployment Image Servicing and Management (DISM) and System File Checker (SFC) are two in-built Windows utilities that can help resolve corrupt or missing system files. To execute these commands:
1. Right-click on the Start button and select Command Prompt (Admin).
2. In the Command Prompt window, enter the following commands and press Enter after each one:
cmd
Dism /online /cleanup-image /ScanHealth
Dism /online /cleanup-image /CheckHealth
Dism /online /cleanup-image /RestoreHealth
3. After executing the DISM commands, enter `sfc /scannow` and press Enter.
Step 3: Purge the Windows Update Cache
At times, the Windows Update cache can cause issues with installing updates. To purge the cache:
1. Press Win + R to open the Run dialog box.
2. Enter services.msc and press Enter to open the Services window.
3. Locate the Windows Update service, right-click on it and select Stop.
4. Open File Explorer and navigate to C:\\Windows\\SoftwareDistribution\\Download.
5. Delete all the files in this folder.
6. Return to the Services window, right-click on the Windows Update service and select Start.
Step 4: Reset the Windows Update Agent
Resetting the Windows Update Agent can also help resolve this issue. To do this, you’ll need to execute a series of commands in the Command Prompt. Here are the commands you need to execute:
cmd
net stop bits
net stop wuauserv
net stop appidsvc
net stop cryptsvc
Del “%ALLUSERSPROFILE%\\Application Data\\Microsoft\\Network\\Downloader\\qmgr*.dat”
Del %windir%\\SoftwareDistribution\\*.* /S /Q
Del %windir%\\system32\\catroot2\\*.* /S /Q
Reset echo y|netsh winsock reset
netsh winhttp reset proxy
net start bits
net start wuauserv
net start appidsvc
net start cryptsvc
Step 5: Uninstall Third-Party Antivirus Software
In some cases, third-party antivirus software can interfere with Windows Update. If you have any third-party antivirus software installed, consider uninstalling it temporarily to see if that resolves the issue.
If none of the above steps work, you may need to perform a repair installation of Windows 11. This process will reinstall Windows 11 without deleting your personal files or installed applications.
Remember, always create a backup of your important files before making major changes to your system. If you continue to experience problems, consider reaching out to Microsoft Support for further assistance.
We hope this guide helps you resolve the Windows Error Code 0x8007371b on your Windows 11 system!
Ventsislav Krastev
Ventsislav is a cybersecurity expert at SensorsTechForum since 2015. He has been researching, covering, helping victims with the latest malware infections plus testing and reviewing software and the newest tech developments. Having graduated Marketing as well, Ventsislav also has passion for learning new shifts and innovations in cybersecurity that become game changers. After studying Value Chain Management, Network Administration and Computer Administration of System Applications, he found his true calling within the cybersecrurity industry and is a strong believer in the education of every user towards online safety and security.
Follow Me: