
You are having issues with your graphics? You cannot run some application you want or have screen tears and glitches? Then you need to find out if you have a graphics driver installed and if you do – to make sure it is the right one and that is installed properly.
Determining What Video Card You Have
Your desktop computer or laptop can run without a graphics driver or with one that is incorrectly installed or not suited for your specific video card model. This can cause a lot of issues to occur, like screen tearing, screen flickers and glitches, some programs not running correctly, unexpected performance from your video card or even a Blue Screen of Death. The first thing to do here is to determine what video card you have inside your machine. This can be a little difficult.
You should try one of the following methods to see that information.
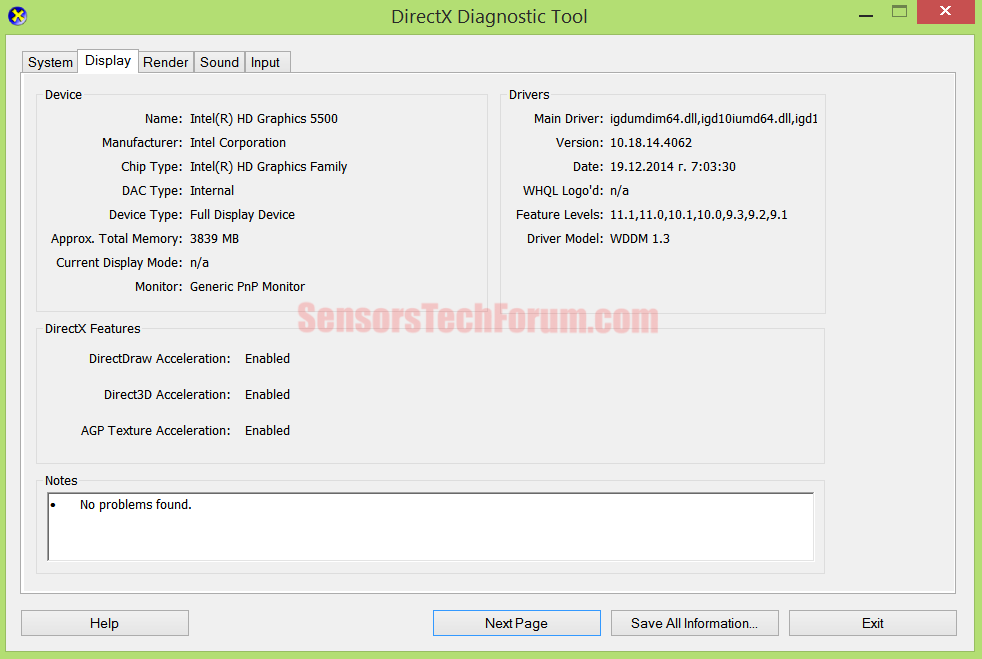
Methods for Windows
You can check information about the video card from there, under the “Display” tab. This method only works with a video driver installed.
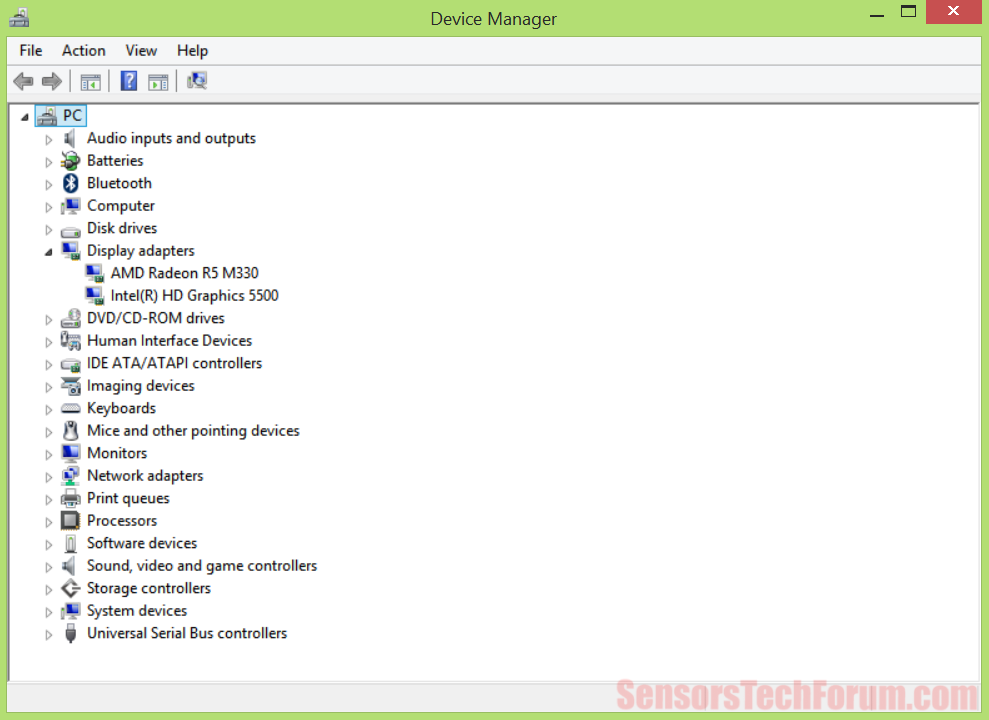
If the driver is not installed, under the menu “Display Adapters” or “Other devices” you should see “Generic VGA” or “Unknown device”. From there, click on the unidentified device, and then go to “Properties” and click “Details”. Search for the long device ID, which should look like this: PCI\VEN_1218&DEV_7142&SUBSYS_0356103C&REV_00, and then Google it. The Vendor IDs for the most popular brands are:
→ 0x1002 ATI / AMD graphics
0x10DE Nvidia
0x163C intel
0x102B Matrox
0x10A9 Silicon Graphics
0x5333 S3 Graphics Co., Ltd
You can use DeviceHunt to search for vendors by their ID number.
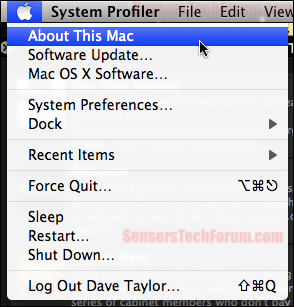
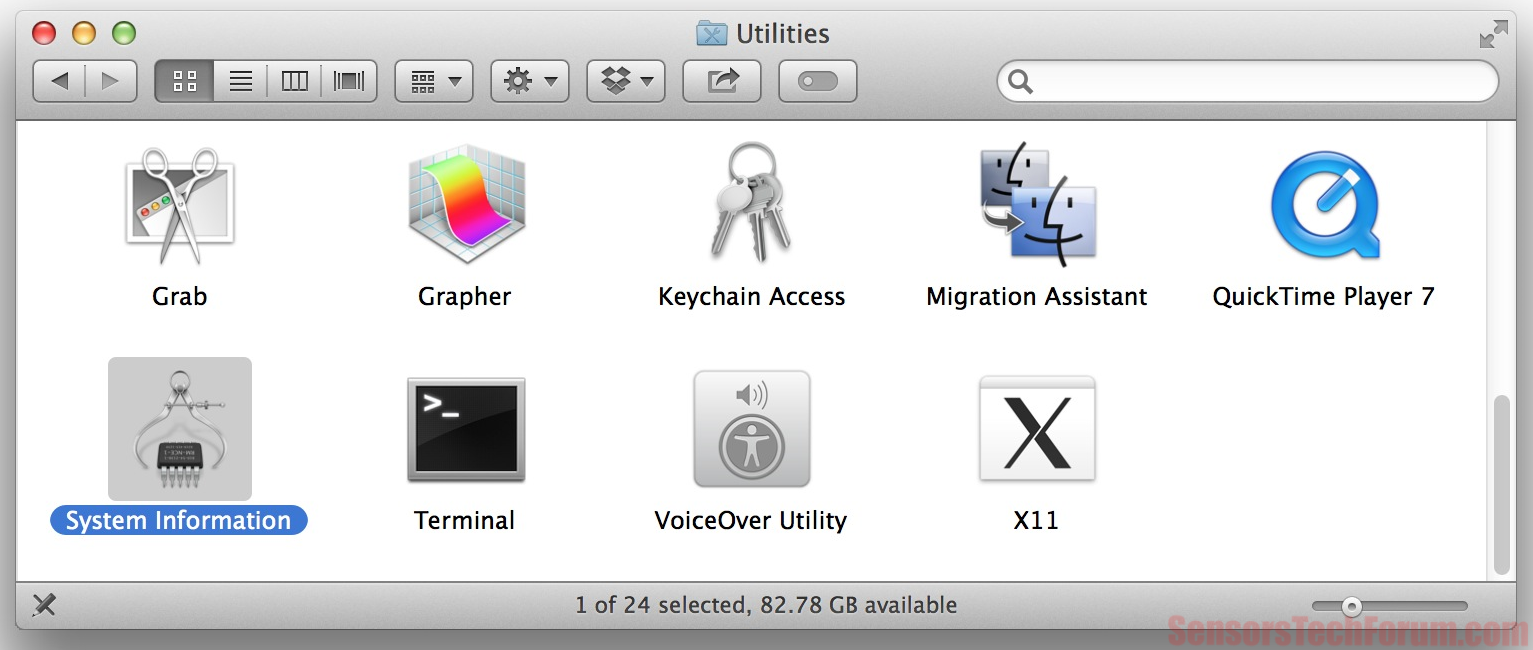
Methods for Mac OS X
Methods for Linux
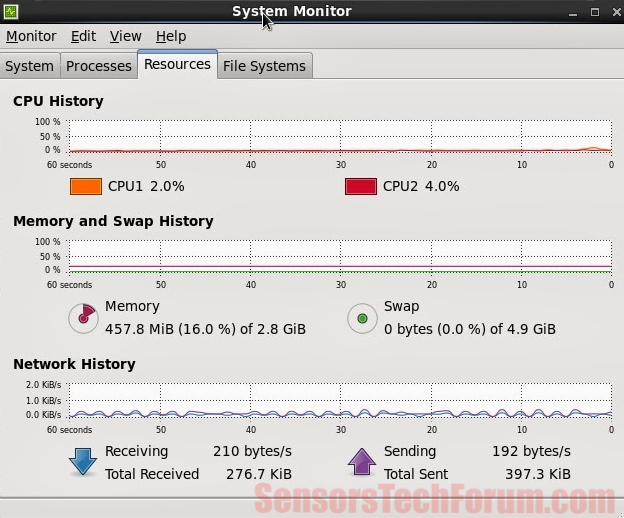
Method #1 – Via the graphical system monitor – most Linux distributions have a system monitor program. In Ubuntu, that is called “System Monitor”. Go to “System”, then click on “Preferences” and find “Hardware Information”. After that, search for a Graphics or Display section.
→$ sudo apt-get install hardinfo
Once the installation completes, run the process by typing
→$ hardinfo
Expand the “Devices” category and select “PCI Devices”. Your video card information will be found in the “VGA compatible controller” entry.
Method #3 – Via the command line hardware monitor – you open the Terminal and type the following command,
→$ sudo update-pciids
thus updating the pci.ids file in your system and showing very accurate information about your hardware. Then type the command
→$ lspci -v | less
to get information as text in the Terminal. Your graphics card will be listed next to the “VGA compatible controller” entry.
Determining What Video Card Driver You Need
Once you find out what brand your video card is, you should also see what the Manufacturer is. Usually, there are many manufacturers of the same model video card. You go to the manufacturer’s official site and download the latest version from there. The latest version general drivers from the brand’s official site might not work so well if the manufacturer is different. Let us say you have an nVidia video card but it is manufactured by EVGA – you should download the latest driver found in EVGA’s site in this case. You also should check if you have a 32-bit or 64-bit OS, in order to download the right version of the driver, accordingly.
Removing Old Video Card Drivers and Leftovers
If you are installing a graphics driver on your machine for the first time or after a fresh install of an operating system, then you should have no problems with that.
If you are trying to update your previous driver with a new version of it, roll it back to a previous version, try out another, specific driver, or are changing video cards, then a simple uninstall of the old drivers will be insufficient. Removing the old driver and its leftovers is the most important task, before making a clean installation of the new one.
Back in the day, to fully resolve issues with a new driver installing properly, you had to remove old driver leftovers, manually. Those leftovers being old files of the driver, previous versions of the driver saved on the system, many registry entries. Also disabling a group policy in Windows, which auto-installs the last driver used.
Now, all these headaches can be avoided by using a simple tool – Display Driver Uninstaller (DDU). It currently supports only versions of the Windows OS (from Windows XP to Windows 10), but Microsoft’s OS has been very problematic compared to other operating systems. The DDU program removes nVidia, AMD, Intel and SurfacePro 3 drivers and the above-mentioned leftovers. It also creates a log of some of the registry files it removes. The program runs in Safe Mode to avoid as many problems that can occur as possible, yet it is still recommended for users to make a system restore point and registry backup, to be on the safe side.
Performing a Clean and Proper Installation
Installing new drivers, be it with the tool mentioned above or not, should always happen by removing the old driver, not just updating over it, and also launching the new installation from Safe Mode. If the new driver has an option “Perform a clean installation” or something similar – it is always a good idea to enable it. Always check what else you might or not need from the setup of a graphics driver. If your Display and/or Video Card Adapter do not support 3D functionality, you should disable those options if given such a choice in the installer.
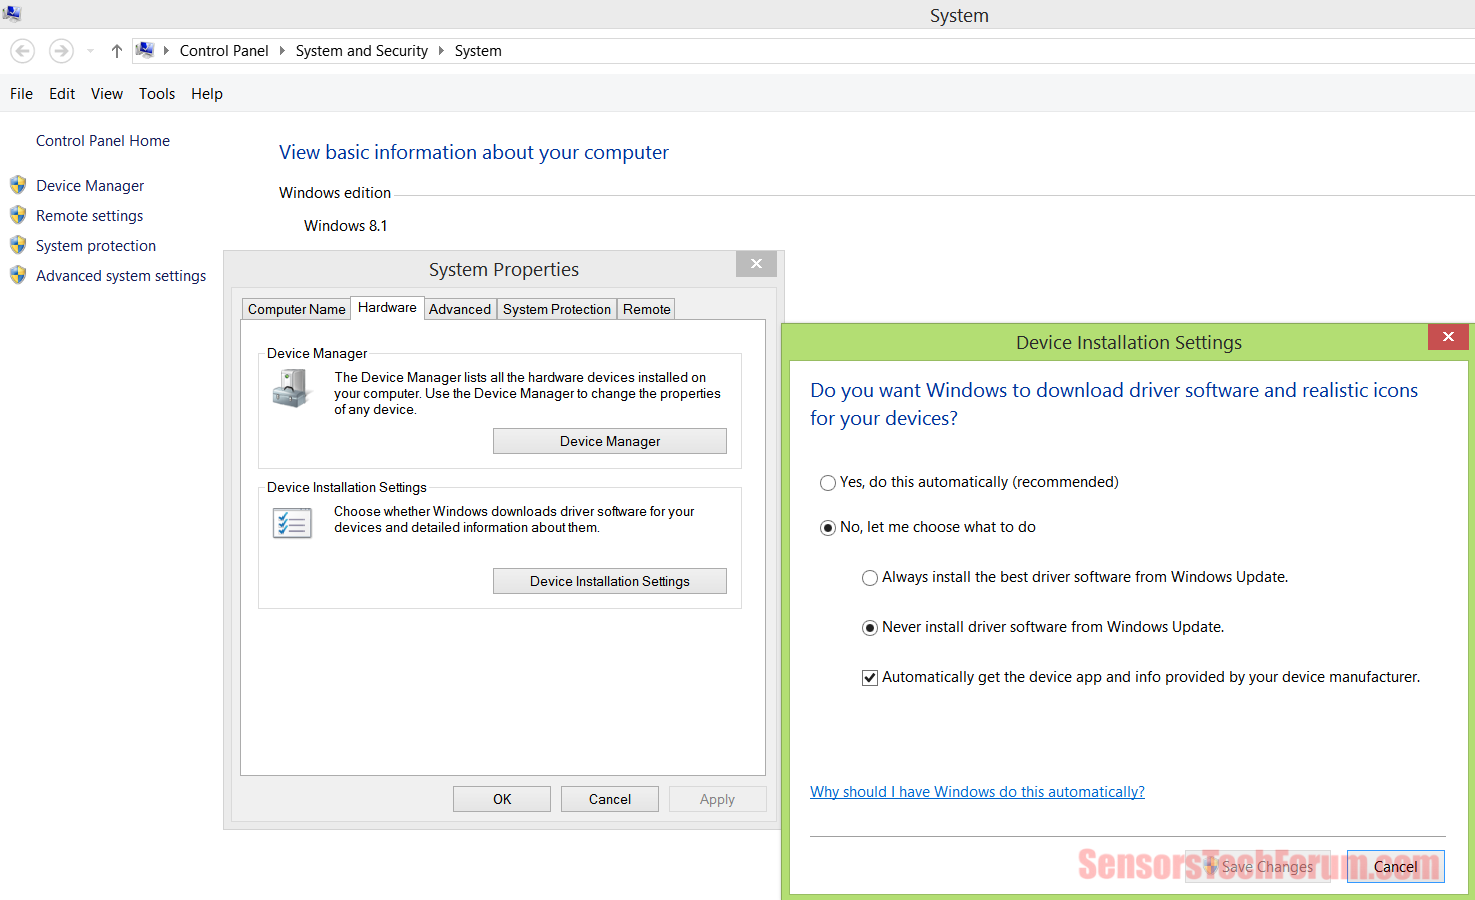
Another thing to note for Windows users – DO NOT install automatic updates of graphic drivers from Windows Update, as it can mess everything up. You can check that by navigating to “System and Security”, then going to the “System” menu. Click on “Advanced system settings”on the left panel. Then, under the “Hardware” tab, click “Device Installation Settings”, and select the “No, let me choose what to do” option. Select “Never install driver software from Windows Update.”
After installing your new video card driver and rebooting your computer, you should not experience any issues regarding your graphics and display.
Join our forum discussion to share your experience of coping with drivers.
If you still have issues or experience strange behavior, maybe you have some unwanted, malicious program interfering with your drivers. In that case, it is advised to scan your computer via some anti-malware scanner software.

Spy Hunter scanner will only detect the threat. If you want the threat to be automatically removed, you need to purchase the full version of the anti-malware tool.Find Out More About SpyHunter Anti-Malware Tool / How to Uninstall SpyHunter