
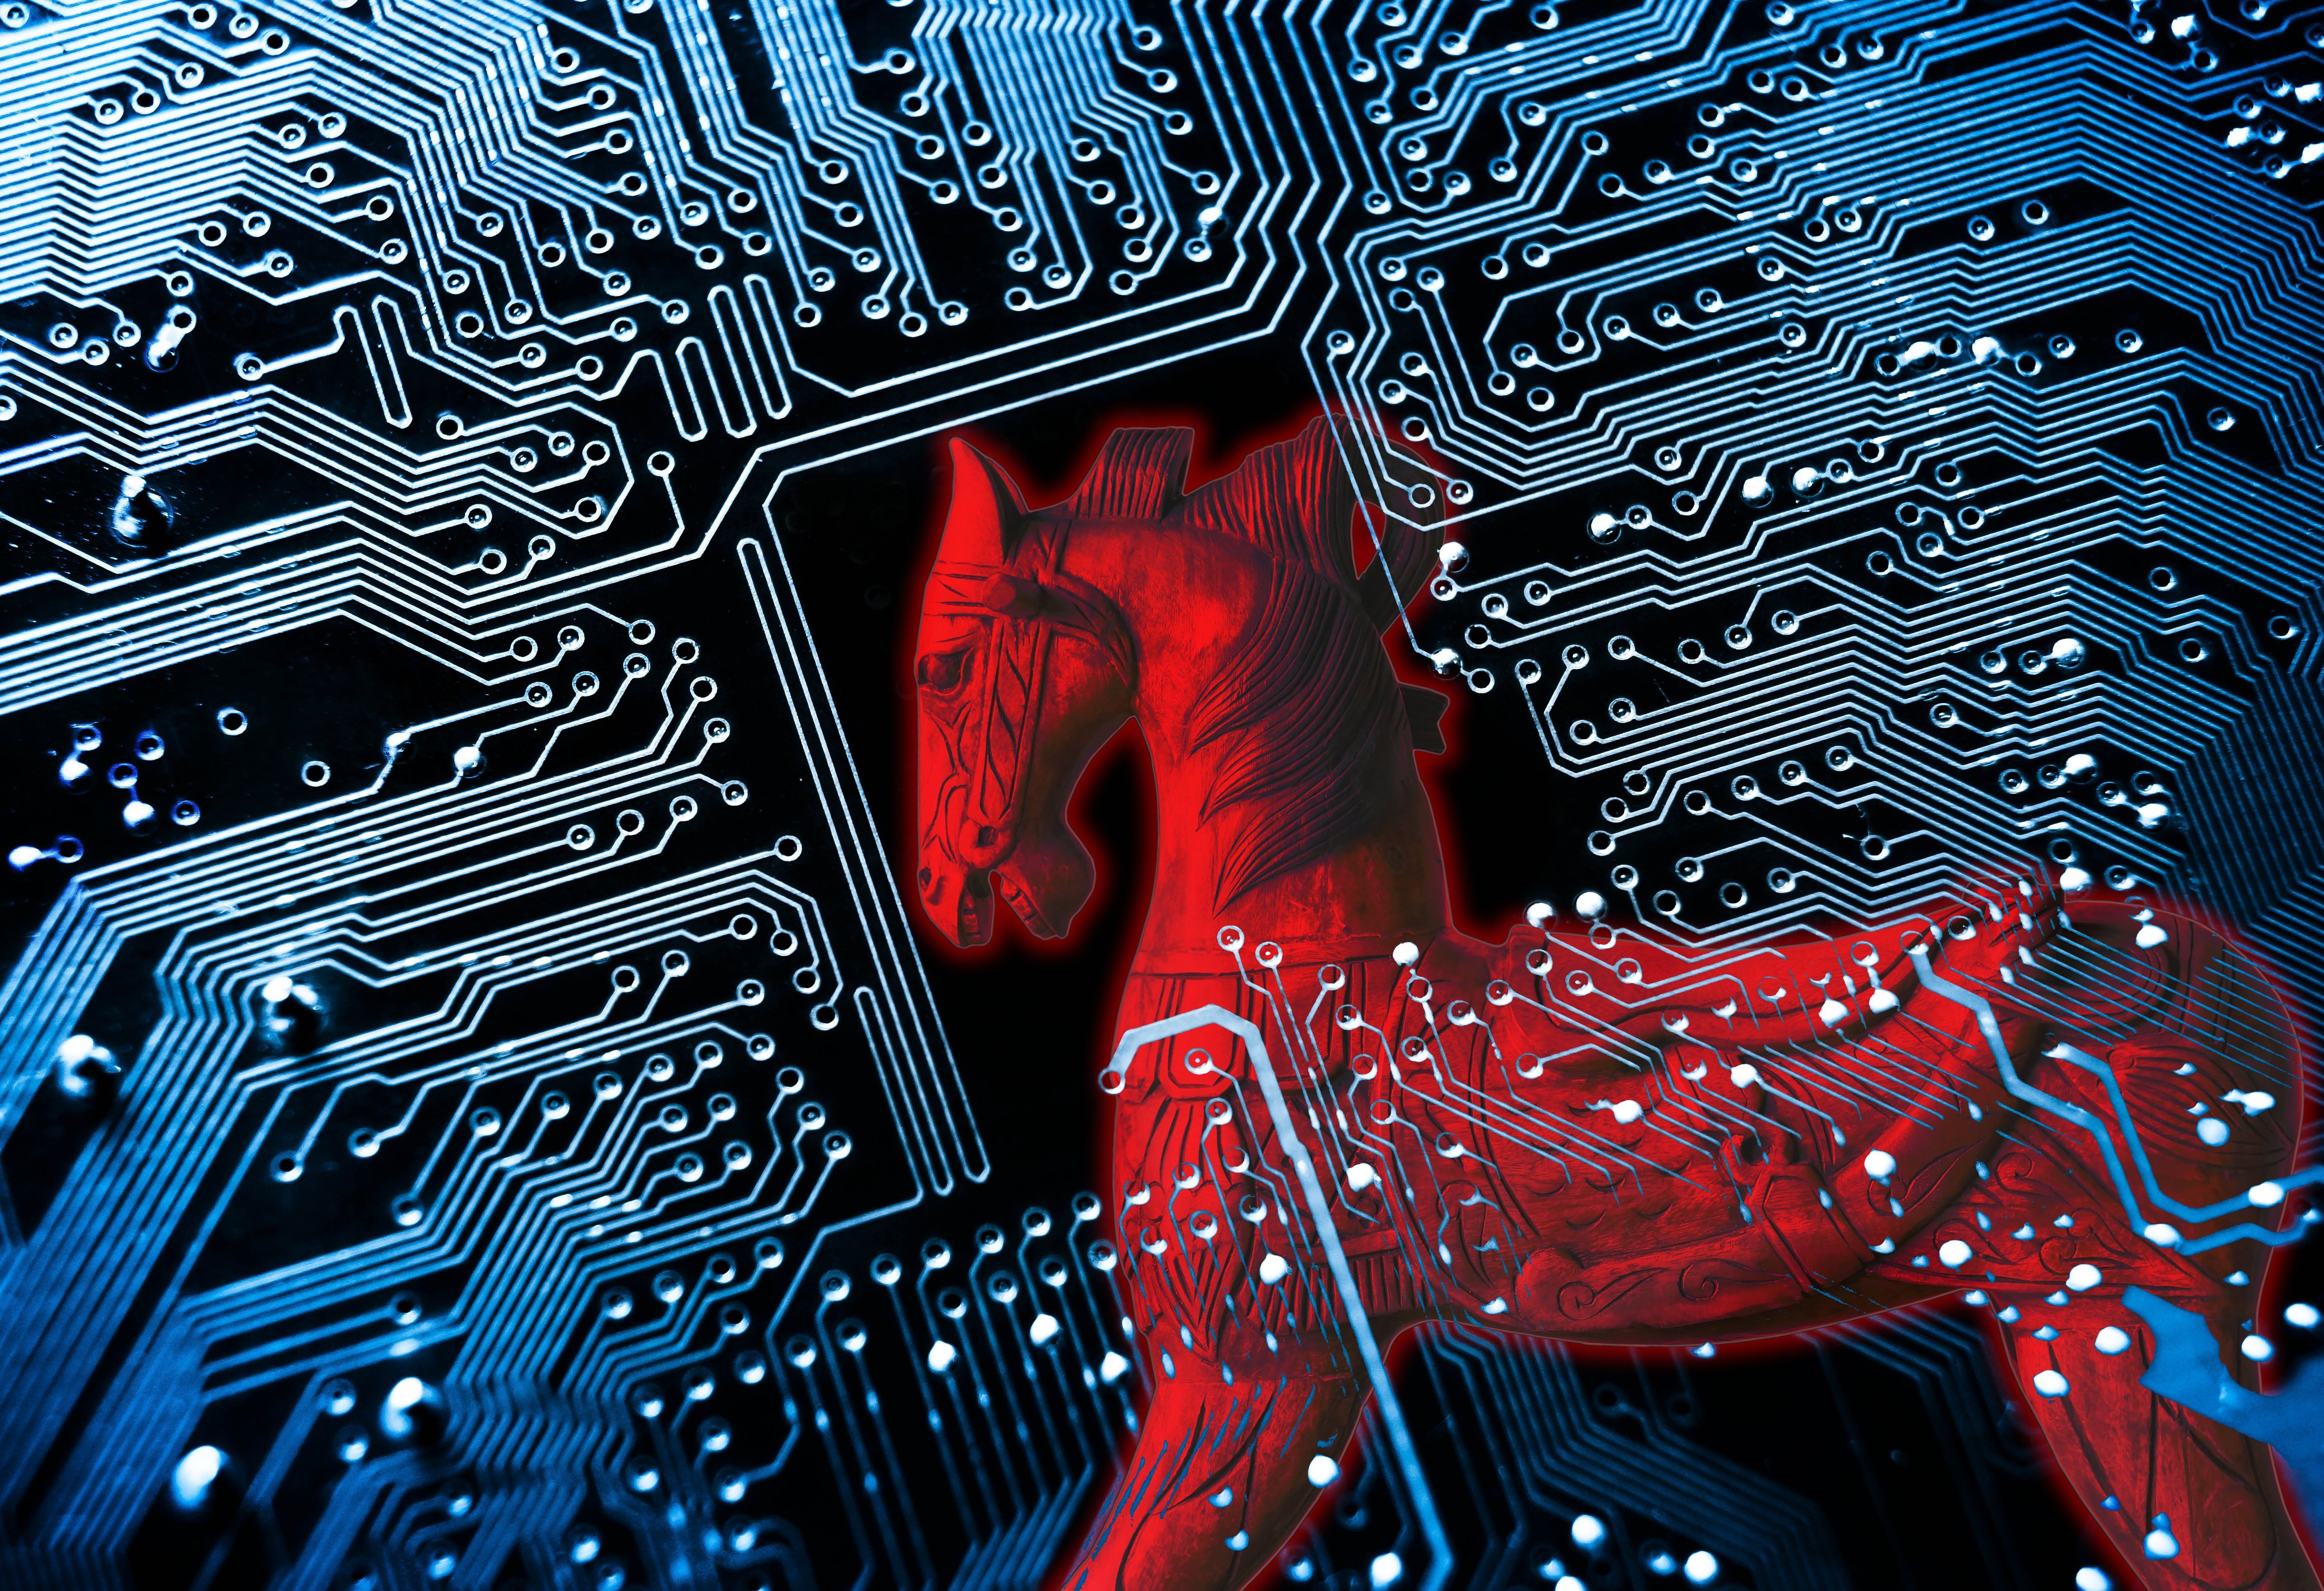
CryptoLocker has already become one of the historical ransomware cases that put thousands of users through hell. The infamous crypto virus infected users and encrypted their files, and demanded payment in exchange for the files’ decryption. The infection was mostly spread via a Trojan downloader or a worm. If you believe you have been infected with CryptoLocker, keep in mind that it’s more likely you were hit by one of CryptoLocker’s copycats or one of its later versions. And never forget that paying the ransom is the worst possible idea. You don’t want to be financing cyber criminals to continue their malicious endeavors, right?
Due to its success in high infection rate, CryptoLocker’s name has been “exploited” by many ransomware-as-a-service renters.

CryptoLocker Copycats
CryptoLocker Copycat Number One: PClock
Researchers named the ‘virus’ PClock because of a project name located inside the malware executable. Back in January 2015, the Cryptolocker copycat ‘s distribution technique was not yet unveiled. Most likely, it was distributed via other malware pieces that infiltrate the system in a stealthy manner – Trojans and backdoors which can grant remote access any time they wish.
Once the encryption process was completed and the files with particular extensions were affected, the victim would be presented with a ransom screen and a 72-hour countdown.
The types of files and their extensions encrypted by PClock we
re:
3fr, .accdb, .ai, .arw, .bay, .cdr, .cer, .cr2, .crt, .crw, .dbf, .dcr, .der, .dng, .doc, .docm, .docx, .dwg, .dxf, .dxg, .eps, .erf, .indd, .jpe, .jpg, .kdc,.mdb, .mdf, .mef, .mrw, .nef, .nrw, .odb, .odm, .odp, .ods, .odt, .orf, .p12, .p7b, .p7c, .pdd, .pef, .pem, .pfx, .ppt, .pptm, .pptx, .psd, .pst, .ptx, .r3d,.raf, .raw, .rtf, .rw2, .rwl, .srf, .srw, .wb2, .wpd, .wps, .xlk, .xls, .xlsb, .xlsm, .xlsx
Learn More about PClock Ransomware
CryptoLocker Copycat Number Two: CryptoDefense Ransomware
Similar to CryptoLocker, CryptoDefense was distributed primarily via spam email campaigns. It pretended to use the RSA-2048 encryption algorithm, claiming that once encrypted, the user’s files would no longer be accessible. However, that claim later turned out to be untrue.
The main difference between the two ransomware pieces is that CryptoLocker generated the RSA encryption and decryption keys on the Command & Control server. CryptoDefense employed the Windows CryptoAPI application. Windows CryptoAPI, however, is ‘equipped’ with several aberrations that, obviously, were not known by CryptoDefense’s creators – it creates local copies of the RSA keys on the victim’s compute. Hence, the key to decrypt the encrypted files was on the affected system.
CryptoLocker Copycat Number Three: TorrentLocker
The creators of this ransomware family have been seen to impersonate CryptoLocker and apply its name on the ransom message and the payment website.
TorrentLocker is also known as Win32/Filecoder.DI. It got its name from a blog post by iSIGHT Partners published in the summer of 2014.
Typically, TorrentLocker encrypted the victim’s files via AES-256 encryption algorithm and requested a payment in Bitcoin. Average payment was up to 4.081Bitcoins (approximately US$1500), as reported by researchers at ESET.
In 2014, the malicious coders behind TorrentLocker generated about $300,000 in ransom payments. Researchers suspected that TorrentLocker was from the same family as Hesperbot banking malware. Targeted countries include Australia, Austria, Canada, Czech Republic, Italy, Ireland, France, Germany, Netherlands, New Zealand, Spain, Turkey, United Kingdom.
Learn More about TorrentLocker
CryptoLocker Copycat Number Four: Crypt0l0cker
Crypt0L0cker attacks were registered in the spring of 2015. That is when security analysts revealed that Crypt0L0cker is in fact a new version of the well-known TorrentLocker. However, Crypt0 appeared to be Geo-Locked and as such, wouldn’t attack US based machines. As with many other ransomware cases, Crypt0 was mainly distributed in spam email campaigns, pretending to be government notices.
The communication methods used by Crypt0 were quite similar to TorrentLocker’s. When installed on victim’s system, Crypt0L0cker would connect to a Command & Control server and transmit the victim’s unique identifier and a campaign ID.
Crypt0L0cker would then scan all hard drive letters and encrypt certain files, while others are excluded. Encrypted files would have an ‘.encrypted’ extension at the end.
Learn More about ‘.encrypted’ Files
CryptoLocker Ransomware Family: Versions
Besides its copycats, CryptoLocker operators have released different versions of the ransomware.
Cryptolocker.AB
Cryptolocker.AB is a Ransomware Trojan horse of the Cryptolocker family which was active in late 2015. It searched for files with many different extensions, encrypted them with a “.crinf” extension, then asked for a huge ransom for decryption. It could delete Shadow Volume Copies, disable Windows Startup Repair, and end important system processes.
There are a number of ways you could get infected with Trojans such as the Cryptolocker.AB ransomware. The most common distribution method was known to be through malicious email attachments and spam emails, similarly to many ransomware pieces out there. Keep in mind that there are cases, where an email itself also contains malicious code and upon opening the email, your PC immediately gets infected, even without executing the attachment inside.
Learn More about CryptoLocker.AB
CryptoLocker 2.0
CryptoLocker 2.0 appeared like the second version of CryptoLocker. Despite its name representing the ransomware as the second release of CryptoLocker, the differences in the code (when compared to the original piece) indicated it was a copycat. Some of the differences showing that it was indeed a pretender not a real version were the language the threat was programmed in (original in C++, version 2 in C#) and the cryptocoin wallet miner called BFGMiner (found in the second “release”). Also, the employment of a different encryption was another indicator of a copycat.
CryptoLocker V3
This version was seen active in early 2016.
The ransomware created different modules that served various purposes. It could also tamper with the Windows Registry Editor to run its modules every time Windows starts. Version 3 of Cryptolocker could be identified by the .crypted file extension on the affected user’s files.
Cyber criminals masked the malicious payload by obfuscating its files via special software or archiving it in a .zip, .rar or other archived formats so that it did not get blocked by the email website.
Users should be very careful and always perform a scan of the files they download. It is also recommended to double check web-links that are shared to some degree because checking any link you open would be frustrating. This is why it is good to have a browser extension that blocks malicious links from opening.
Learn More about Cryptolocker V3

Security Tips against Ransomware
Tip #1: If you see that a ransomware is in the process of encrypting your files, shutdown your PC as quickly as possible from the Power button.
Tip #2: Don’t forget to BACKUP! Do regular backups of your important files! It is the best prevention method.
Tip#3: Do NOT format! In case you got your files decrypted, formatting your drives is not a good idea. There are cases where data recovery tools can recover some of the files. And there are specialists who deal with data recovery who could extract deleted files.
For more tips and useful ransomware information, visit our specialized forum topic!
If you haven’t backed up your data yet, get to know some of the best data backup software:
You should also consider installing a specific anti-ransomware solution. Also, don’t underestimate the importance of the mandatory anti-malware program!
Spy Hunter scanner will only detect the threat. If you want the threat to be automatically removed, you need to purchase the full version of the anti-malware tool.Find Out More About SpyHunter Anti-Malware Tool / How to Uninstall SpyHunter
Milena Dimitrova
An inspired writer and content manager who has been with SensorsTechForum since the project started. A professional with 10+ years of experience in creating engaging content. Focused on user privacy and malware development, she strongly believes in a world where cybersecurity plays a central role. If common sense makes no sense, she will be there to take notes. Those notes may later turn into articles! Follow Milena @Milenyim
Follow Me: