
 This article aims to help you identify what is taskeng.exe black screen process and how to remove it from your computer effectively and restore all the changes performed by this unwanted process on your PC.
A lot of complaints have arisen recently regarding a suspicious process running in the Windows Task Manager, going by the name Taskeng.exe. It is also very similar to the legitimate Windows Task Scheduler Engine – a Windows program to set a task to run automatically at specified moments or times. However, it is also a good target for malware and other suspicious software writers. Different viruses have been detected to use the same process name to evade anti-malware detection. The usual behavior of the process does not include any windows popping up on the desktop or high amount of CPU usage. This is why experts advise scanning your computer with an anti-malware program in case you detect any out of the ordinary activities connected with the process.

Threat Summary
| Name | taskeng.exe |
| Type | Suspicious process associated with malware. |
| Short Description | Responsible for permission obtaining on windows, the possible downloading other malware on the computer and disable PC protection features. Taskeng.exe is associated with numerous suspicious programs, such as RocketTab and Trovi as well as many apps developed by Conduit. |
| Symptoms | Runs taskeng.exe with a different file size and from a different location than the original System32 folder in Windows. May use up higher CPU percentage than the usual. Displays a black screen error with error pop-ups. Slows down the computer. May display multiple advertisements. |
| Distribution Method | Via potentially unwanted programs, bundling. Via modified installers of dubious programs. |
| Detection Tool |
See If Your System Has Been Affected by malware
Download
Malware Removal Tool
|
| User Experience | Join Our Forum to Discuss taskeng.exe. |

Taskeng.exe Black Screen Error – Update May 2017
The Taskeng.exe error has been associated with numerous errors on computers, including an error associated with a browser hijacker, known as MyWebSearch. This type of potentially unwanted software is ran by the Trovi Download Manager – an organization notorious for creating ad-supported programs that slow down your computer and cause suspicious behavior on it. The programs associated with the Trovi are also associated with one of the biggest companies, creating such suspicious applications, known as Conduit.
Once the application is on your computer, one way or another it may immediately attack the Windows Run and RunOnce keys. Reports by both victims and security experts have indicated that there are registry values in those sub-keys of the Windows Registry errors which are set to run taskeng.exe error on Windows start up. The keys in which the suspicious values may be created have the following locations:
HKEY_CURRENT_USER\Software\Microsoft\Windows\CurrentVersion\Run
HKEY_LOCAL_MACHINE\Software\Microsoft\Windows\CurrentVersion\RunOnce
HKEY_CURRENT_USER\Software\Microsoft\Windows\CurrentVersion\RunOnce
Taskeng.exe error is a process that may be associated with multiple adware applications that display pop-ups and other advertis, but it’ primary purpose is to remain silent on your computer. Another one of the associated software with it is called RocketTab – yet another dubious app that aims to get victims to click on suspcious ads and may collect information. The only symptoms that give taskeng.exe error it away are a pop-up or a black screen error message that looks somewhat like the following:
Other activities by taskeng.exe error have been reported on forums to be:
- Heavily modifying Windows Registry Keys by adding custom values.
- Obtaining administrative permissions.
- Gathering information or keeping active connection with a third-party host.
- Slowing down your computer by taking up system resources.
- Displaying different types of advertisements despite you having ad-blocking software installed.
Keep reading this article to learn how to remove this suspicious process from your computer and revert all of the modified settings by it back to normal state.

Taskeng.exe Virus – How Was I Infected?
In case you see a weird black command prompt window that starts and closes on system startup with the name taskeng.exe error or the process uses up unusually high percentage of your CPU to run, you may have been infected with malware.
One way to get infected is by clicking on or being redirected to malicious web links that may have been from online advertisements on third-party sites or administered by unwanted programs (PUPs) on your computer. Some websites that contain malicious code perform a drive-by download on your computer and insert the malware directly in it without any permissions what so ever.
However, there is also the possibility you may have downloaded malware disguised as a java or flash player update or any other software, believing it is legitimate. Sometimes malware hides on downloader programs for other software. One example is if you are looking for a particular video to download online and instead you have downloaded a file that says something like ‘video_downloader.exe’ that may, in fact, be the malware. This is why experts always advise not to be in a rush when you are looking for something online and always to check the sources. In case you cannot identify a malicious site, it will help to have an online security extension in your browser, like Virus Total or Avast, for example.
Another way to become a victim of this virus is via social media. A lot of social media bots spam fake status updates from your friends’ names(in case they are infected) or directly send out messages to users.
More to it than this virus may be executed as a result of a man in the middle attack (MITM) directly on your computer in case other users had access to it.
The most often reported cases of virus infections, however are the ones with documents, mostly Microsoft Office ones that are combined with the malware in them. They come in spam or spoof mail attachments that rope the user into opening the file. Fortunately, a good way to prevent this is to use an email program, such as Microsoft Outlook or Mozilla Thunderbird on your computer that filters out spam mail.

More About the Taskeng.exe Virus
As mentioned before, malware creators prefer processes that are familiar to Windows to make their malware seem legitimate. Taskeng.exe error is just one of the processes that are used by the following malware infections:
→ Worm:Win32/Silly_P2P.H(Detected by Microsoft)
VirTool:Win32/Injector.gen!AD(Detected by Microsoft)
WORM_IRCBOT.TX(Detected by TrendMicro)
How to Detect If taskeng.exe Error Is a Virus?
Originally the process is located in C:\Windows\System32 folder and it is critical to the OS. It is reported to be minor problem-causing. The size of the original file depends on your OS. For Windows XP, se7en and 8 it is 192 KB or 166,400 bytes. It is not a program that you are meant to see anywhere on your PC and Microsoft developed it. According to file.net you should make sure to observe these symptoms that reveal it as non-genuine:
- A location other than in the System32 folder.
- File sizes of 55KB, 13KB, 433KB, 705KB, 532KB or other than the above mentioned.
- No description of the process.
- Loaded on startup
Taskeng.exe Error Virus – How to Fully Remove It from Your PC
To completely be rid of this malicious threat in case you have identified it, make sure you isolate it from your PC firstly. This can happen by stopping any internet connection, stopping the process from Windows Task Manager and for best results, scanning your PC with anti-malware program. It is recommended to boot into Safe Mode to prevent all third-party applications from running and then scan the computer. You can do this by following the instructions below. Another and more effective method that is preferred by malware analysts for the removal is to use an anti-malware tool to directly remove taskeng.exe error automatically and swiftly.
Manually delete taskeng.exe from Windows and your browser
Note! Substantial notification about the taskeng.exe threat: Manual removal of taskeng.exe requires interference with system files and registries. Thus, it can cause damage to your PC. Even if your computer skills are not at a professional level, don’t worry. You can do the removal yourself just in 5 minutes, using a malware removal tool.
Remove or Uninstall taskeng.exe in Windows.
Step 1: Remove/Uninstall taskeng.exe in Windows
Here is a method in few easy steps to remove that program. No matter if you are using Windows 8, 7, Vista or XP, those steps will get the job done. Dragging the program or its folder to the recycle bin can be a very bad decision. If you do that, bits and pieces of the program get left behind, and that can lead to unstable work of your PC, mistakes with the file type associations and other unpleasant activities. The proper way to get a program off your computer is to Uninstall it. To do that:

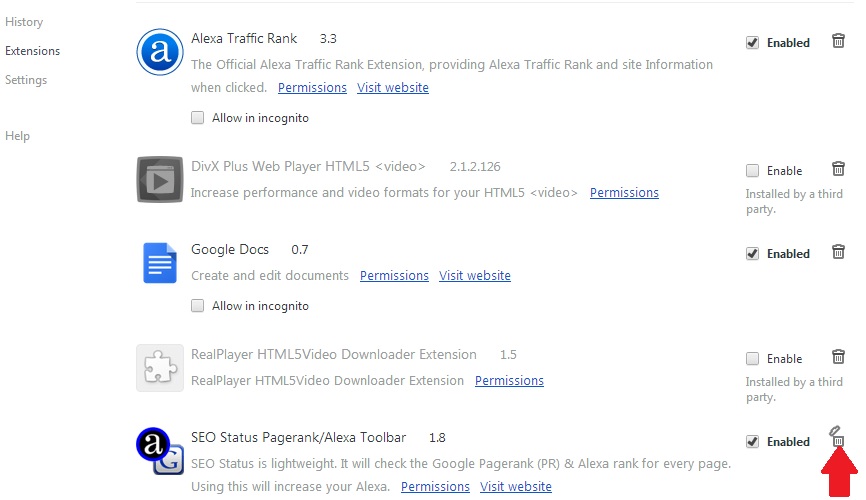
Select the program that you want to remove, and press “Uninstall” (fig.3).
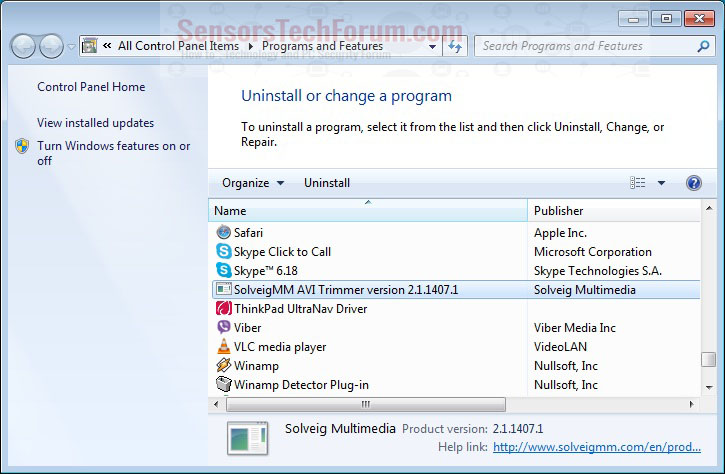
Follow the instructions above and you will successfully uninstall taskeng.exe.
Remove taskeng.exe from Your Browser.
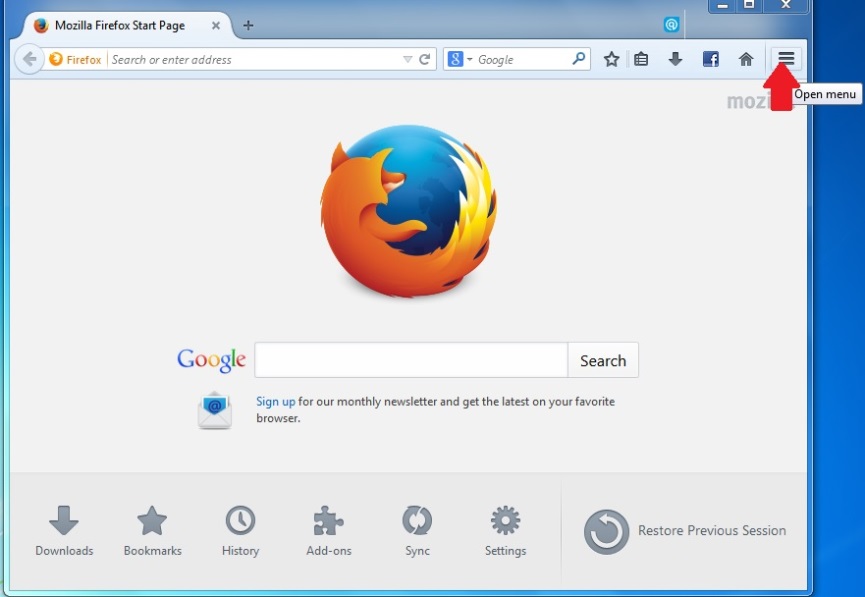
Select the “Add-ons” icon from the menu

Select taskeng.exe and click “Remove“

After taskeng.exe is removed, restart Mozilla Firefox by closing it from the red “X” in the top right corner and start it again.

Select taskeng.exe to remove, and then click ‘Disable’. A pop-up window will appear to inform you that you are about to disable the selected toolbar, and some additional toolbars might be disabled as well. Leave all the boxes checked, and click ‘Disable’.
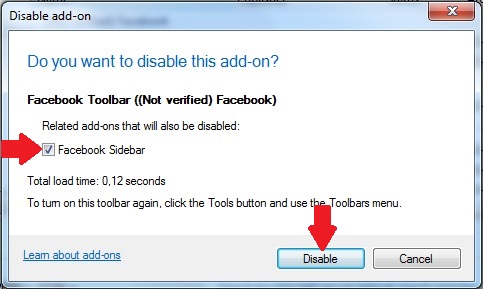
After taskeng.exe has been removed, restart Internet Explorer by closing it from the red ‘X’ in the top right corner and start it again.
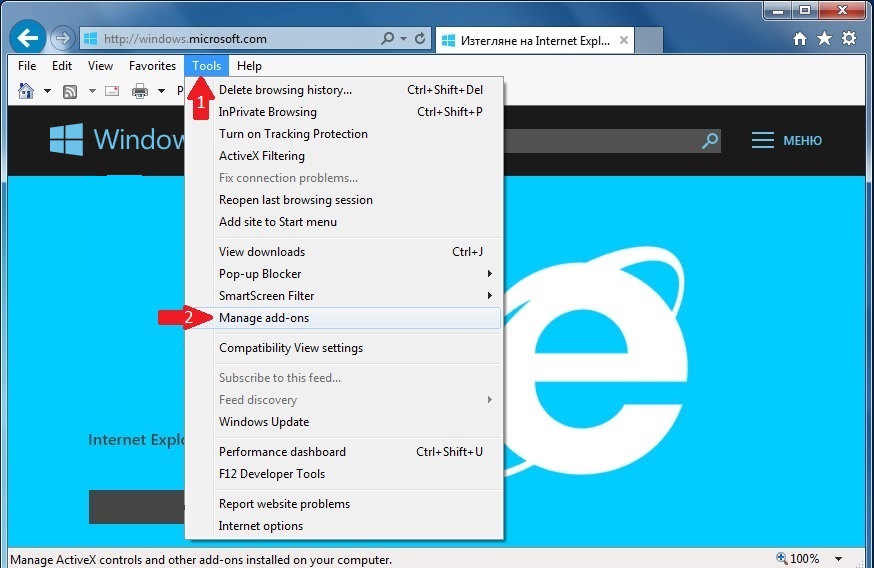
Open the drop menu by clicking on the sprocket icon in the top right corner.
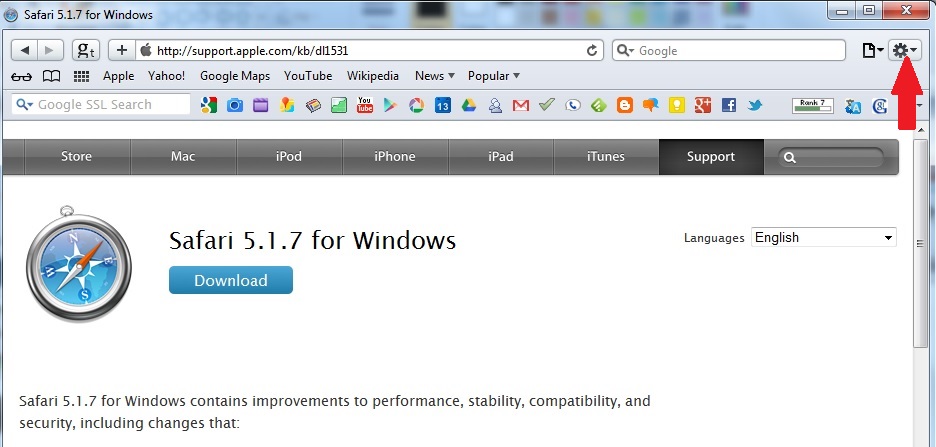
From the drop menu select ‘Preferences’
In the new window select ‘Extensions’
Click once on taskeng.exe
Click ‘Uninstall’
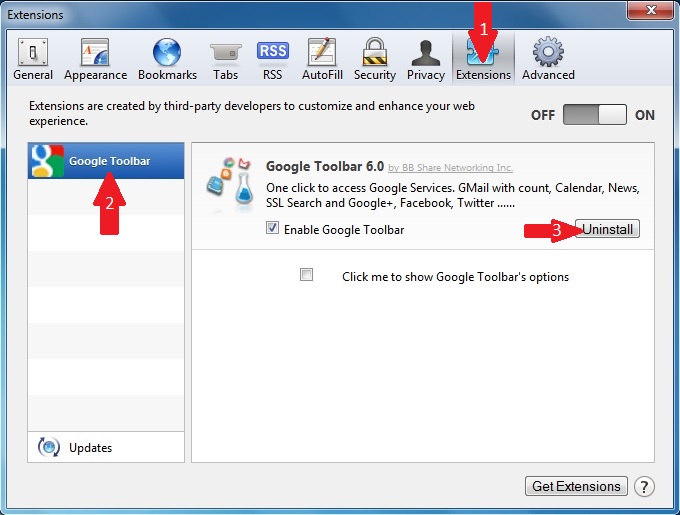
A pop-up window will appear asking for confirmation to uninstall taskeng.exe. Select ‘Uninstall’ again, and the taskeng.exe will be removed.
Automatically remove taskeng.exe by downloading an advanced anti-malware program
Remove taskeng.exe with SpyHunter Anti-Malware Tool
 1. Install SpyHunter to scan for and remove taskeng.exe.2. Scan with SpyHunter to Detect and Remove taskeng.exe.
Step 2: Guide yourself by the download instructions provided for each browser.
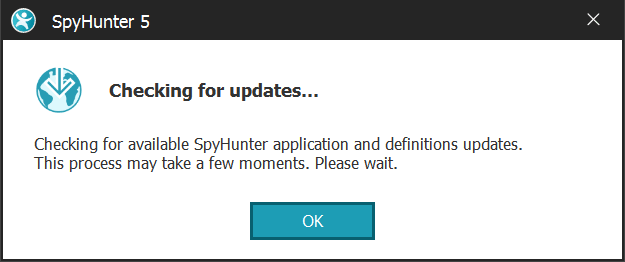
Step 3: After you have installed SpyHunter, wait for it to automatically update.

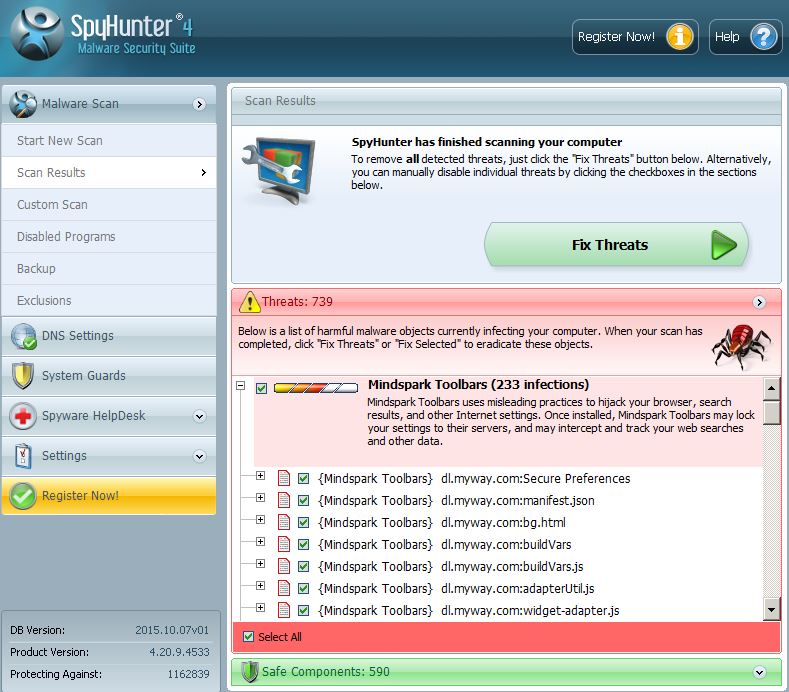
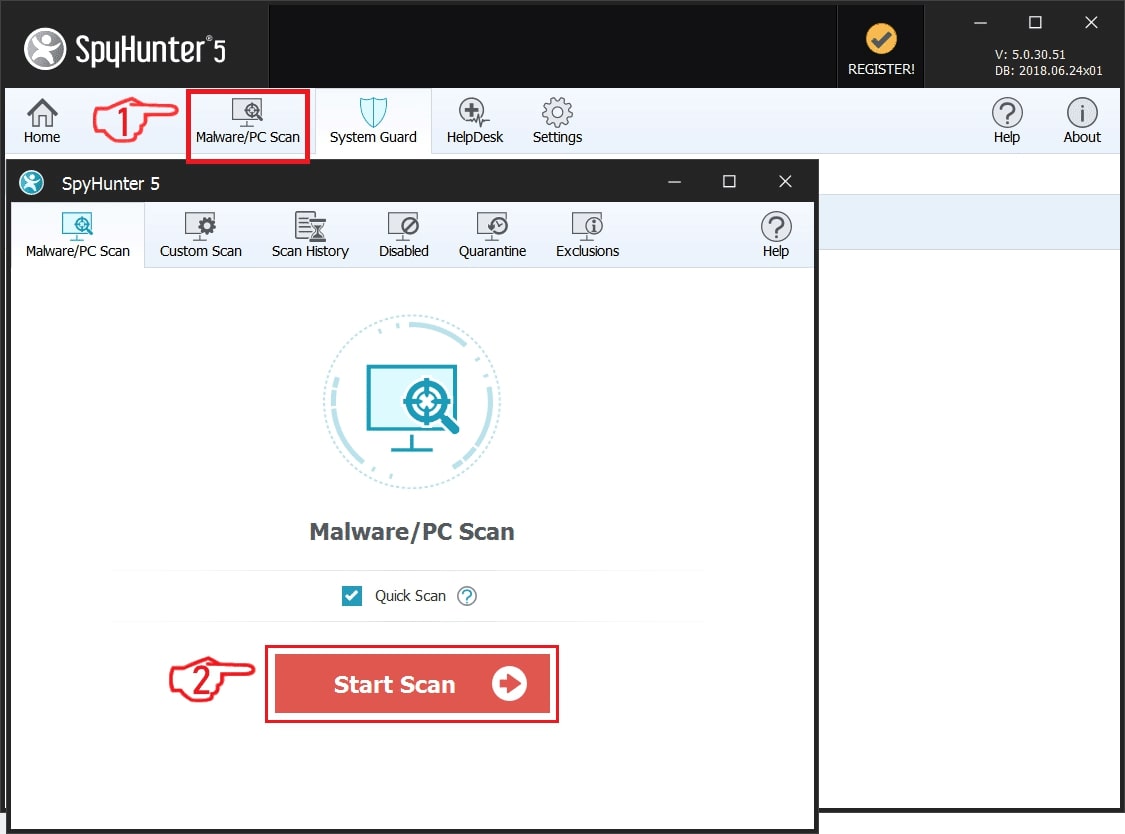
Step1: After the update process has finished, click on the ‘Scan Computer Now’ button.
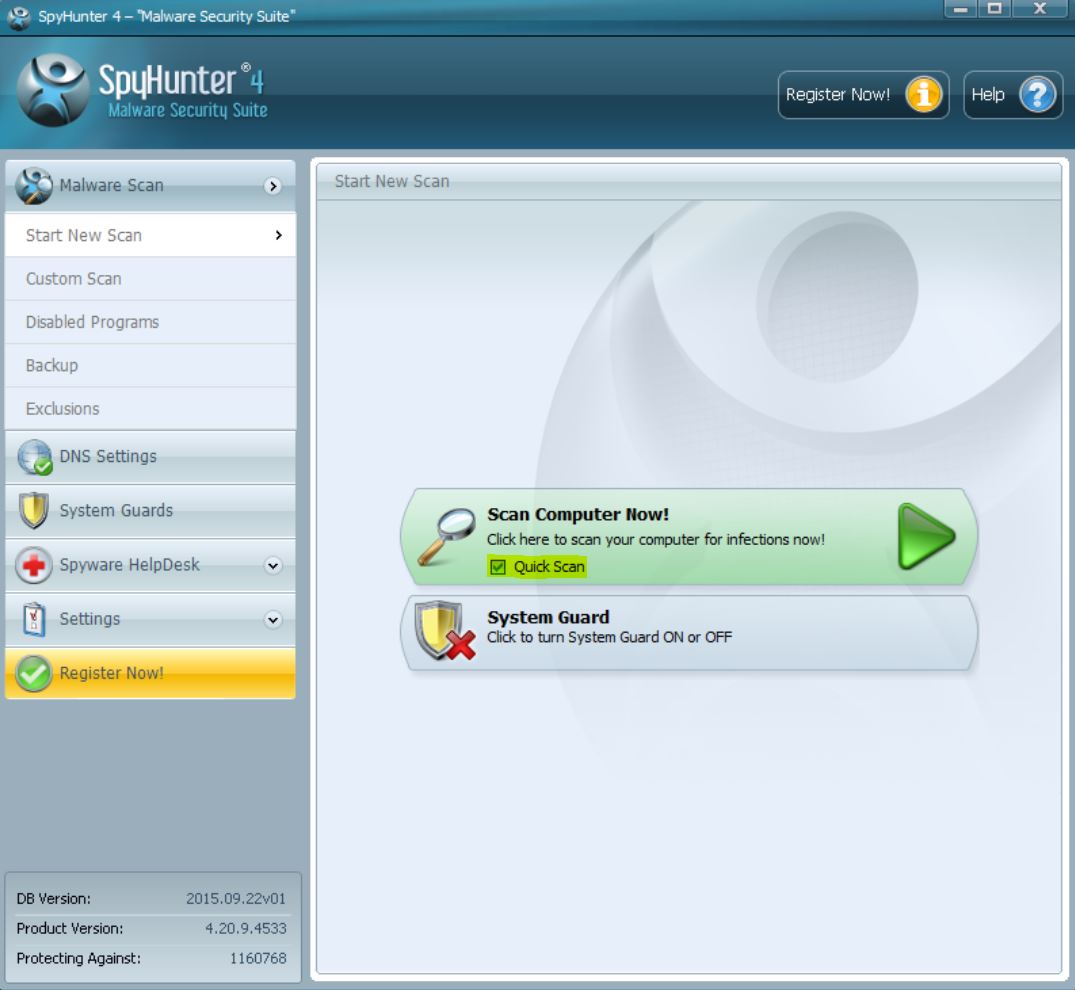
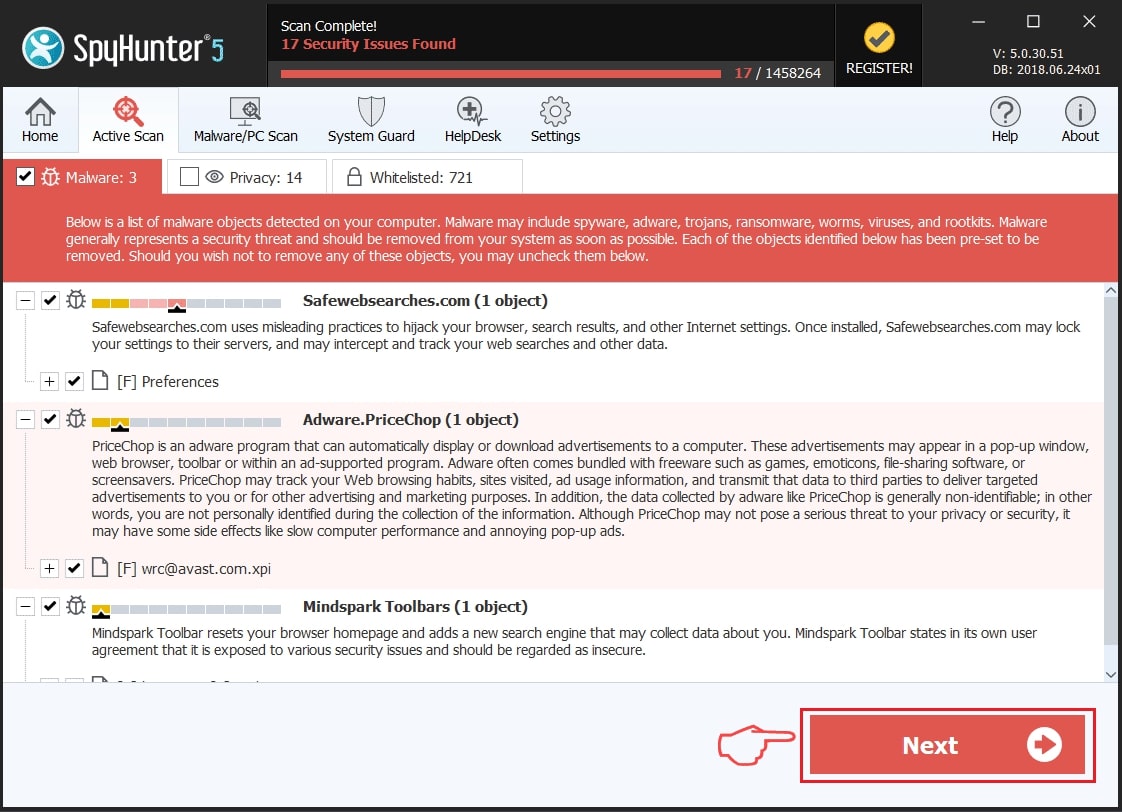
Step2: After SpyHunter has finished scanning your PC for any taskeng.exe files, click on the ‘Fix Threats’ button to remove them automatically and permanently.
Step3: Once the intrusions on your PC have been removed, it is highly recommended to restart it.
Back up your data to secure it against attacks in the future
IMPORTANT! Before reading the Windows backup instructions, we highly recommend to back up your data automatically with cloud backup and insure it against any type of data loss on your device, even the most severe. We recommend reading more about and downloading SOS Online Backup .
1-Click on Windows Start Menu
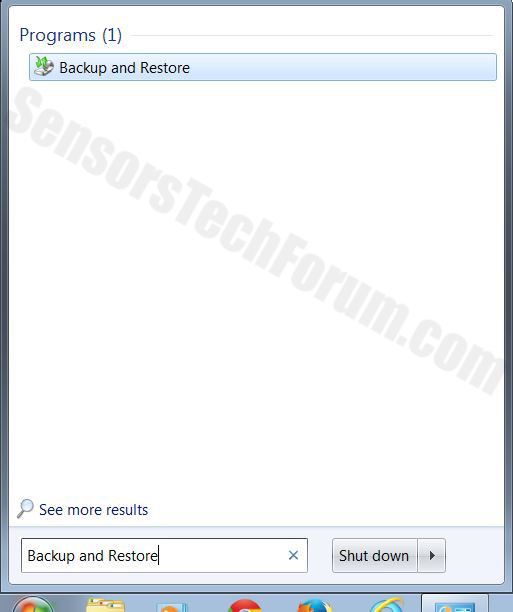
2-Type Backup And Restore
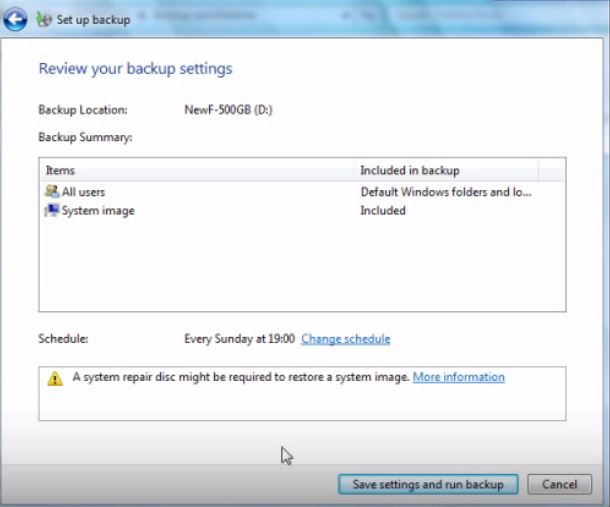
3-Open it and click on Set Up Backup
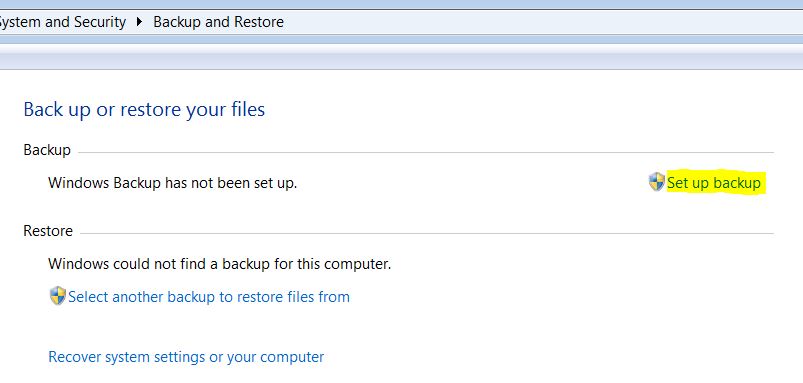
4-A window will appear asking you where to set up backup. You should have a flash drive or an external hard drive. Mark it by clicking on it with your mouse then click on Next.

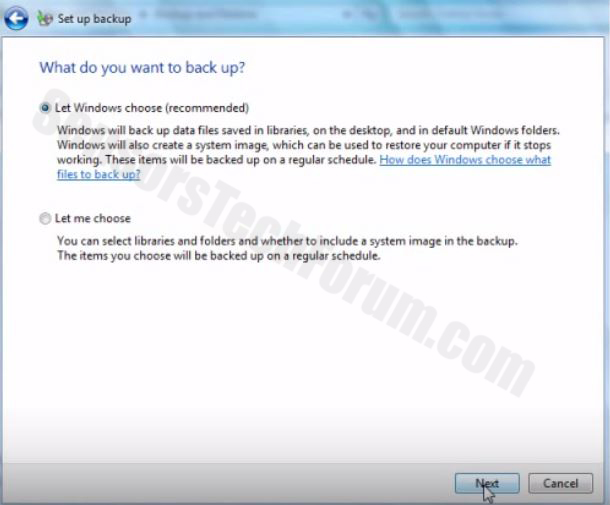
5-On the next window, the system will ask you what do you want to backup. Choose the ‘Let Me Choose’ option and then click on Next.
6-Click on ‘Save settings and run backup’ on the next window in order to protect your files from possible attacks by taskeng.exe.
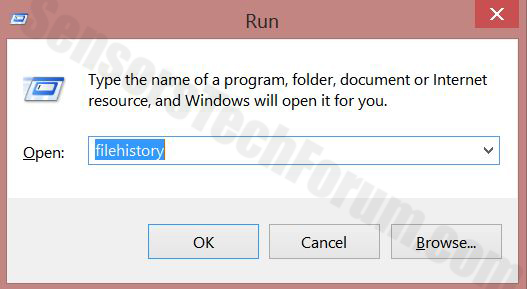
2-In the window type ‘filehistory’ and press Enter
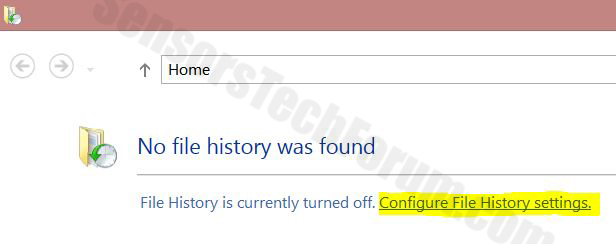
3-A File History window will appear. Click on ‘Configure file history settings’
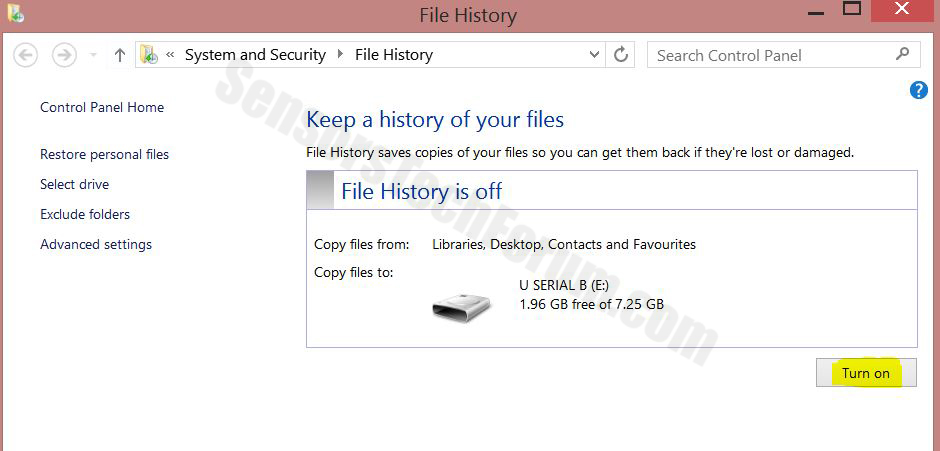
4-The configuration menu for File History will appear. Click on ‘Turn On’. After its on, click on Select Drive in order to select the backup drive. It is recommended to choose an external HDD, SSD or a USB stick whose memory capacity is corresponding to the size of the files you want to backup.
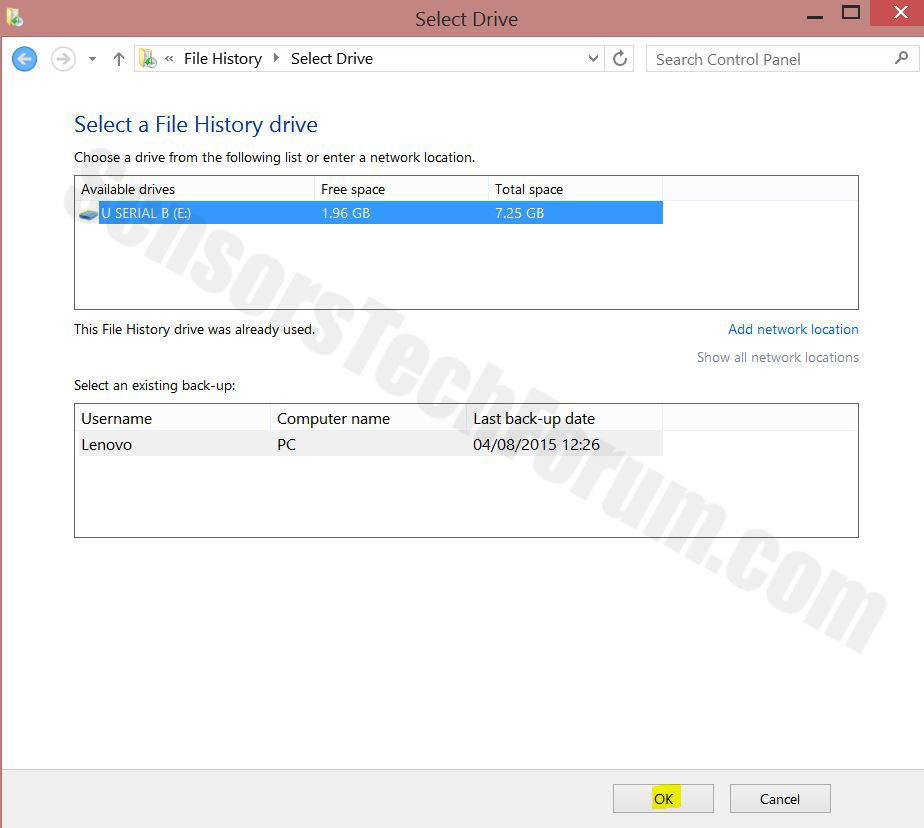
5-Select the drive then click on ‘Ok’ in order to set up file backup and protect yourself from taskeng.exe.
1- Press Windows button + R keys.
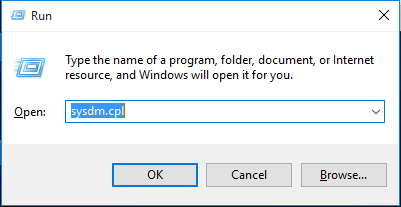
2- A run windows should appear. In it type ‘sysdm.cpl’ and then click on Run.
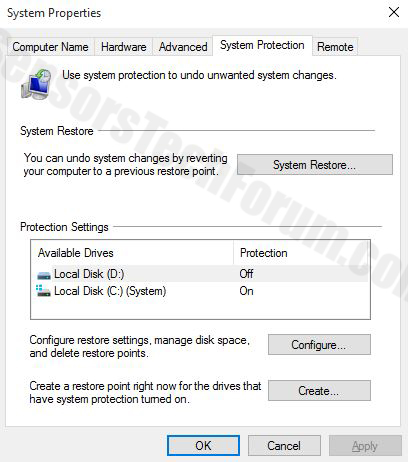
3- A System Properties windows should appear. In it choose System Protection.

5- Click on Turn on system protection and select the size on the hard disk you want to utilize for system protection.
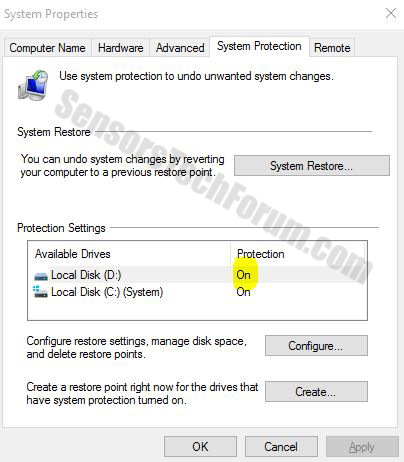
6- Click on Ok and you should see an indication in Protection settings that the protection from taskeng.exe is on.
Restoring a file via Windows Defense feature:
1-Right-click on the encrypted file, then choose Properties.
2-Click on the Previous Versions tab and then mark the last version of the file.
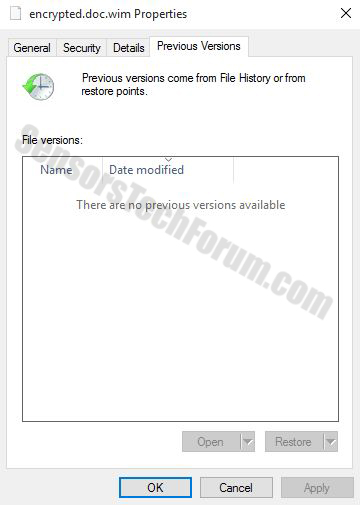
3-Click on Apply and Ok and the file encrypted by taskeng.exe should be restored.
Remove taskeng.exe Using Other Alternative Tools
 STOPZilla Anti Malware
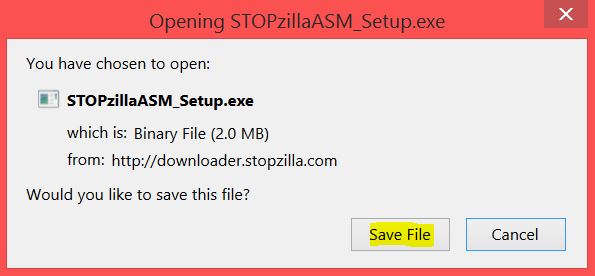
Step 1: Download STOPZilla by clicking here.
Step 2: A pop-up window will appear. Click on the ‘Save File’ button. If it does not, click on the Download button and save it afterwards.
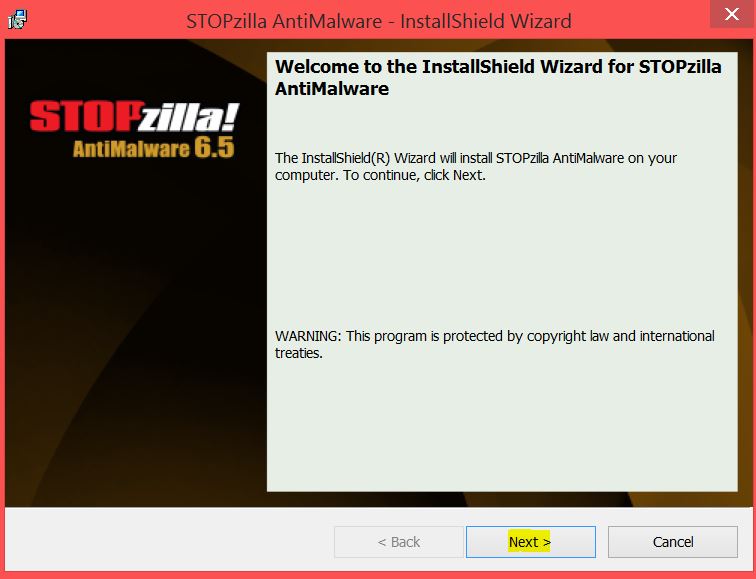
Step 3: After you have downloaded the setup, simply open it.
Step 4: The installer should appear. Click on the ‘Next’ button.
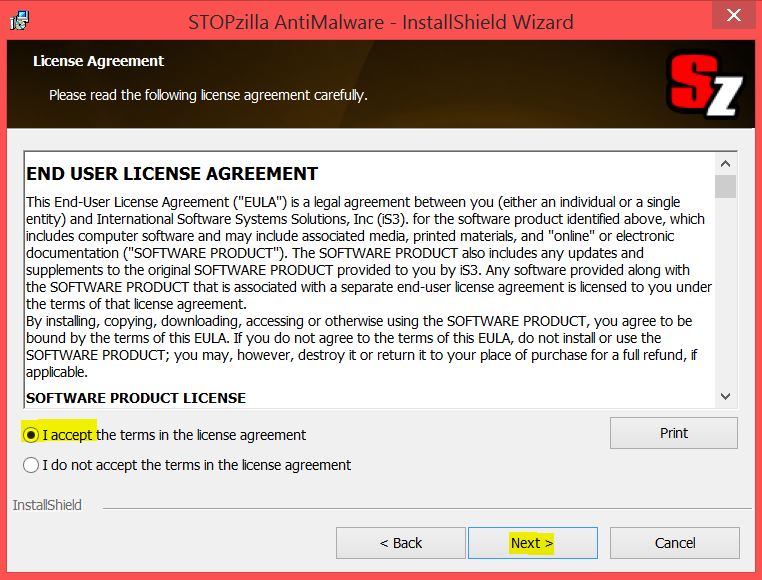
Step 5: Check the ‘I accept the agreement’ check circle if not checked if you accept it and click the ‘Next’ button once again.
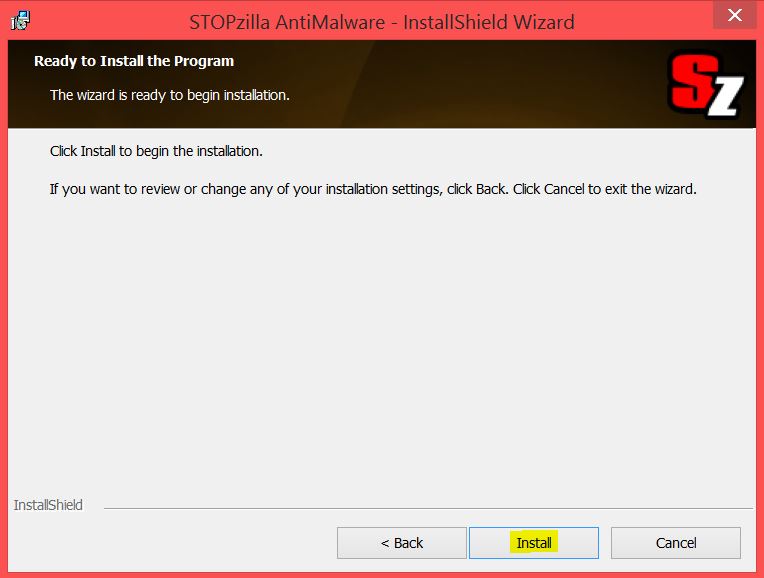
Step 6: Review and click on the ‘Install’ button.
Step 7: After the installation process has completed click on the ‘Finish’ button.
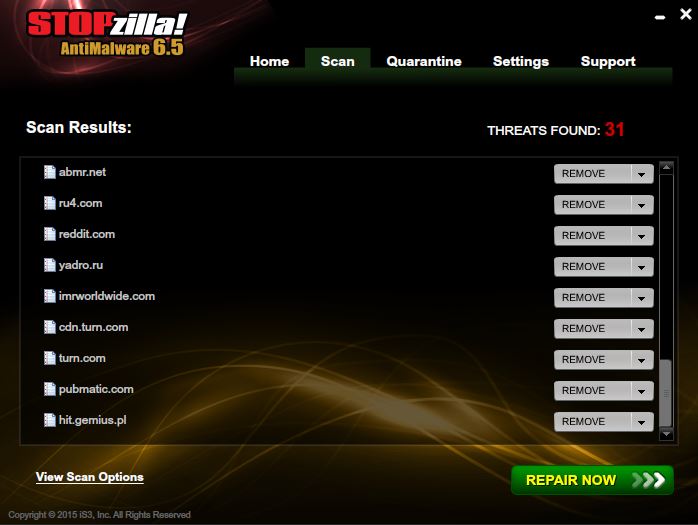
2. Scan your PC with STOPZilla Anti Malware to remove all taskeng.exe associated files completely.
Step 1: Launch STOPZilla if you haven’t launched it after install.
Step 2: Wait for the software to automatically scan and then click on the ‘Repair Now’ button. If it does not scan automatically, click on the ‘Scan Now’ button.
Step 3: After the removal of all threats and associated objects, you should Restart your PC.
How to Protect Yourself in the Future
Cyber-crooks have become very smart in both developing viruses as well as methods of infection of users. Both home users and enterprises should beware and always apply the following advises to the PCs in their networks:
- Make sure to use additional firewall protection. Downloading a second firewall (like ZoneAlarm, for example) is an excellent solution for any potential intrusions.
- Make sure that your programs have less administrative power over what they read and write on your computer. Make them prompt you admin access before starting.
- Use stronger passwords. Stronger passwords (preferably ones that are not words) are harder to crack by several methods, including brute forcing since it includes pass lists with relevant words.
- Turn off AutoPlay. This protects your computer from malicious executable files on USB sticks or other external memory carriers that are immediately inserted into it.
- Disable File Sharing – it is recommended if you need file sharing between your computer to password protect it to restrict the threat only to yourself if infected.
- Switch off any remote services – this can be devastating for business networks since it can cause a lot of damage on a massive scale.
- If you see a service or a process that is external and not Windows critical and is being exploited by hackers (Like Flash Player) disable it until there is an update that fixes the exploit.
- Make sure always to update the critical security patches for your software and OS.
- Configure your mail server to block out and delete suspicious file attachment containing emails.
- If you have a compromised computer in your network, make sure to isolate immediately it by powering it off and disconnecting it by hand from the network.
- Make sure to educate all of the users on the network never to open suspicious file attachments, show them examples.
- Employ a virus-scanning extension in your browser that will scan all the downloaded files on your computer.
- Turn off any non-needed wireless services, like Infrared ports or Bluetooth – hackers love to use them to exploit devices. In case you use Bluetooth, make sure that you monitor all of the unauthorized devices that prompt you to pair with them and decline and investigate any suspicious ones.
- Employ a virus-scanning extension in your browser that will scan all the downloaded files on your computer.
- Employ a powerful anti-malware solution to protect yourself from any future threats automatically.
Ventsislav Krastev
Ventsislav is a cybersecurity expert at SensorsTechForum since 2015. He has been researching, covering, helping victims with the latest malware infections plus testing and reviewing software and the newest tech developments. Having graduated Marketing as well, Ventsislav also has passion for learning new shifts and innovations in cybersecurity that become game changers. After studying Value Chain Management, Network Administration and Computer Administration of System Applications, he found his true calling within the cybersecrurity industry and is a strong believer in the education of every user towards online safety and security.
Follow Me:
Preparation before removing taskeng.exe.
Before starting the actual removal process, we recommend that you do the following preparation steps.
- Make sure you have these instructions always open and in front of your eyes.
- Do a backup of all of your files, even if they could be damaged. You should back up your data with a cloud backup solution and insure your files against any type of loss, even from the most severe threats.
- Be patient as this could take a while.
- Scan for Malware
- Fix Registries
- Remove Virus Files
Step 1: Scan for taskeng.exe with SpyHunter Anti-Malware Tool
Step 2: Clean any registries, created by taskeng.exe on your computer.
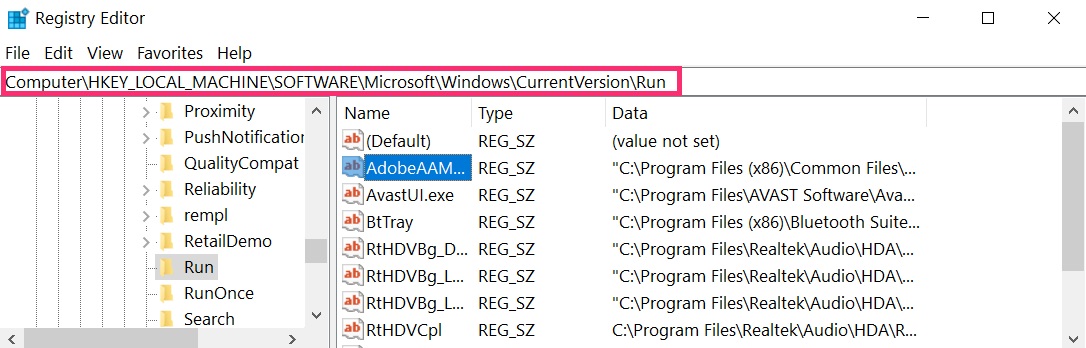
The usually targeted registries of Windows machines are the following:
- HKEY_LOCAL_MACHINE\Software\Microsoft\Windows\CurrentVersion\Run
- HKEY_CURRENT_USER\Software\Microsoft\Windows\CurrentVersion\Run
- HKEY_LOCAL_MACHINE\Software\Microsoft\Windows\CurrentVersion\RunOnce
- HKEY_CURRENT_USER\Software\Microsoft\Windows\CurrentVersion\RunOnce
You can access them by opening the Windows registry editor and deleting any values, created by taskeng.exe there. This can happen by following the steps underneath:
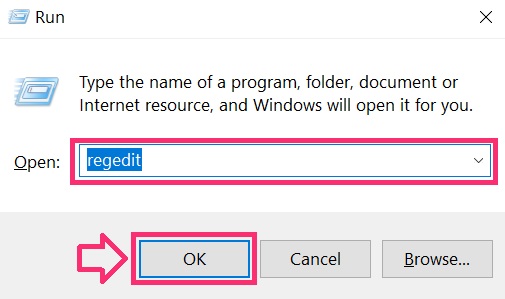
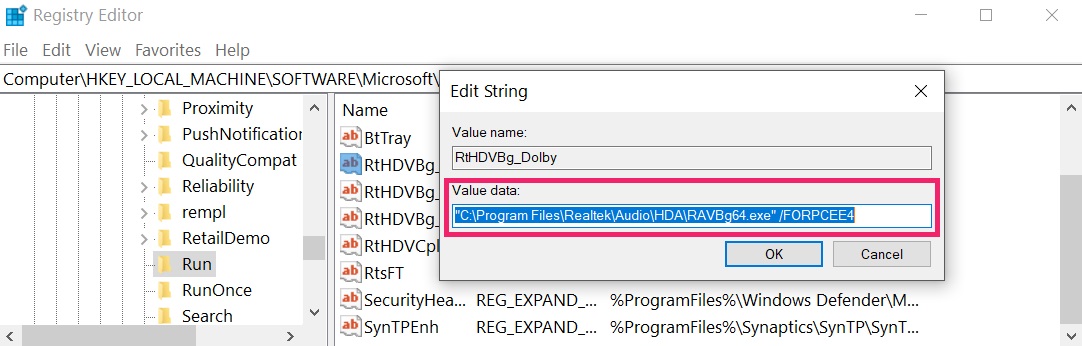 Tip: To find a virus-created value, you can right-click on it and click "Modify" to see which file it is set to run. If this is the virus file location, remove the value.
Step 3: Find virus files created by taskeng.exe on your PC.
1.For Windows 8, 8.1 and 10.
For Newer Windows Operating Systems
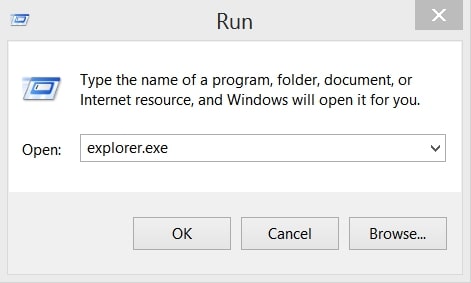
1: On your keyboard press + R and write explorer.exe in the Run text box and then click on the Ok button.
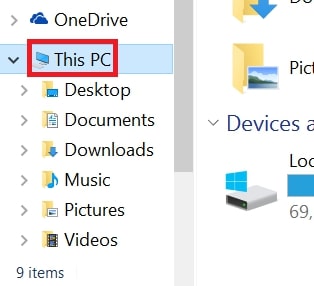
2: Click on your PC from the quick access bar. This is usually an icon with a monitor and its name is either “My Computer”, “My PC” or “This PC” or whatever you have named it.
3: Navigate to the search box in the top-right of your PC's screen and type “fileextension:” and after which type the file extension. If you are looking for malicious executables, an example may be "fileextension:exe". After doing that, leave a space and type the file name you believe the malware has created. Here is how it may appear if your file has been found:
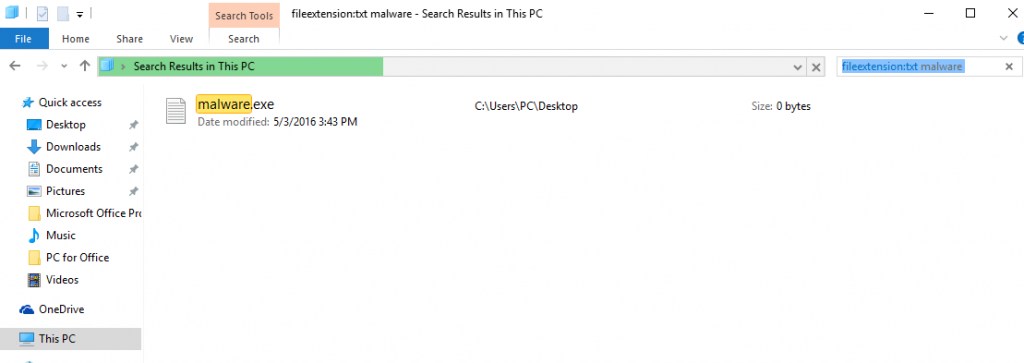
N.B. We recommend to wait for the green loading bar in the navigation box to fill up in case the PC is looking for the file and hasn't found it yet.
2.For Windows XP, Vista, and 7.
For Older Windows Operating Systems
In older Windows OS's the conventional approach should be the effective one:
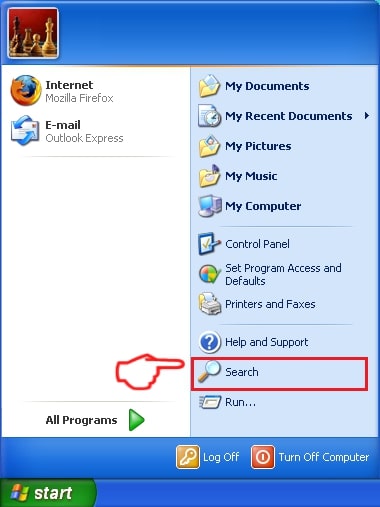
1: Click on the Start Menu icon (usually on your bottom-left) and then choose the Search preference.
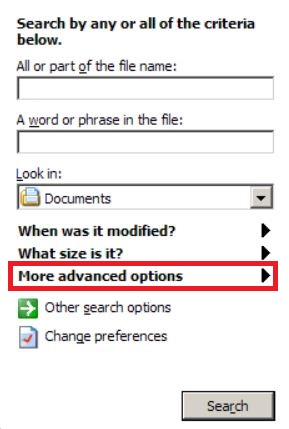
2: After the search window appears, choose More Advanced Options from the search assistant box. Another way is by clicking on All Files and Folders.
3: After that type the name of the file you are looking for and click on the Search button. This might take some time after which results will appear. If you have found the malicious file, you may copy or open its location by right-clicking on it.
Now you should be able to discover any file on Windows as long as it is on your hard drive and is not concealed via special software.
taskeng.exe FAQ
What Does taskeng.exe Trojan Do?
The taskeng.exe Trojan is a malicious computer program designed to disrupt, damage, or gain unauthorized access to a computer system. It can be used to steal sensitive data, gain control over a system, or launch other malicious activities.
Can Trojans Steal Passwords?
Yes, Trojans, like taskeng.exe, can steal passwords. These malicious programs are designed to gain access to a user's computer, spy on victims and steal sensitive information such as banking details and passwords.
Can taskeng.exe Trojan Hide Itself?
Yes, it can. A Trojan can use various techniques to mask itself, including rootkits, encryption, and obfuscation, to hide from security scanners and evade detection.
Can a Trojan be Removed by Factory Reset?
Yes, a Trojan can be removed by factory resetting your device. This is because it will restore the device to its original state, eliminating any malicious software that may have been installed. Bear in mind that there are more sophisticated Trojans that leave backdoors and reinfect even after a factory reset.
Can taskeng.exe Trojan Infect WiFi?
Yes, it is possible for a Trojan to infect WiFi networks. When a user connects to the infected network, the Trojan can spread to other connected devices and can access sensitive information on the network.
Can Trojans Be Deleted?
Yes, Trojans can be deleted. This is typically done by running a powerful anti-virus or anti-malware program that is designed to detect and remove malicious files. In some cases, manual deletion of the Trojan may also be necessary.
Can Trojans Steal Files?
Yes, Trojans can steal files if they are installed on a computer. This is done by allowing the malware author or user to gain access to the computer and then steal the files stored on it.
Which Anti-Malware Can Remove Trojans?
Anti-malware programs such as SpyHunter are capable of scanning for and removing Trojans from your computer. It is important to keep your anti-malware up to date and regularly scan your system for any malicious software.
Can Trojans Infect USB?
Yes, Trojans can infect USB devices. USB Trojans typically spread through malicious files downloaded from the internet or shared via email, allowing the hacker to gain access to a user's confidential data.
About the taskeng.exe Research
The content we publish on SensorsTechForum.com, this taskeng.exe how-to removal guide included, is the outcome of extensive research, hard work and our team’s devotion to help you remove the specific trojan problem.
How did we conduct the research on taskeng.exe?
Please note that our research is based on an independent investigation. We are in contact with independent security researchers, thanks to which we receive daily updates on the latest malware definitions, including the various types of trojans (backdoor, downloader, infostealer, ransom, etc.)
Furthermore, the research behind the taskeng.exe threat is backed with VirusTotal.
To better understand the threat posed by trojans, please refer to the following articles which provide knowledgeable details.