
![]() The Facebook Notification Virus is believed to be an unwanted browser extensions. What it does is it sends fake Facebook notifications to infected users. From there on, the malware can gain access to your Facebook data and also install browser extensions. It’s very dangerous given the massive popularity of Facebook.
The Facebook Notification Virus is believed to be an unwanted browser extensions. What it does is it sends fake Facebook notifications to infected users. From there on, the malware can gain access to your Facebook data and also install browser extensions. It’s very dangerous given the massive popularity of Facebook.

Threat Summary
| Name | Facebook Notification Virus |
| Type | Browser Hijacker, PUP, Adware |
| Short Description | The virus can find its way into your system through careless clicking on a Facebook notifications and installing PUPs through bundle packs. . |
| Symptoms | Slow computer. Unfamiliar notifications begin to appear on your Facebook page. |
| Distribution Method | Freeware Installations, Bundled Packages, Clickjacking. |
| Detection Tool |
See If Your System Has Been Affected by malware
Download
Malware Removal Tool
|
| User Experience | Join our forum to discuss Facebook Notification Virus browser hijacker. |

Facebook Notification Virus – How Did Get It?
The virus infects users who click on a fake notification. These notifications are usually masked to look like a friend replied to a comment you made. When you click on the notification, your PC will become affected. The virus can also be distributed through bundle packs. To avoid that, always check the Custom and Advanced option when installing a program, and tick out any programs you don’t want, as they can be PUPs and browser hijackers.
Once the Facebook notification virus infects your system, it can install an adware plugin on your browser. The virus can infect most browsers, including Mozilla Firefox, Microsoft Edge and Google Chrome.
A lot of applications which resemble Facebook Notification Virus seem to be non-malicious. Some of them are even made to look like original Facebook apps such as photo notification software or posting helpers. Since many users’ have the already developed habit of fast tapping on something they are tagged on, they may fall into a fake Facebook notification trap.
What is very bad is not that you see such notification. The menace becomes real after they are opened. Usually most applications for Facebook want permissions from users, but Facebook Notification Virus may slip past such permissions and do the “approval” process itself.

Facebook Notification Virus – More Information
When the virus infects you, the browser extension, it can either be very dangerous to your computer or be a simple advertising “gateway”. That includes pop-ups, banners, and other annoying adverts. These ads are rarely legitimate and can be a gateway to even more viruses, PUPs, and malware.
The virus would also steal your information, among other things:
- IPs.
- Facebook account information.
- Browser history.
- Email address.
It’s important to remove any viruses and malware from your computer, not only for your own cyber-safety and comfort but also to stop the cyber-criminals from infecting yet more users and make money out of selling personal information and intrusive advertisements.
If you want to protect yourself in the future, there are several actions which you could take on your Facebook account:
1)Remove the application which is causing notifications in the application settings tab. It can be detected by having the same icons as the application.
2)Report the application to Facebook to help shut it down for good.
3)Check for other groups or applications you did not approve and remove them.
The application settings can be accessed if you follow these steps:
/1/ Click on the arrow down icon on the top right of your Facebook page:

/2/ Choose Settings and then choose Apps:
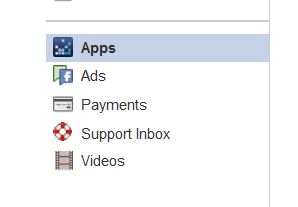
/3/ Remove any suspicious apps. You can find them if they have the same icon as the notifications’ icon.

Removal of Facebook Notification Virus from Your System
Facebook is an important platform in today’s world. Most of us use it daily to communicate with our friends, family, and colleagues, and its interruption can be very disruptive to everyday life. If your system got infected by the Facebook Notification Virus, you should follow the tutorial provided bellow to remove it.
Manually delete Facebook Notification Virus from Windows and your browser
Note! Substantial notification about the Facebook Notification Virus threat: Manual removal of Facebook Notification Virus requires interference with system files and registries. Thus, it can cause damage to your PC. Even if your computer skills are not at a professional level, don’t worry. You can do the removal yourself just in 5 minutes, using a malware removal tool.
Remove or Uninstall Facebook Notification Virus in Windows.
Step 1: Remove/Uninstall Facebook Notification Virus in Windows
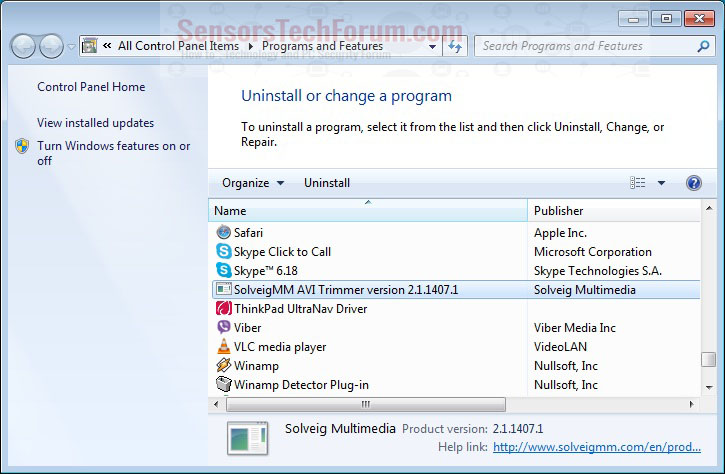
Here is a method in few easy steps to remove that program. No matter if you are using Windows 8, 7, Vista or XP, those steps will get the job done. Dragging the program or its folder to the recycle bin can be a very bad decision. If you do that, bits and pieces of the program get left behind, and that can lead to unstable work of your PC, mistakes with the file type associations and other unpleasant activities. The proper way to get a program off your computer is to Uninstall it. To do that:

Select the program that you want to remove, and press “Uninstall” (fig.3).
Follow the instructions above and you will successfully uninstall Facebook Notification Virus.
Remove Facebook Notification Virus from Your Browser.
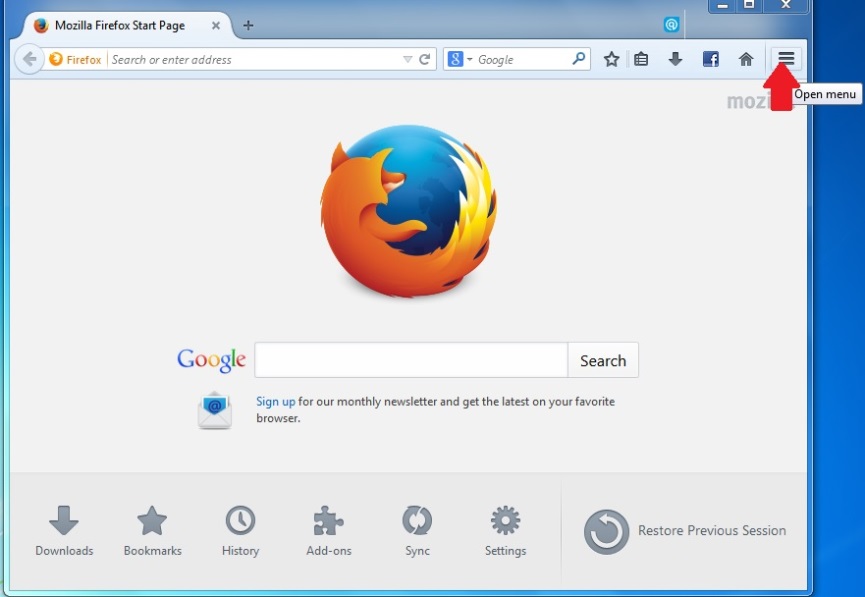
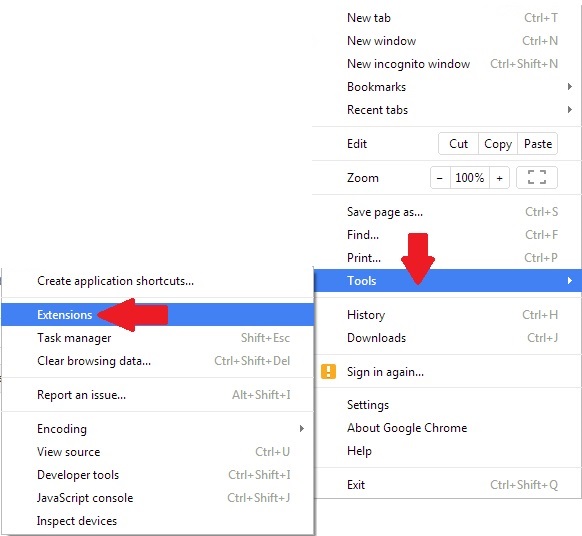
Select the “Add-ons” icon from the menu

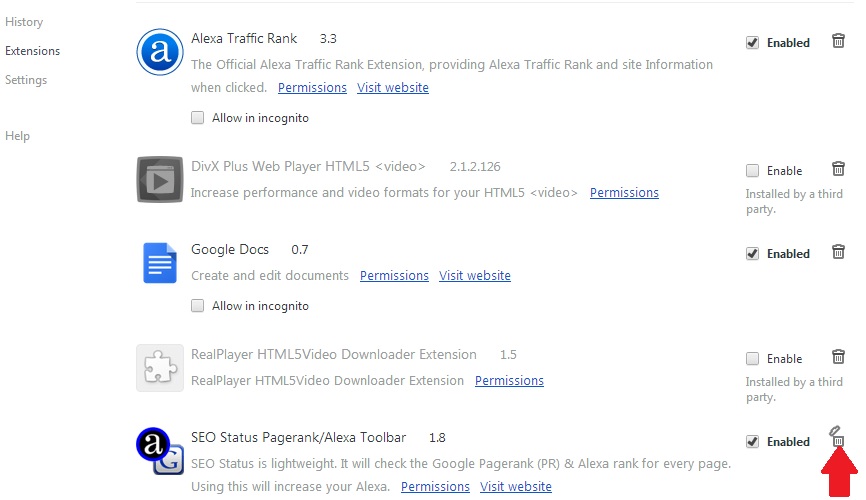
Select Facebook Notification Virus and click “Remove“

After Facebook Notification Virus is removed, restart Mozilla Firefox by closing it from the red “X” in the top right corner and start it again.
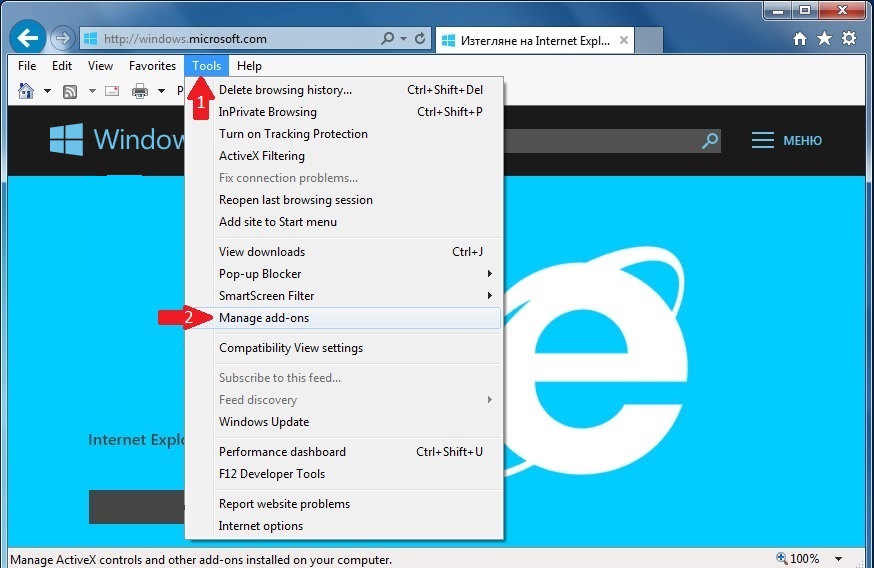

Select Facebook Notification Virus to remove, and then click ‘Disable’. A pop-up window will appear to inform you that you are about to disable the selected toolbar, and some additional toolbars might be disabled as well. Leave all the boxes checked, and click ‘Disable’.
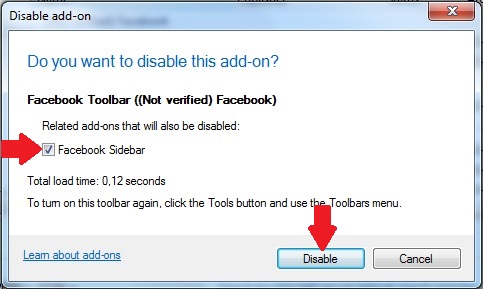
After Facebook Notification Virus has been removed, restart Internet Explorer by closing it from the red ‘X’ in the top right corner and start it again.
Open the drop menu by clicking on the sprocket icon in the top right corner.
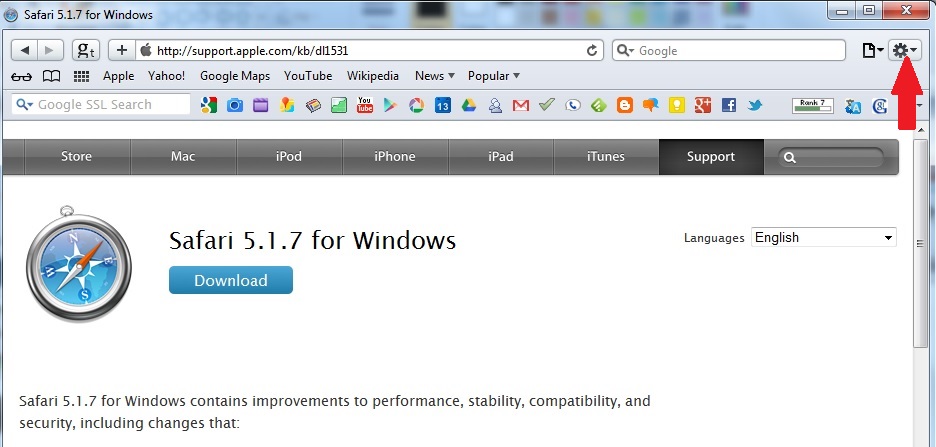
From the drop menu select ‘Preferences’
In the new window select ‘Extensions’
Click once on Facebook Notification Virus
Click ‘Uninstall’
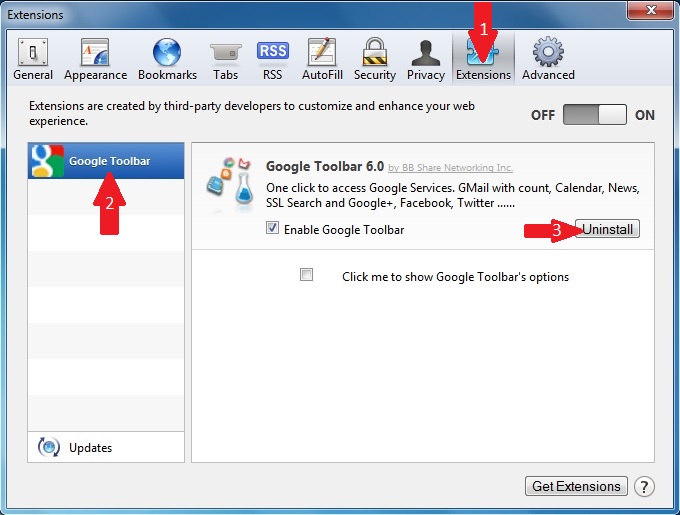
A pop-up window will appear asking for confirmation to uninstall Facebook Notification Virus. Select ‘Uninstall’ again, and the Facebook Notification Virus will be removed.
Automatically remove Facebook Notification Virus by downloading an advanced anti-malware program
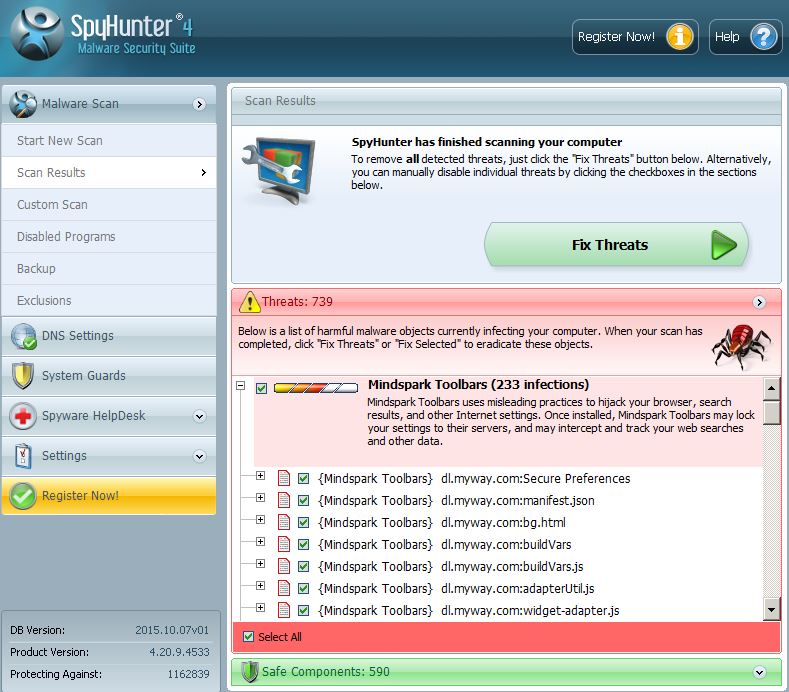
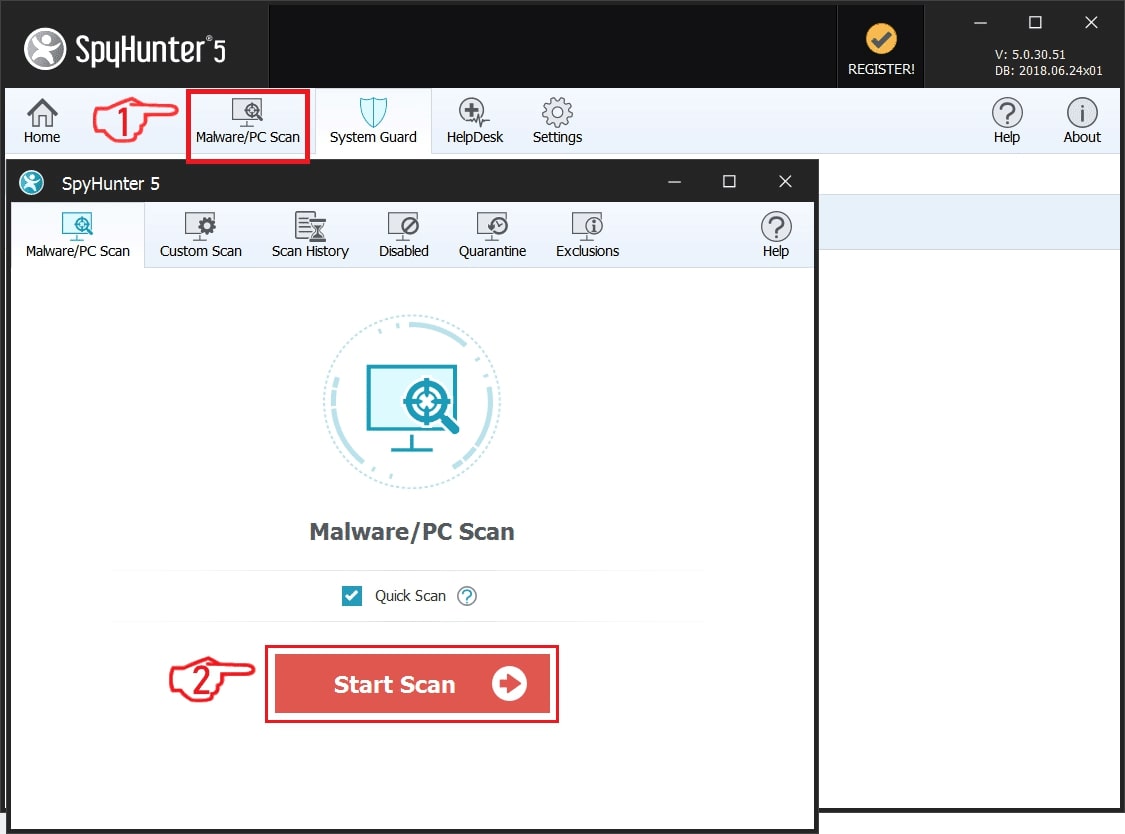
Remove Facebook Notification Virus with SpyHunter Anti-Malware Tool
 1. Install SpyHunter to scan for and remove Facebook Notification Virus.2. Scan with SpyHunter to Detect and Remove Facebook Notification Virus.
Step 2: Guide yourself by the download instructions provided for each browser.
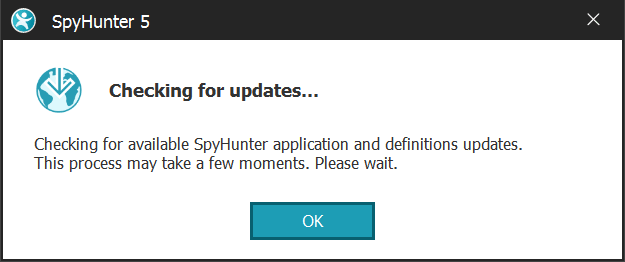
Step 3: After you have installed SpyHunter, wait for it to automatically update.

Step1: After the update process has finished, click on the ‘Scan Computer Now’ button.
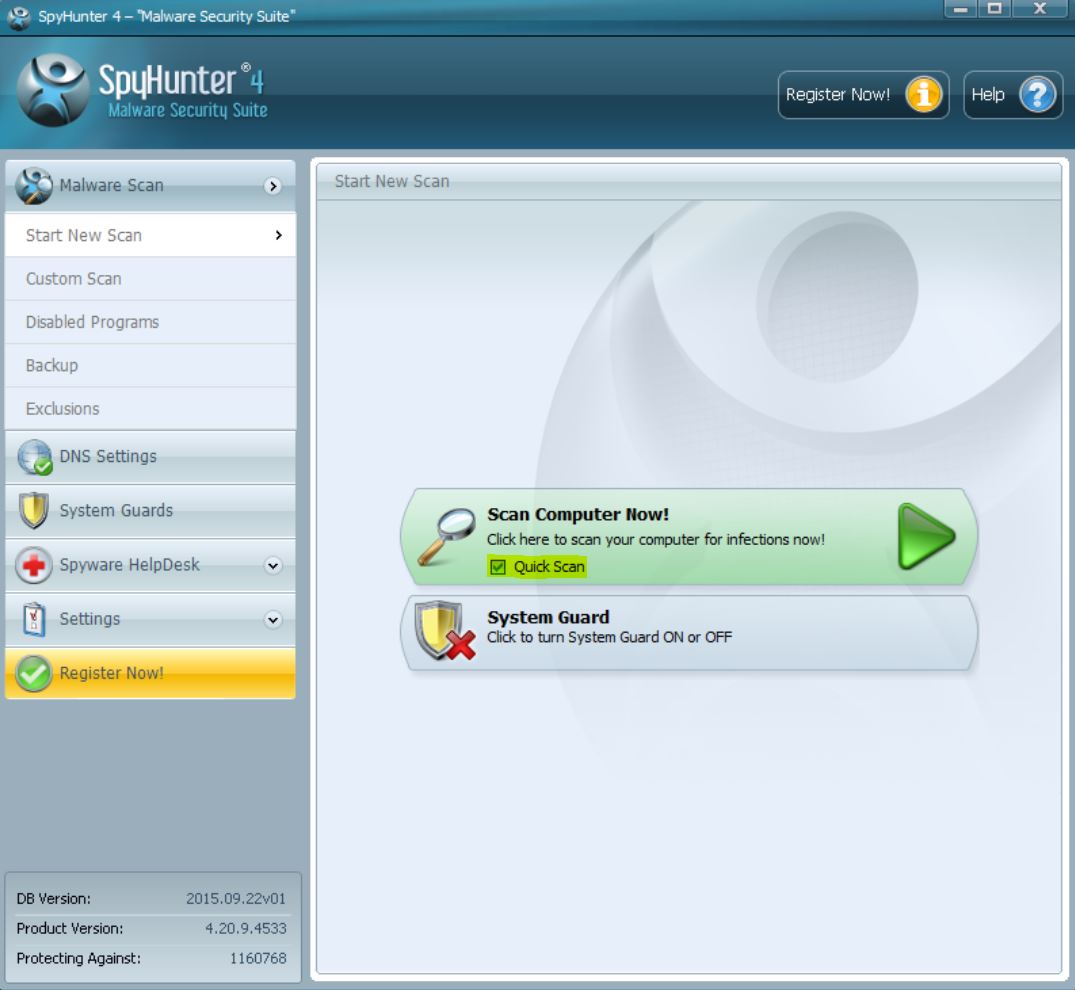
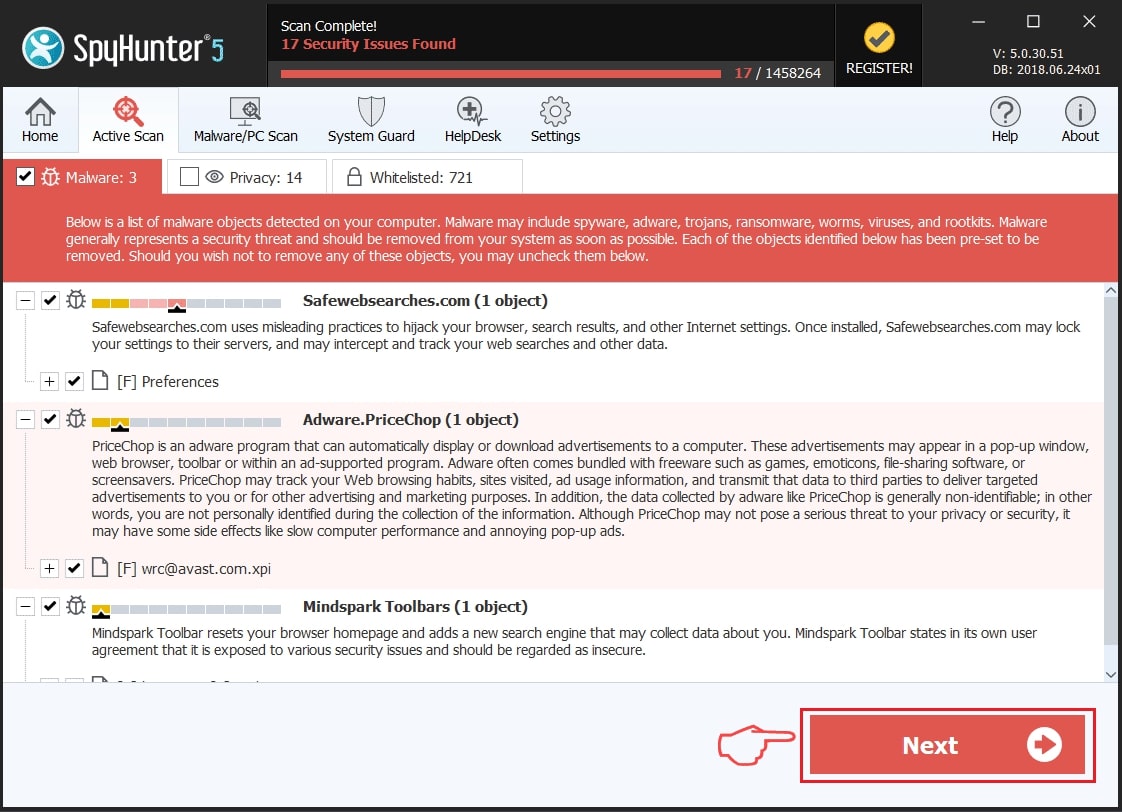
Step2: After SpyHunter has finished scanning your PC for any Facebook Notification Virus files, click on the ‘Fix Threats’ button to remove them automatically and permanently.
Step3: Once the intrusions on your PC have been removed, it is highly recommended to restart it.
Back up your data to secure it against attacks in the future
IMPORTANT! Before reading the Windows backup instructions, we highly recommend to back up your data automatically with cloud backup and insure it against any type of data loss on your device, even the most severe. We recommend reading more about and downloading SOS Online Backup .
1-Click on Windows Start Menu
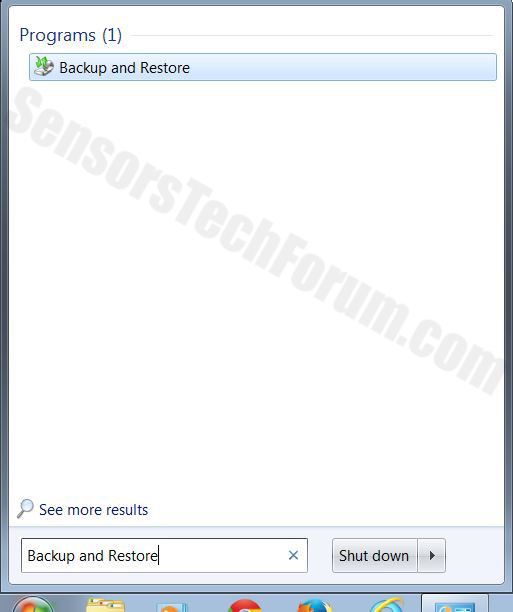
2-Type Backup And Restore
3-Open it and click on Set Up Backup
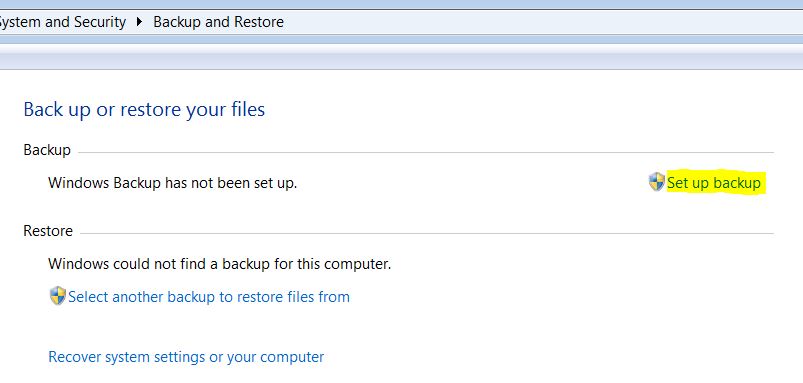
4-A window will appear asking you where to set up backup. You should have a flash drive or an external hard drive. Mark it by clicking on it with your mouse then click on Next.

5-On the next window, the system will ask you what do you want to backup. Choose the ‘Let Me Choose’ option and then click on Next.
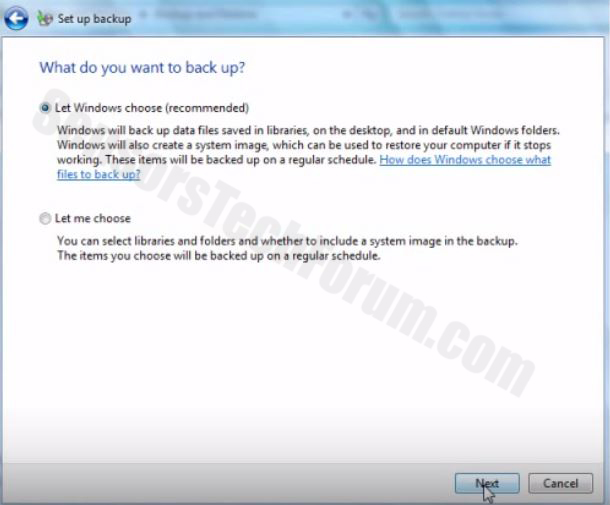
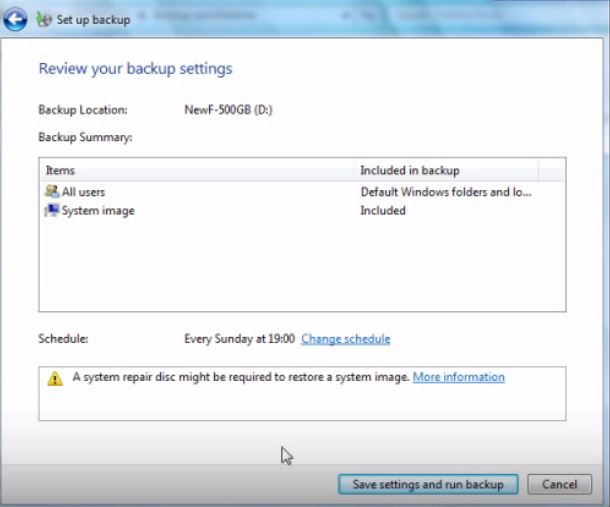
6-Click on ‘Save settings and run backup’ on the next window in order to protect your files from possible attacks by Facebook Notification Virus.
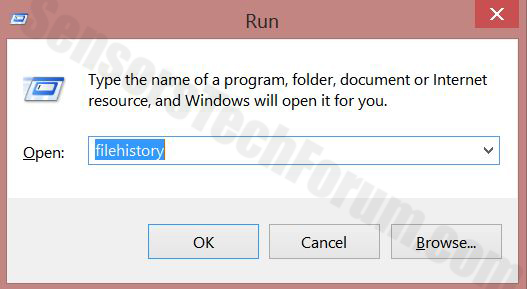
2-In the window type ‘filehistory’ and press Enter
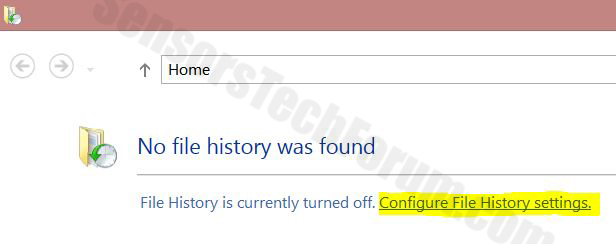
3-A File History window will appear. Click on ‘Configure file history settings’
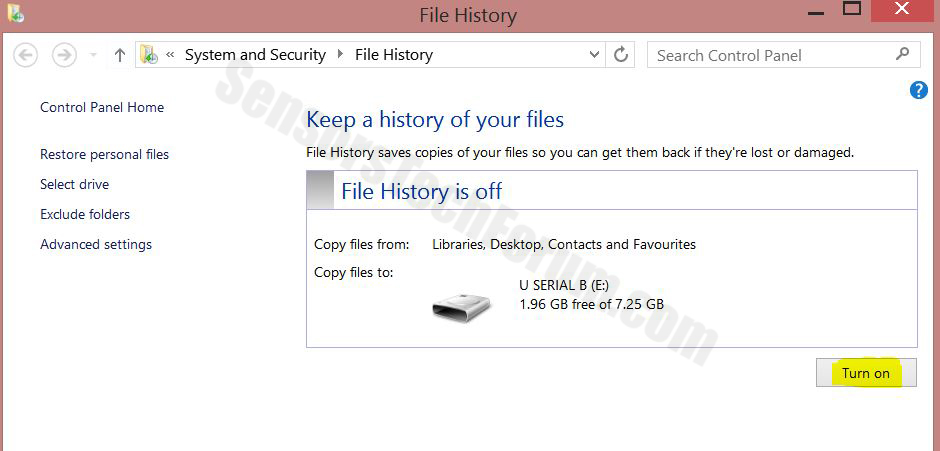
4-The configuration menu for File History will appear. Click on ‘Turn On’. After its on, click on Select Drive in order to select the backup drive. It is recommended to choose an external HDD, SSD or a USB stick whose memory capacity is corresponding to the size of the files you want to backup.
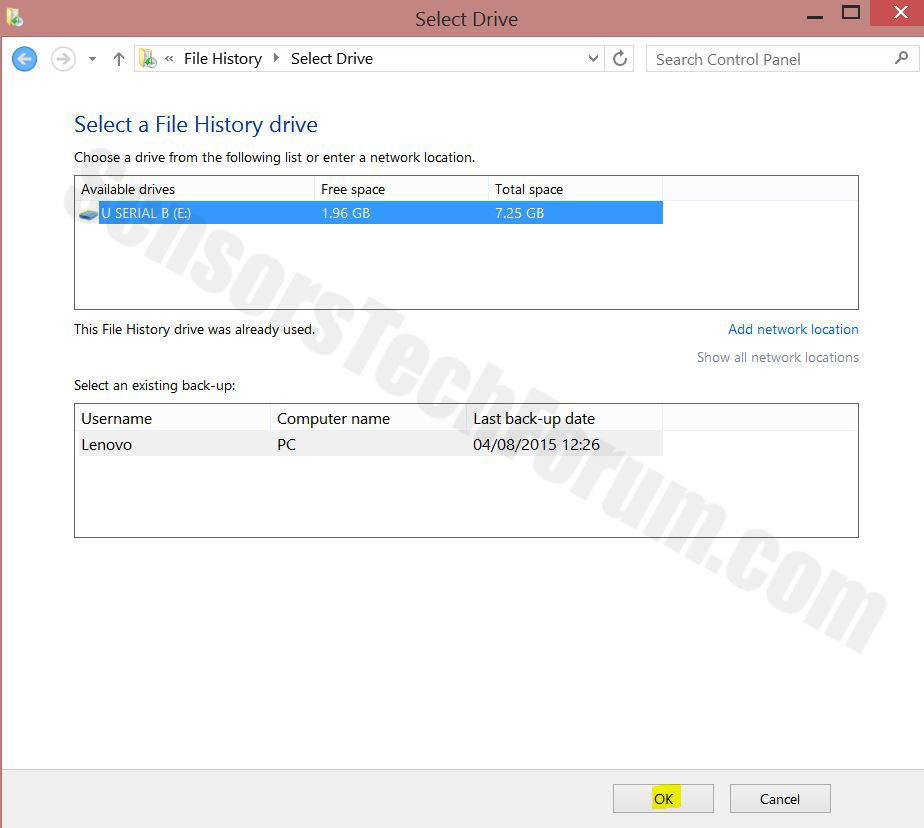
5-Select the drive then click on ‘Ok’ in order to set up file backup and protect yourself from Facebook Notification Virus.
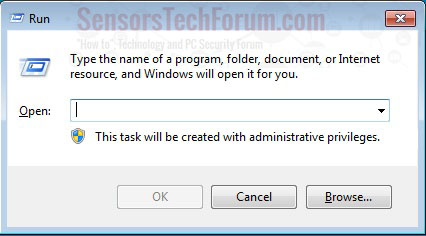
1- Press Windows button + R keys.
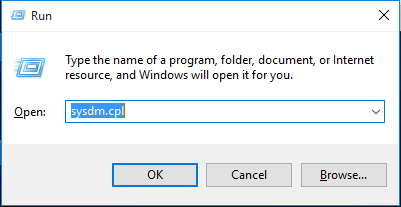
2- A run windows should appear. In it type ‘sysdm.cpl’ and then click on Run.
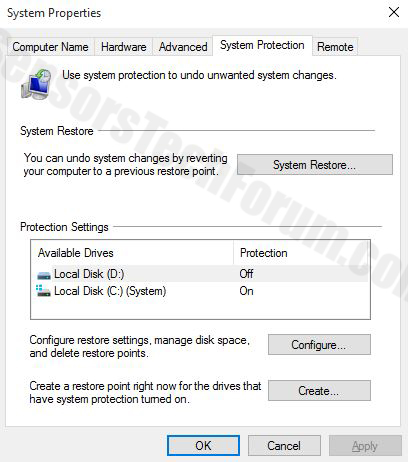
3- A System Properties windows should appear. In it choose System Protection.

5- Click on Turn on system protection and select the size on the hard disk you want to utilize for system protection.
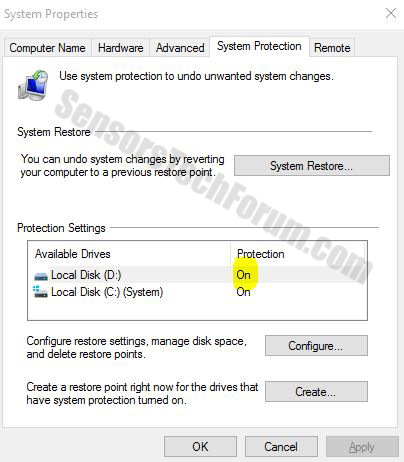
6- Click on Ok and you should see an indication in Protection settings that the protection from Facebook Notification Virus is on.
Restoring a file via Windows Defense feature:
1-Right-click on the encrypted file, then choose Properties.
2-Click on the Previous Versions tab and then mark the last version of the file.
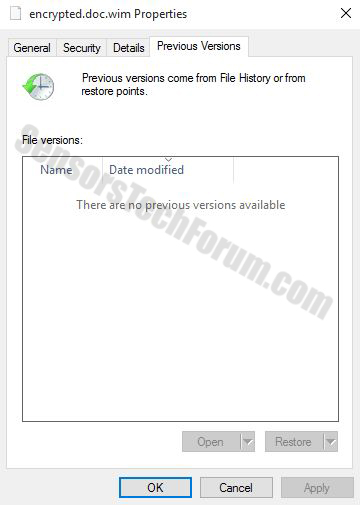
3-Click on Apply and Ok and the file encrypted by Facebook Notification Virus should be restored.
Remove Facebook Notification Virus Using Other Alternative Tools
 STOPZilla Anti Malware
Step 1: Download STOPZilla by clicking here.
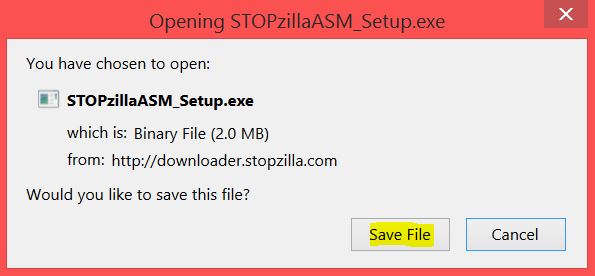
Step 2: A pop-up window will appear. Click on the ‘Save File’ button. If it does not, click on the Download button and save it afterwards.
Step 3: After you have downloaded the setup, simply open it.
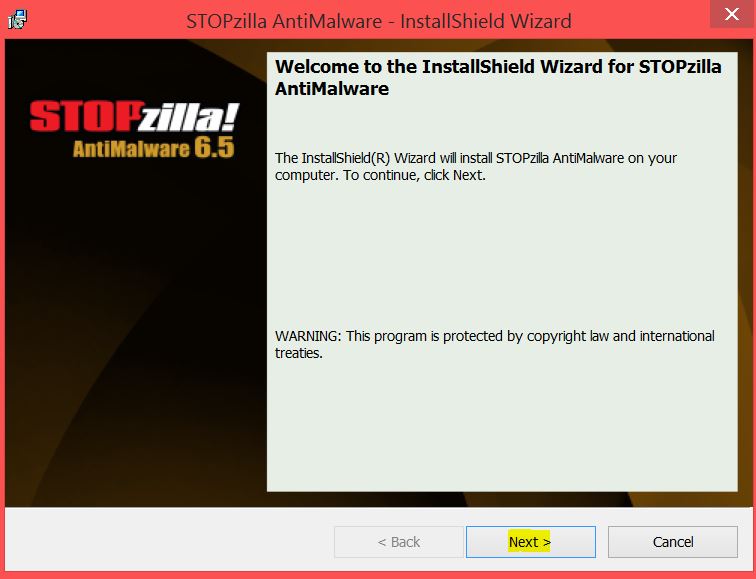
Step 4: The installer should appear. Click on the ‘Next’ button.
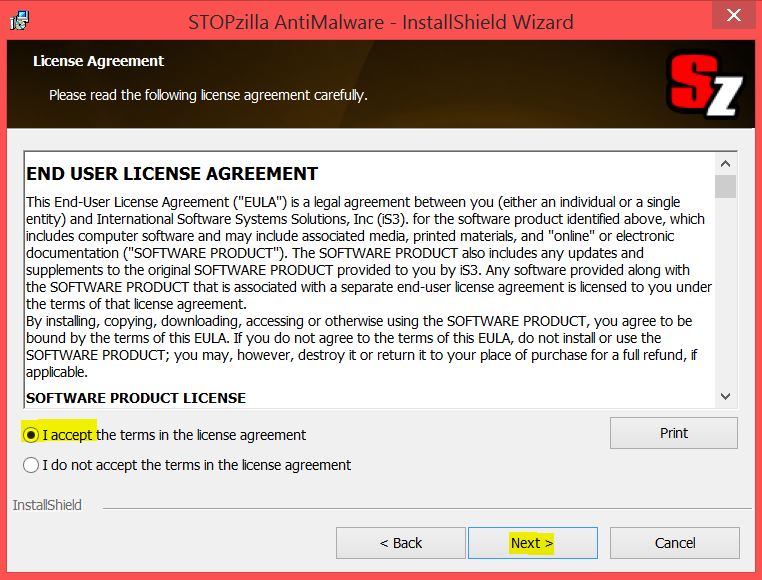
Step 5: Check the ‘I accept the agreement’ check circle if not checked if you accept it and click the ‘Next’ button once again.
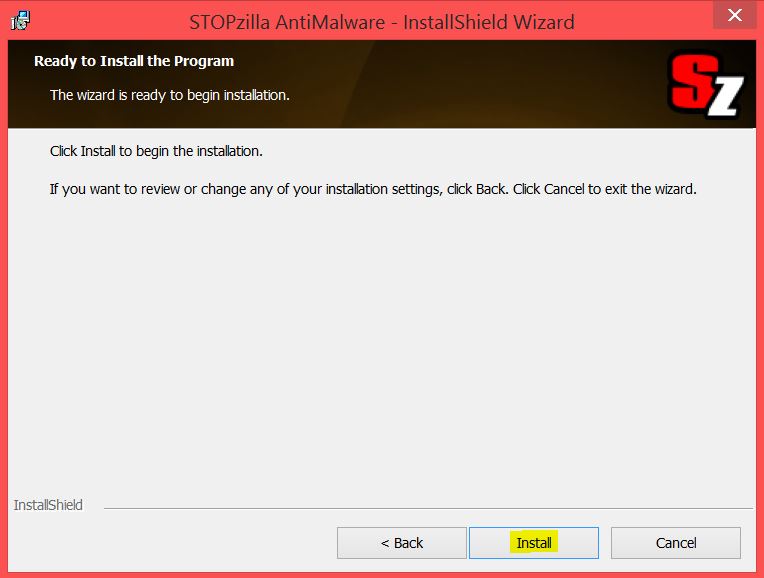
Step 6: Review and click on the ‘Install’ button.
Step 7: After the installation process has completed click on the ‘Finish’ button.
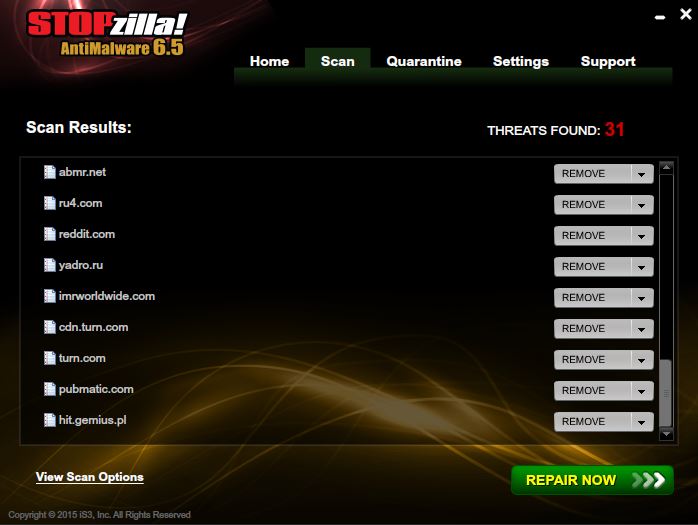
2. Scan your PC with STOPZilla Anti Malware to remove all Facebook Notification Virus associated files completely.
Step 1: Launch STOPZilla if you haven’t launched it after install.
Step 2: Wait for the software to automatically scan and then click on the ‘Repair Now’ button. If it does not scan automatically, click on the ‘Scan Now’ button.
Step 3: After the removal of all threats and associated objects, you should Restart your PC.
Ventsislav Krastev
Ventsislav is a cybersecurity expert at SensorsTechForum since 2015. He has been researching, covering, helping victims with the latest malware infections plus testing and reviewing software and the newest tech developments. Having graduated Marketing as well, Ventsislav also has passion for learning new shifts and innovations in cybersecurity that become game changers. After studying Value Chain Management, Network Administration and Computer Administration of System Applications, he found his true calling within the cybersecrurity industry and is a strong believer in the education of every user towards online safety and security.
Follow Me:
Preparation before removing Facebook Notification Virus.
Before starting the actual removal process, we recommend that you do the following preparation steps.
- Make sure you have these instructions always open and in front of your eyes.
- Do a backup of all of your files, even if they could be damaged. You should back up your data with a cloud backup solution and insure your files against any type of loss, even from the most severe threats.
- Be patient as this could take a while.
- Scan for Malware
- Fix Registries
- Remove Virus Files
Step 1: Scan for Facebook Notification Virus with SpyHunter Anti-Malware Tool
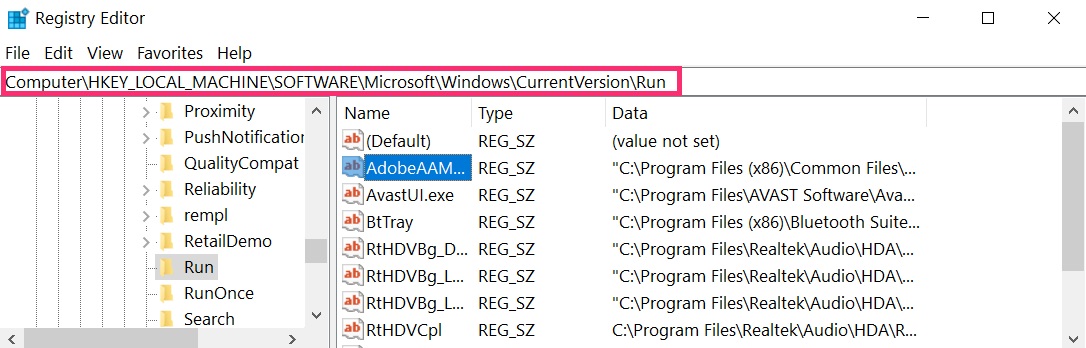
Step 2: Clean any registries, created by Facebook Notification Virus on your computer.
The usually targeted registries of Windows machines are the following:
- HKEY_LOCAL_MACHINE\Software\Microsoft\Windows\CurrentVersion\Run
- HKEY_CURRENT_USER\Software\Microsoft\Windows\CurrentVersion\Run
- HKEY_LOCAL_MACHINE\Software\Microsoft\Windows\CurrentVersion\RunOnce
- HKEY_CURRENT_USER\Software\Microsoft\Windows\CurrentVersion\RunOnce
You can access them by opening the Windows registry editor and deleting any values, created by Facebook Notification Virus there. This can happen by following the steps underneath:
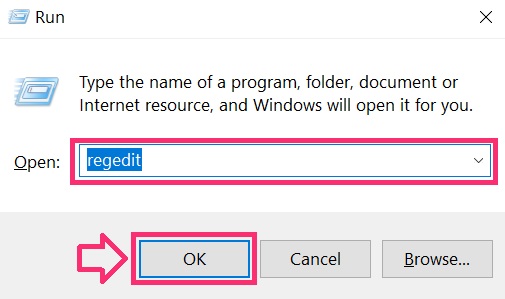
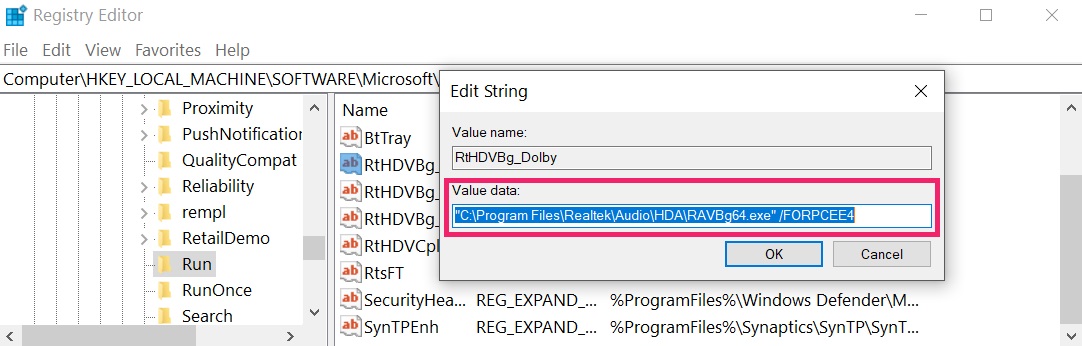 Tip: To find a virus-created value, you can right-click on it and click "Modify" to see which file it is set to run. If this is the virus file location, remove the value.
Step 3: Find virus files created by Facebook Notification Virus on your PC.
1.For Windows 8, 8.1 and 10.
For Newer Windows Operating Systems
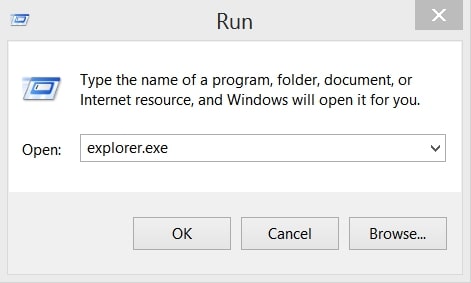
1: On your keyboard press + R and write explorer.exe in the Run text box and then click on the Ok button.
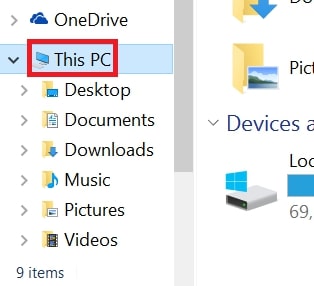
2: Click on your PC from the quick access bar. This is usually an icon with a monitor and its name is either “My Computer”, “My PC” or “This PC” or whatever you have named it.
3: Navigate to the search box in the top-right of your PC's screen and type “fileextension:” and after which type the file extension. If you are looking for malicious executables, an example may be "fileextension:exe". After doing that, leave a space and type the file name you believe the malware has created. Here is how it may appear if your file has been found:
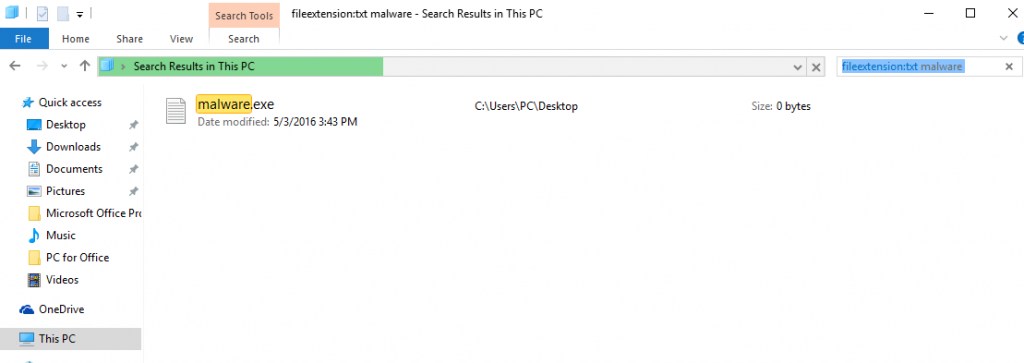
N.B. We recommend to wait for the green loading bar in the navigation box to fill up in case the PC is looking for the file and hasn't found it yet.
2.For Windows XP, Vista, and 7.
For Older Windows Operating Systems
In older Windows OS's the conventional approach should be the effective one:
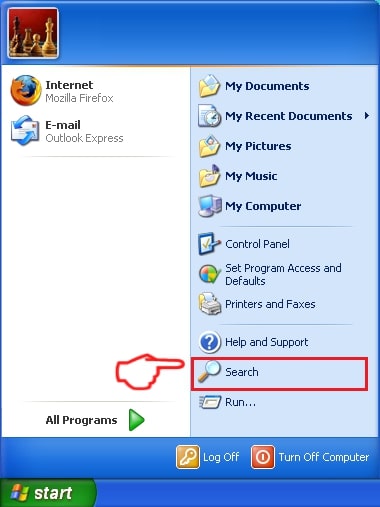
1: Click on the Start Menu icon (usually on your bottom-left) and then choose the Search preference.
2: After the search window appears, choose More Advanced Options from the search assistant box. Another way is by clicking on All Files and Folders.
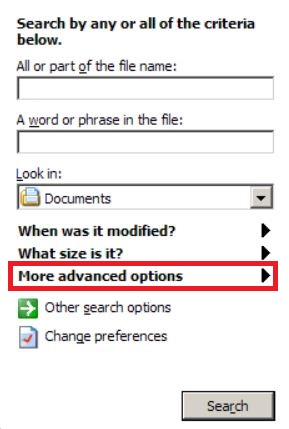
3: After that type the name of the file you are looking for and click on the Search button. This might take some time after which results will appear. If you have found the malicious file, you may copy or open its location by right-clicking on it.
Now you should be able to discover any file on Windows as long as it is on your hard drive and is not concealed via special software.
Facebook Notification Virus FAQ
What Does Facebook Notification Virus Trojan Do?
The Facebook Notification Virus Trojan is a malicious computer program designed to disrupt, damage, or gain unauthorized access to a computer system. It can be used to steal sensitive data, gain control over a system, or launch other malicious activities.
Can Trojans Steal Passwords?
Yes, Trojans, like Facebook Notification Virus, can steal passwords. These malicious programs are designed to gain access to a user's computer, spy on victims and steal sensitive information such as banking details and passwords.
Can Facebook Notification Virus Trojan Hide Itself?
Yes, it can. A Trojan can use various techniques to mask itself, including rootkits, encryption, and obfuscation, to hide from security scanners and evade detection.
Can a Trojan be Removed by Factory Reset?
Yes, a Trojan can be removed by factory resetting your device. This is because it will restore the device to its original state, eliminating any malicious software that may have been installed. Bear in mind that there are more sophisticated Trojans that leave backdoors and reinfect even after a factory reset.
Can Facebook Notification Virus Trojan Infect WiFi?
Yes, it is possible for a Trojan to infect WiFi networks. When a user connects to the infected network, the Trojan can spread to other connected devices and can access sensitive information on the network.
Can Trojans Be Deleted?
Yes, Trojans can be deleted. This is typically done by running a powerful anti-virus or anti-malware program that is designed to detect and remove malicious files. In some cases, manual deletion of the Trojan may also be necessary.
Can Trojans Steal Files?
Yes, Trojans can steal files if they are installed on a computer. This is done by allowing the malware author or user to gain access to the computer and then steal the files stored on it.
Which Anti-Malware Can Remove Trojans?
Anti-malware programs such as SpyHunter are capable of scanning for and removing Trojans from your computer. It is important to keep your anti-malware up to date and regularly scan your system for any malicious software.
Can Trojans Infect USB?
Yes, Trojans can infect USB devices. USB Trojans typically spread through malicious files downloaded from the internet or shared via email, allowing the hacker to gain access to a user's confidential data.
About the Facebook Notification Virus Research
The content we publish on SensorsTechForum.com, this Facebook Notification Virus how-to removal guide included, is the outcome of extensive research, hard work and our team’s devotion to help you remove the specific trojan problem.
How did we conduct the research on Facebook Notification Virus?
Please note that our research is based on an independent investigation. We are in contact with independent security researchers, thanks to which we receive daily updates on the latest malware definitions, including the various types of trojans (backdoor, downloader, infostealer, ransom, etc.)
Furthermore, the research behind the Facebook Notification Virus threat is backed with VirusTotal.
To better understand the threat posed by trojans, please refer to the following articles which provide knowledgeable details.