
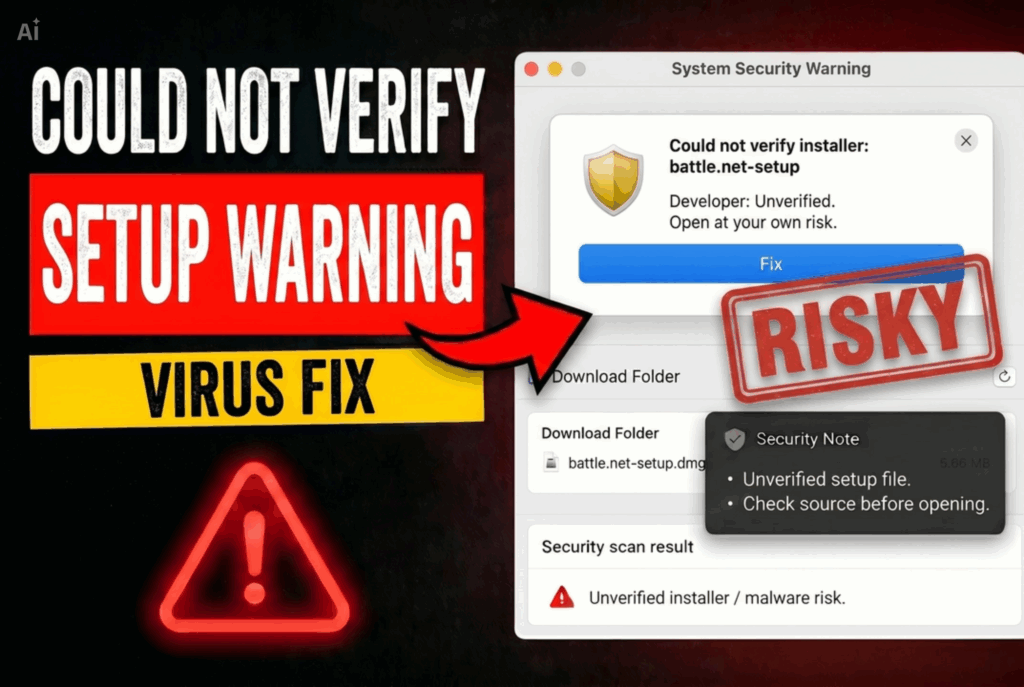
What is the Apple Could Not Verify battle.net-setup Warning?
You downloaded the Battle.net launcher and macOS is showing a warning saying it could not verify that this app is free from malware — now you’re not sure whether you’ve downloaded something dangerous or whether this is just your Mac being overly cautious. Read this article right now to understand exactly what’s happening and whether you need to act, then follow the fix guide at the bottom.
The Apple could not verify battle.net-setup message is a macOS Gatekeeper security warning that appears when you try to open an app that macOS cannot verify as being free from malware. In most cases when this warning appears on a legitimate Battle.net installer, it is a false positive — a security alert triggered by macOS’s verification system rather than by actual malicious code. However — and this is critical — the same warning also appears when you genuinely have downloaded a trojanized fake Battle.net installer from an unofficial source. The resolution depends entirely on where you downloaded the file from. If it came from the official Battle.net website (battle.net) directly: almost certainly a false positive. If it came from anywhere else — a torrent site, a Discord link, a Google result that wasn’t the official site — treat it as potentially dangerous and do not open it until you’ve verified it.
Apple Could Not Verify Short Overview
| Type | macOS Gatekeeper security warning. Either a false positive on a legitimate Battle.net installer downloaded from the official site, or a genuine malware detection on a trojanized fake installer from an unofficial source. |
| Symptoms | macOS alert stating Apple could not verify that battle.net-setup is free from malware. App blocked from opening without user override. If a genuine infection: browser settings changed, unexpected pop-ups, unauthorized account activity. |
| Removal Time | Approximately 15 minutes for a full-system scan |
| Removal Tool | See If Your System Has Been Affected by malware
Download
Malware Removal Tool
|
Why Is This Warning Appearing?
Understanding why macOS shows this warning helps you determine whether you’re dealing with a false positive or a genuine threat. Here’s what’s actually happening:
- macOS Gatekeeper and notarization — macOS Gatekeeper checks every app you try to open against Apple’s notarization system — a process where developers submit their apps to Apple for malware scanning before distribution. If an app passes, Apple provides a notarization ticket and macOS opens it without a warning. If Gatekeeper cannot verify this ticket — either because the app isn’t notarized, the notarization is corrupted, or the download was interrupted — you get this warning. Legitimate Blizzard installers are notarized, so this warning on an official download can indicate a download corruption issue or a temporary Apple server verification problem.
- Trojanized fake installers from unofficial sources — This is the genuinely dangerous scenario. Cybercriminals create fake Battle.net installer files containing hidden malicious payloads and distribute them through torrent sites, Discord links, and fake download pages. These files are not notarized — which triggers the exact same Gatekeeper warning. If you downloaded from an unofficial source, this warning may be indicating a real threat.
- Software bundling risk — Some unofficial Battle.net installer packages are repackaged through software bundling with hidden adware or spyware components that install silently alongside the actual game client.
What Does a Fake Battle.net Installer Do?
If the file you downloaded is not the legitimate Blizzard installer but a trojanized fake, here’s what it can do once executed:
- Credential and browser data theft — Fake game installers on macOS commonly deploy spyware-class data collection routines that harvest saved passwords, browser cookies, and session tokens from Safari, Chrome, and Firefox — transmitted to a remote C&C server controlled by the attacker.
- Battle.net and gaming account theft — Fake Battle.net installers specifically target gaming credentials — harvesting your Battle.net login, Blizzard account details, and any other gaming platform credentials saved in your browser or keychain. These accounts have real monetary value due to in-game assets, virtual currency, and linked payment methods.
- Browser hijacking — Some variants install a browser hijacker component that changes your home page, default search engine, and new tab page, flooding your browser with pop-ups and banners and using trackers to monitor all browsing activity.
- Additional malware installation — The fake installer may act as a dropper, silently downloading additional malicious payloads including cryptovirus components, keyloggers, or botnet agents onto your Mac.
The key diagnostic question is: where did you download this file? If the answer is battle.net — Blizzard’s official website — upload it to VirusTotal at virustotal.com. If top-tier vendors give it a clean result, the Gatekeeper warning is almost certainly a false positive caused by a verification glitch, and you can bypass it through macOS System Settings then Privacy and Security then allow anyway. If you downloaded from anywhere other than the official site, do not open the file and follow the removal steps below.
What Should You Do?
First: delete the suspicious file and re-download Battle.net exclusively from the official battle.net website. Upload the downloaded file to VirusTotal before opening it to confirm it’s clean. If you already ran a suspicious installer, change your Blizzard account password and all other account passwords immediately from a different device, enable two-factor authentication on Battle.net, and run a full Mac malware scan. Follow the complete fix guide below this article for all steps to safely install Battle.net and clean your Mac if it was compromised.
Ventsislav Krastev
Ventsislav is a cybersecurity expert at SensorsTechForum since 2015. He has been researching, covering, helping victims with the latest malware infections plus testing and reviewing software and the newest tech developments. Having graduated Marketing as well, Ventsislav also has passion for learning new shifts and innovations in cybersecurity that become game changers. After studying Value Chain Management, Network Administration and Computer Administration of System Applications, he found his true calling within the cybersecrurity industry and is a strong believer in the education of every user towards online safety and security.
Follow Me:
Steps to Prepare Before Removal:
Before starting to follow the steps below, be advised that you should first do the following preparations:
- Backup your files in case the worst happens.
- Make sure to have a device with these instructions on standy.
- Arm yourself with patience.
- 1. Scan for Mac Malware
- 2. Uninstall Risky Apps
- 3. Clean Your Browsers
Step 1: Scan for and remove Apple Could Not Verify files from your Mac
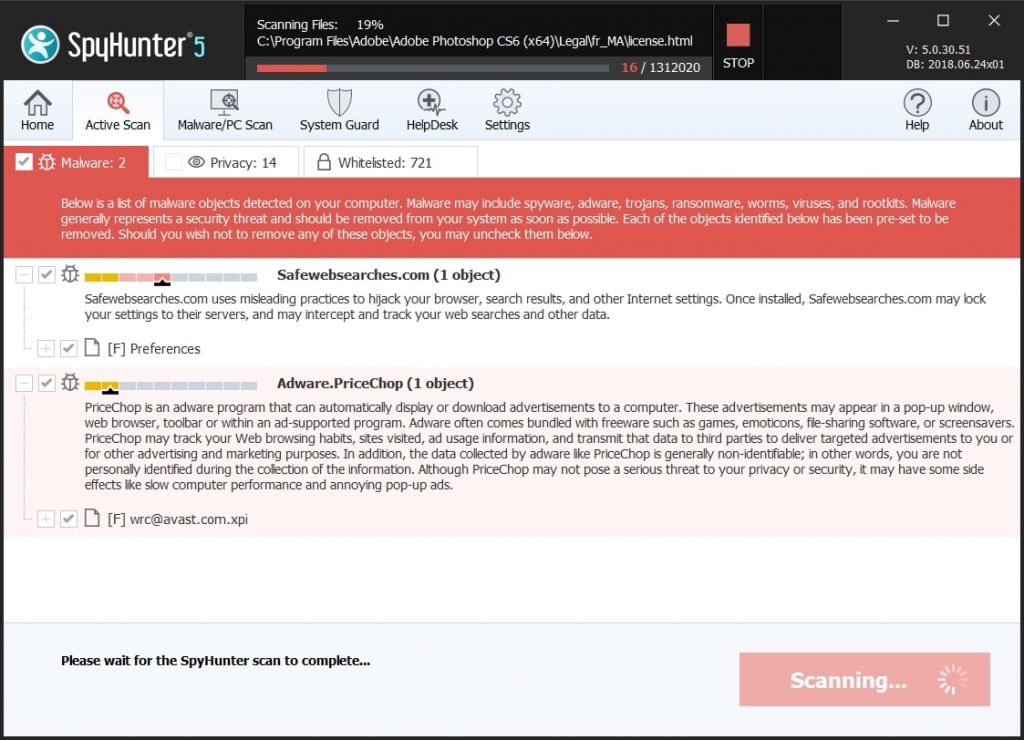
When you are facing problems on your Mac as a result of unwanted scripts and programs such as Apple Could Not Verify, the recommended way of eliminating the threat is by using an anti-malware program. SpyHunter for Mac offers advanced security features along with other modules that will improve your Mac’s security and protect it in the future.
Quick and Easy Mac Malware Video Removal Guide
Bonus Step: How to Make Your Mac Run Faster?
Mac machines maintain probably the fastest operating system out there. Still, Macs do become slow and sluggish sometimes. The video guide below examines all of the possible problems that may lead to your Mac being slower than usual as well as all of the steps that can help you to speed up your Mac.
Step 2: Uninstall Apple Could Not Verify and remove related files and objects
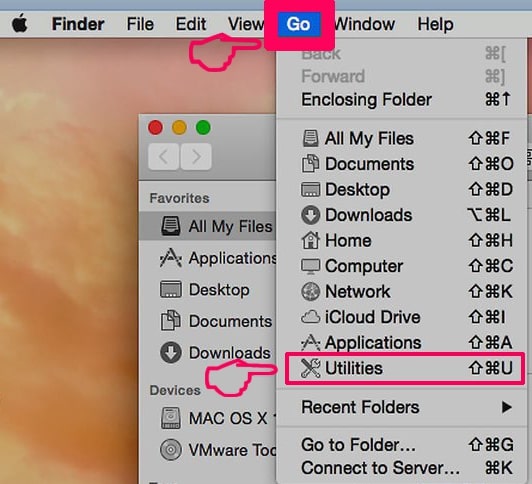
1. Hit the ⇧+⌘+U keys to open Utilities. Another way is to click on “Go” and then click “Utilities”, like the image below shows:
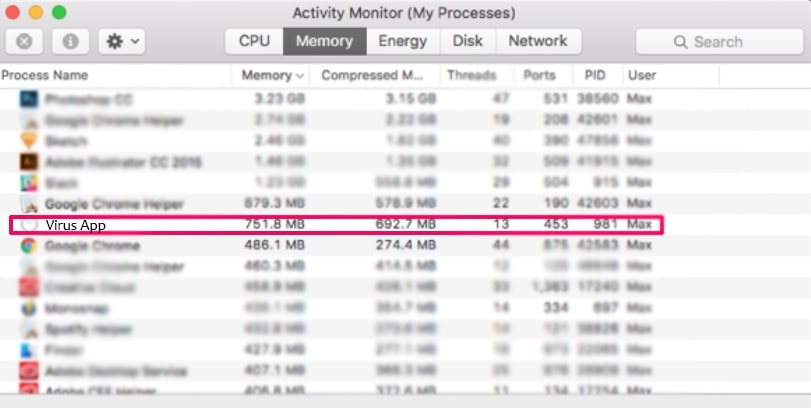
2. Find Activity Monitor and double-click it:
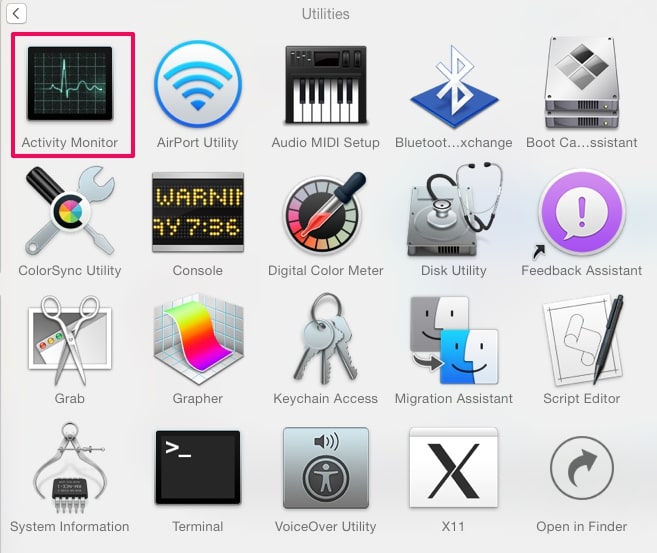
3. In the Activity Monitor look for any suspicious processes, belonging or related to Apple Could Not Verify:

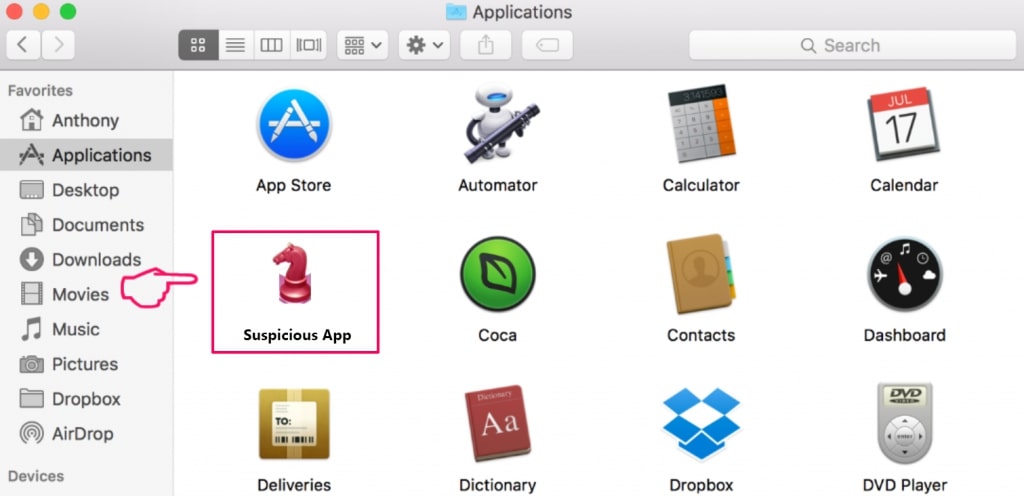
4. Click on the "Go" button again, but this time select Applications. Another way is with the ⇧+⌘+A buttons.
5. In the Applications menu, look for any suspicious app or an app with a name, similar or identical to Apple Could Not Verify. If you find it, right-click on the app and select “Move to Trash”.
6. Select Accounts, after which click on the Login Items preference. Your Mac will then show you a list of items that start automatically when you log in. Look for any suspicious apps identical or similar to Apple Could Not Verify. Check the app you want to stop from running automatically and then select on the Minus (“-“) icon to hide it.
7. Remove any leftover files that might be related to this threat manually by following the sub-steps below:
- Go to Finder.
- In the search bar type the name of the app that you want to remove.
- Above the search bar change the two drop down menus to “System Files” and “Are Included” so that you can see all of the files associated with the application you want to remove. Bear in mind that some of the files may not be related to the app so be very careful which files you delete.
- If all of the files are related, hold the ⌘+A buttons to select them and then drive them to “Trash”.
In case you cannot remove Apple Could Not Verify via Step 1 above:
In case you cannot find the virus files and objects in your Applications or other places we have shown above, you can manually look for them in the Libraries of your Mac. But before doing this, please read the disclaimer below:
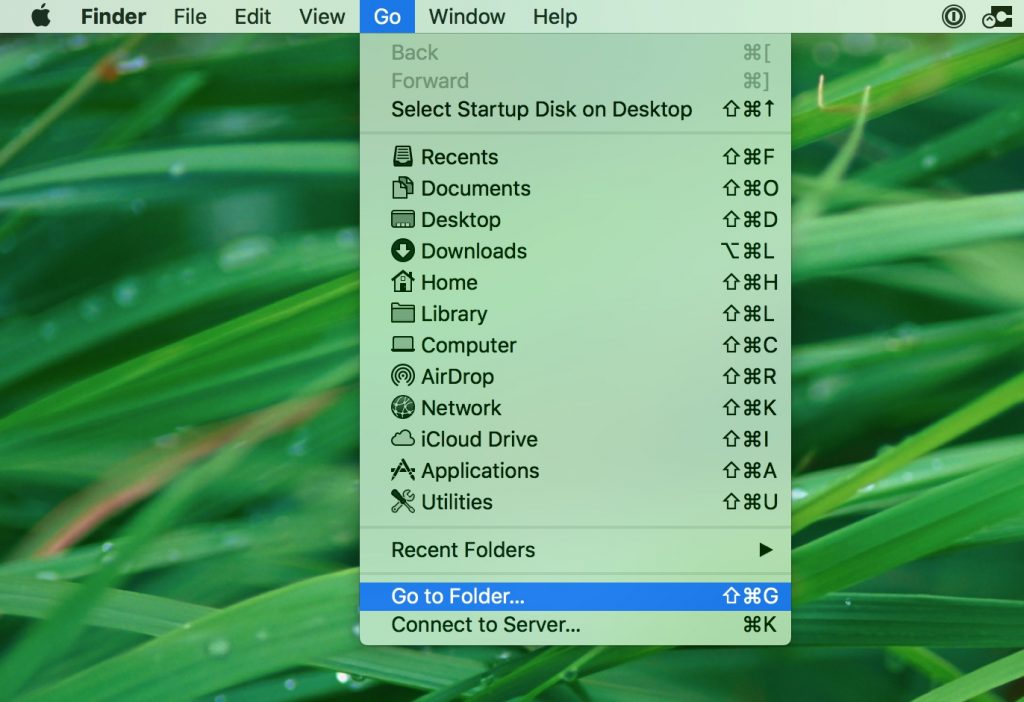
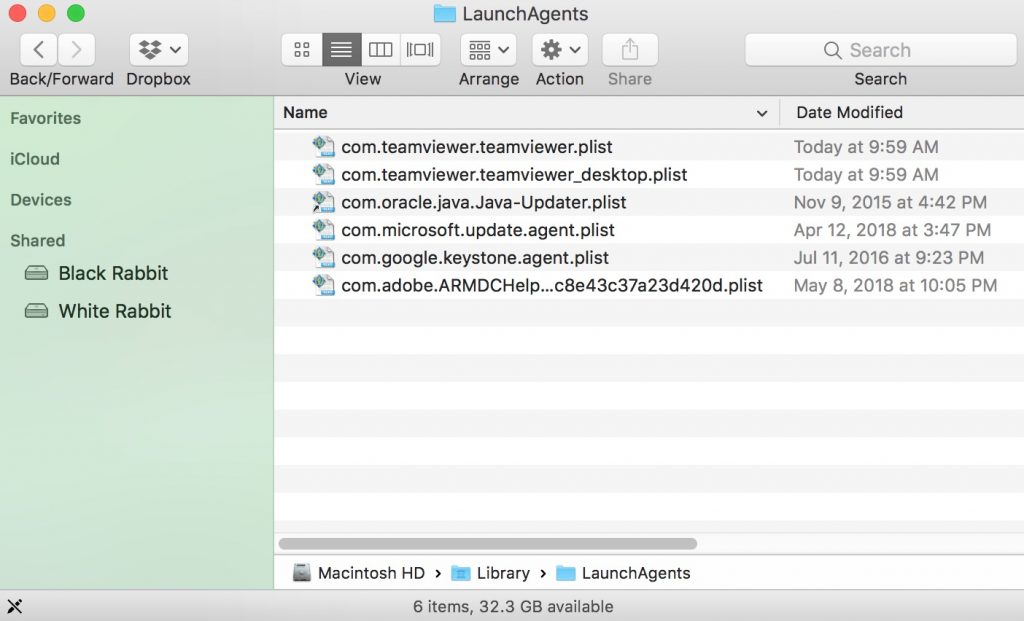
1. Click on "Go" and Then "Go to Folder" as shown underneath:
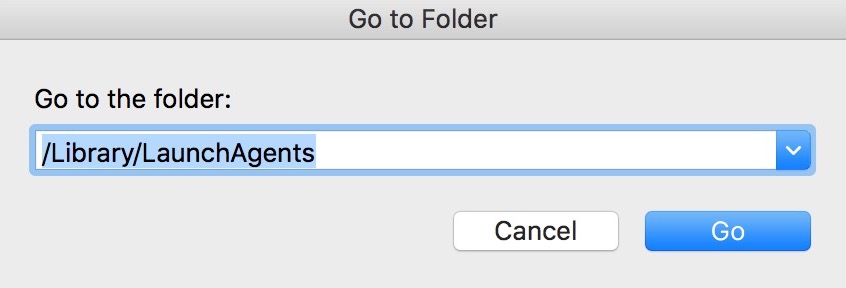
2. Type in "/Library/LauchAgents/" and click Ok:
3. Delete all of the virus files that have similar or the same name as Apple Could Not Verify. If you believe there is no such file, do not delete anything.
You can repeat the same procedure with the following other Library directories:
→ ~/Library/LaunchAgents
/Library/LaunchDaemons
Tip: ~ is there on purpose, because it leads to more LaunchAgents.
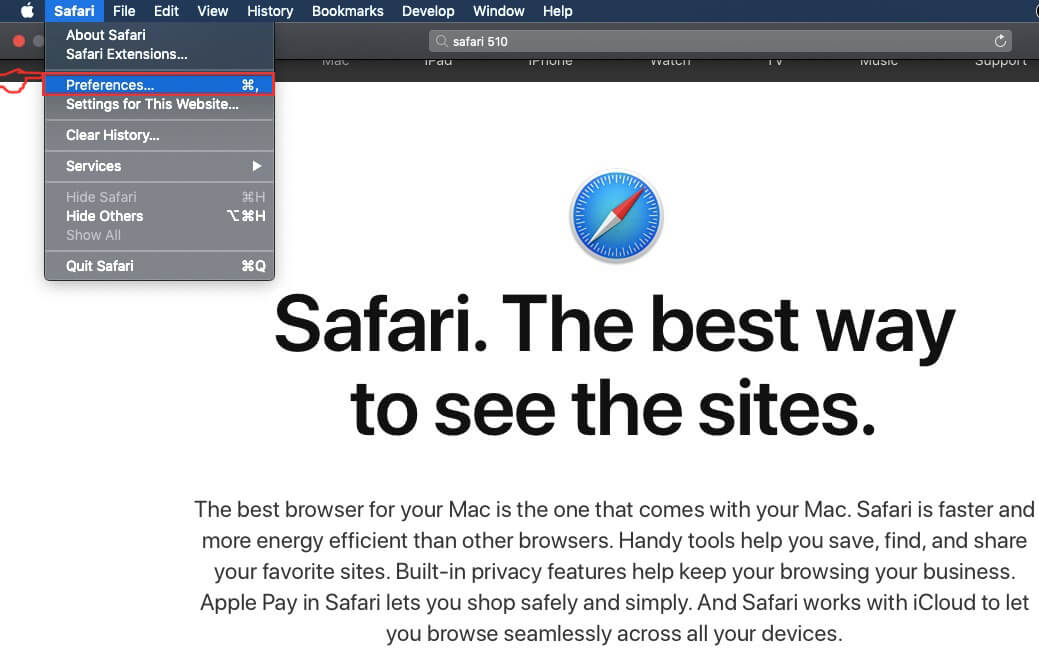
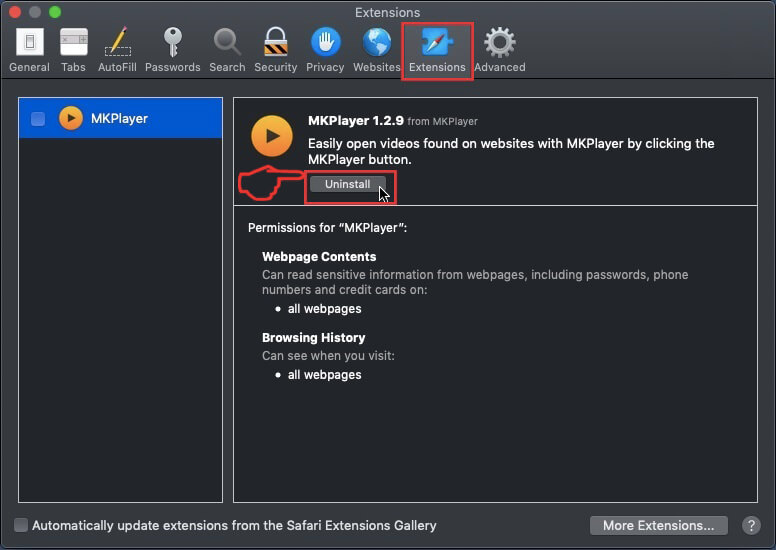
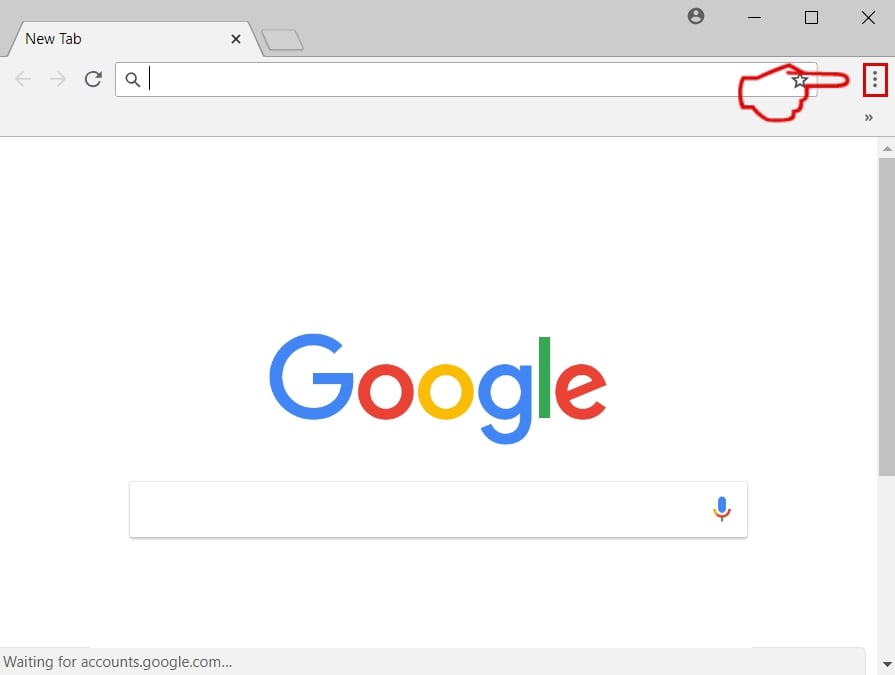
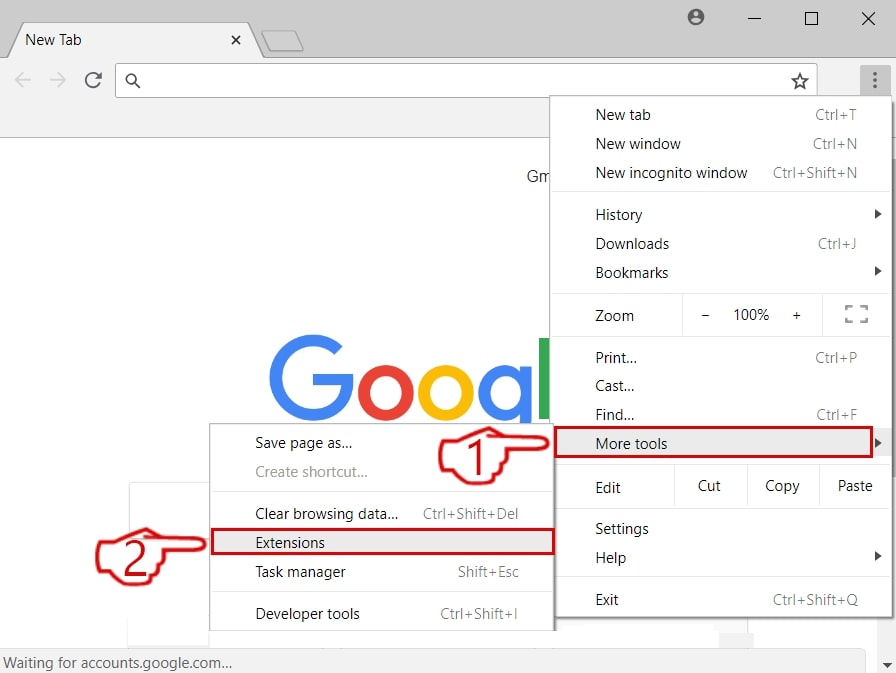
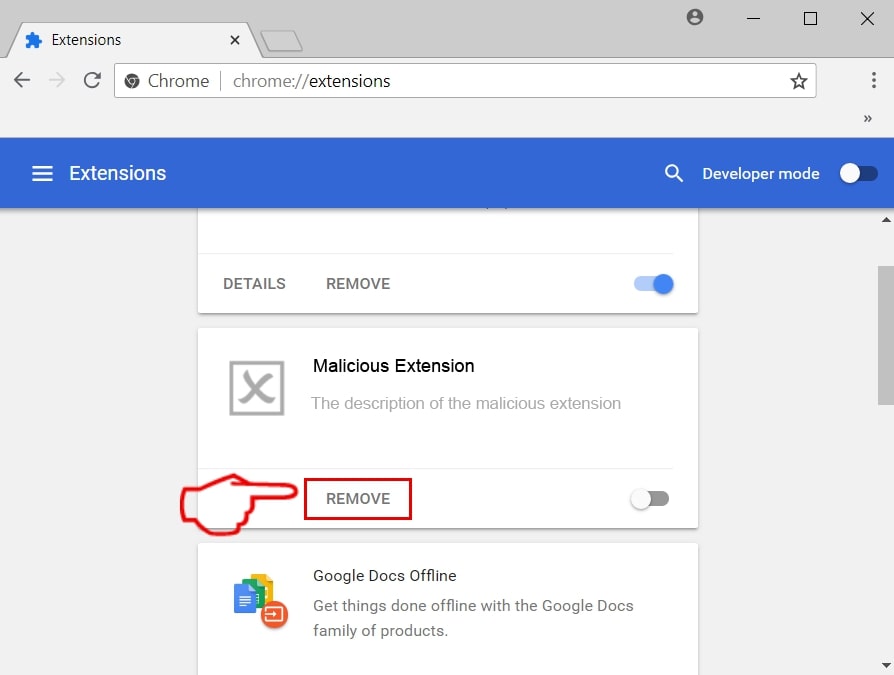
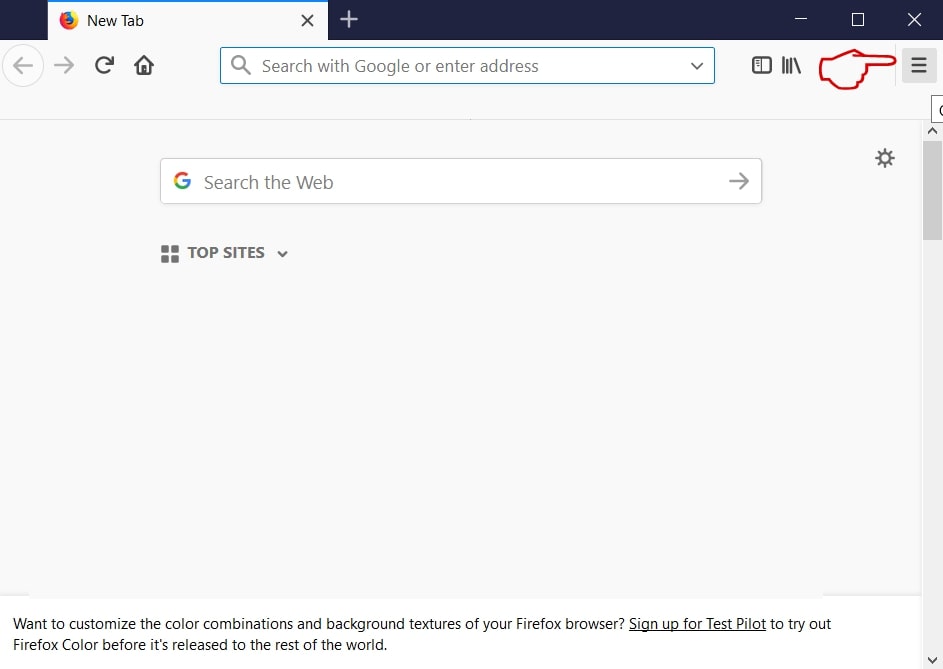
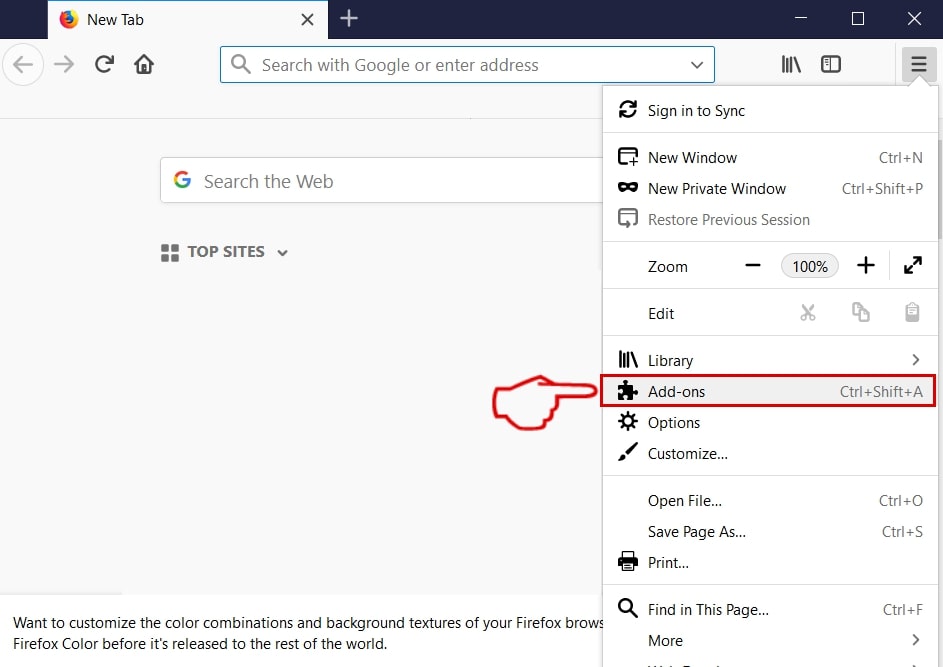
Step 3: Remove Apple Could Not Verify – related extensions from Safari / Chrome / Firefox

Apple Could Not Verify-FAQ
What is Apple Could Not Verify on your Mac?
The Apple Could Not Verify threat is probably a potentially unwanted app. There is also a chance it could be related to Mac malware. If so, such apps tend to slow your Mac down significantly and display advertisements. They could also use cookies and other trackers to obtain browsing information from the installed web browsers on your Mac.
Can Macs Get Viruses?
Yes. As much as any other device, Apple computers do get malware. Apple devices may not be a frequent target by malware authors, but rest assured that almost all of the Apple devices can become infected with a threat.
What Types of Mac Threats Are There?
According to most malware researchers and cyber-security experts, the types of threats that can currently infect your Mac can be rogue antivirus programs, adware or hijackers (PUPs), Trojan horses, ransomware and crypto-miner malware.
What To Do If I Have a Mac Virus, Like Apple Could Not Verify?
Do not panic! You can easily get rid of most Mac threats by firstly isolating them and then removing them. One recommended way to do that is by using a reputable malware removal software that can take care of the removal automatically for you.
There are many Mac anti-malware apps out there that you can choose from. SpyHunter for Mac is one of the reccomended Mac anti-malware apps, that can scan for free and detect any viruses. This saves time for manual removal that you would otherwise have to do.
How to Secure My Data from Apple Could Not Verify?
With few simple actions. First and foremost, it is imperative that you follow these steps:
Step 1: Find a safe computer and connect it to another network, not the one that your Mac was infected in.
Step 2: Change all of your passwords, starting from your e-mail passwords.
Step 3: Enable two-factor authentication for protection of your important accounts.
Step 4: Call your bank to change your credit card details (secret code, etc.) if you have saved your credit card for online shopping or have done online activiites with your card.
Step 5: Make sure to call your ISP (Internet provider or carrier) and ask them to change your IP address.
Step 6: Change your Wi-Fi password.
Step 7: (Optional): Make sure to scan all of the devices connected to your network for viruses and repeat these steps for them if they are affected.
Step 8: Install anti-malware software with real-time protection on every device you have.
Step 9: Try not to download software from sites you know nothing about and stay away from low-reputation websites in general.
If you follow these reccomendations, your network and Apple devices will become significantly more safe against any threats or information invasive software and be virus free and protected in the future too.
More tips you can find on our MacOS Virus section, where you can also ask any questions and comment about your Mac problems.
About the Apple Could Not Verify Research
The content we publish on SensorsTechForum.com, this Apple Could Not Verify how-to removal guide included, is the outcome of extensive research, hard work and our team’s devotion to help you remove the specific macOS issue.
How did we conduct the research on Apple Could Not Verify?
Please note that our research is based on an independent investigation. We are in contact with independent security researchers, thanks to which we receive daily updates on the latest malware definitions, including the various types of Mac threats, especially adware and potentially unwanted apps (PUAs).
Furthermore, the research behind the Apple Could Not Verify threat is backed with VirusTotal.
To better understand the threat posed by Mac malware, please refer to the following articles which provide knowledgeable details.